
Mt Romelo is one of the old-school favorites. Before mountaineering’s rise to fame, this small mountain in Laguna was every mountaineer’s playground. I would often hear the old-schools say “Famy Days” and I would always wonder what that meant. Even my friend’s dad who is 60 would often share his adventures in Mt. Famy as they call it during their youth. It only dawned to me now that what they were referring to as Mt. Famy is actually commonly known to us as Mt. Romelo.
Mt. Romelo is the land of waterfalls. It has a total of seven (7) stunning waterfalls under its sleeve. While it is identified as a relatively easy hike to the summit elevating at only 240 meters above sea level, seeing the waterfalls, on the other hand, poses another kind of challenge. The view at the summit is not that spectacular although this mountain is a perfect starter for aspiring newbie mountaineers. I think the most fulfilling part in hiking this mountain is seeing all of its seven waterfalls but if you happen to make it to only one of them, don’t despair for you are not alone!
OUR MT. ROMELO + BURUWISAN CLIMB
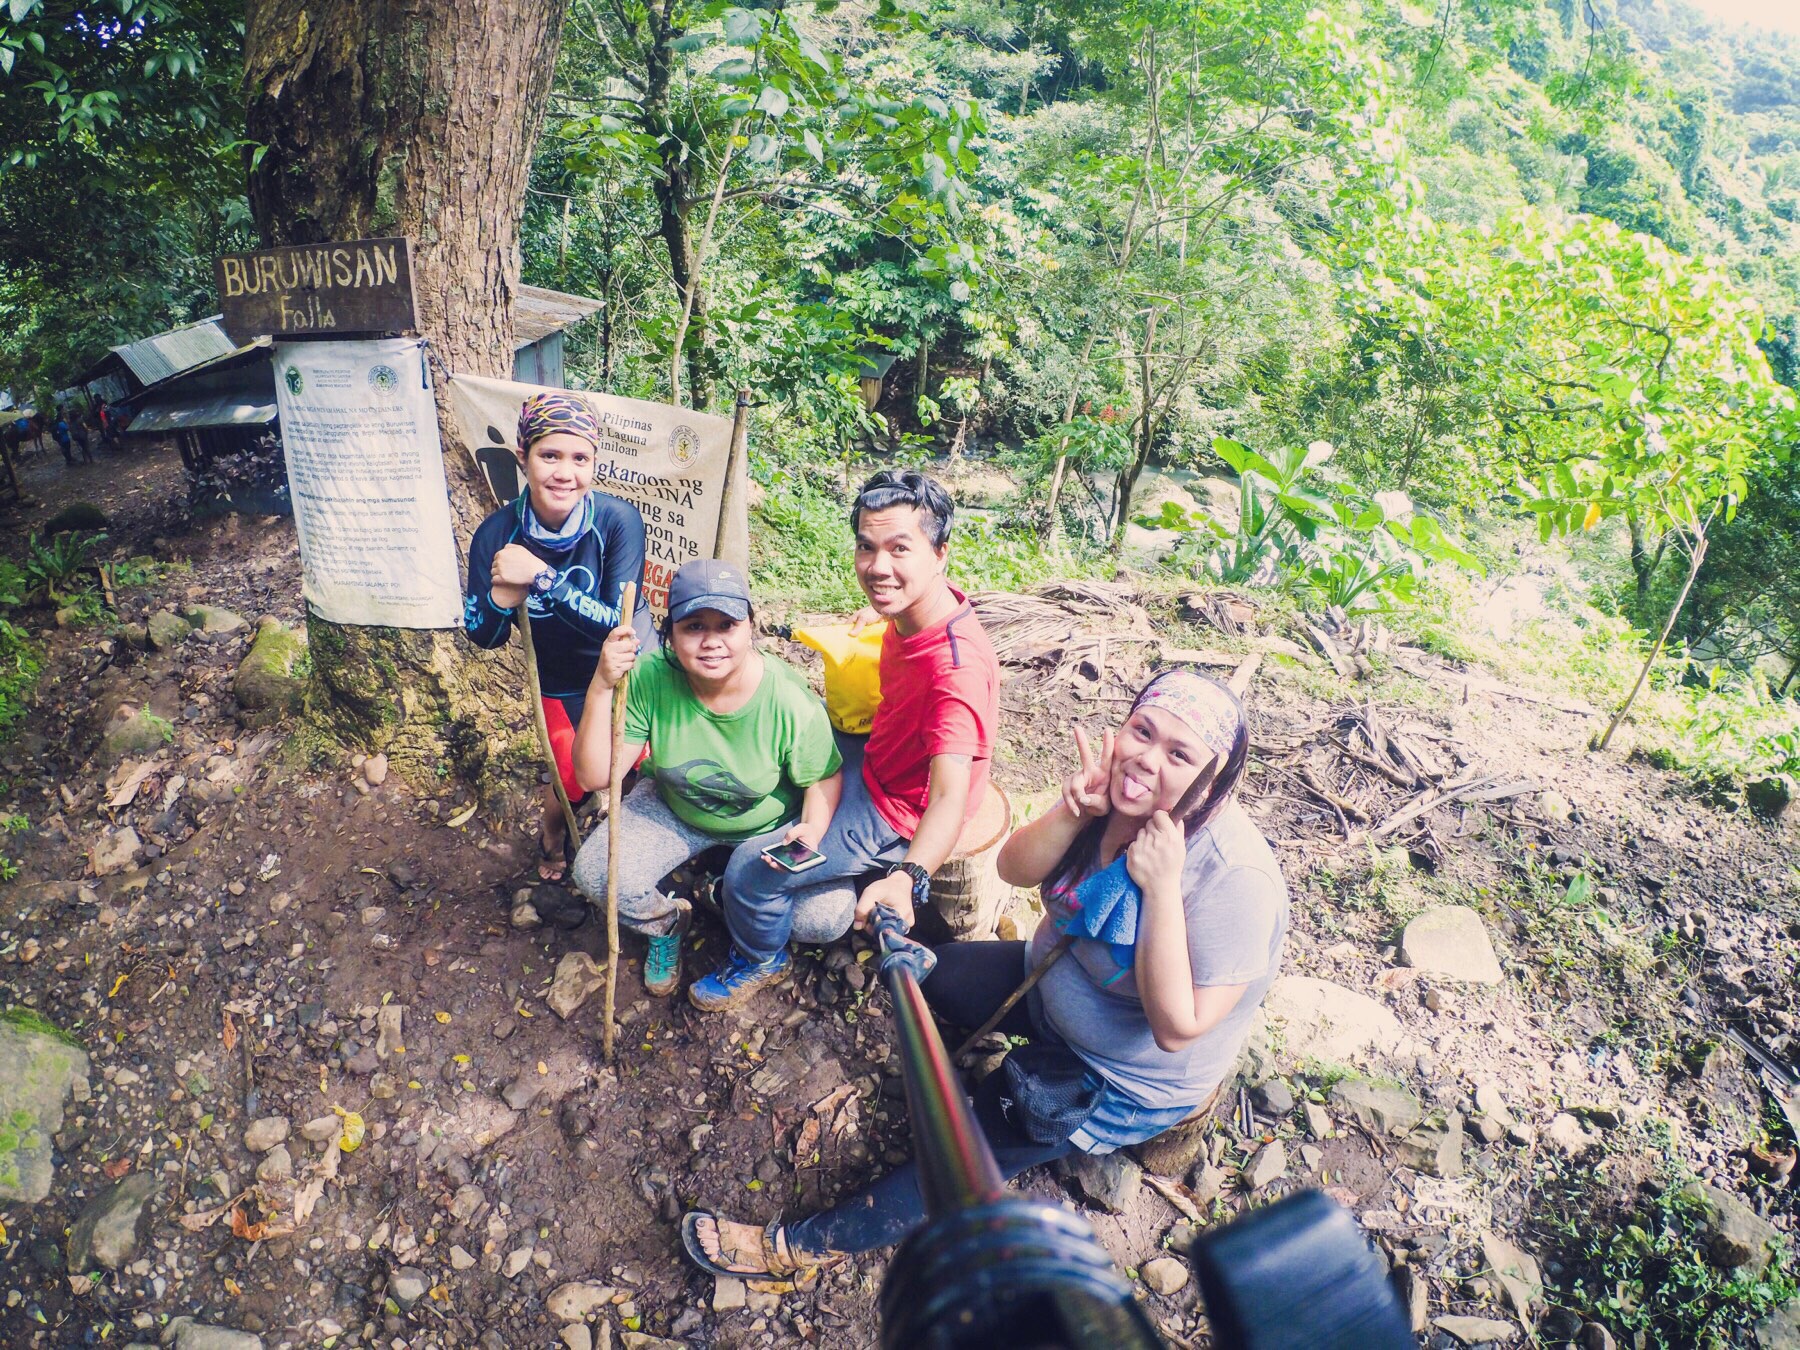
I had always wanted to hike Mt. Romelo and see Buruwisan Falls. Although I dread the thought of hiking along extremely muddy trails, I hesitated not when boyfie asked me to go with him on a fun hike to this mountain. We were to take a friend to her first hike and we wanted to make sure she enjoys the experience. We thought about taking her to an easy hike to Mt. Romelo’s summit. And if she is still up to the challenge, we’ll continue the fun to Buruwisan Falls to treat her to a refreshing dip.
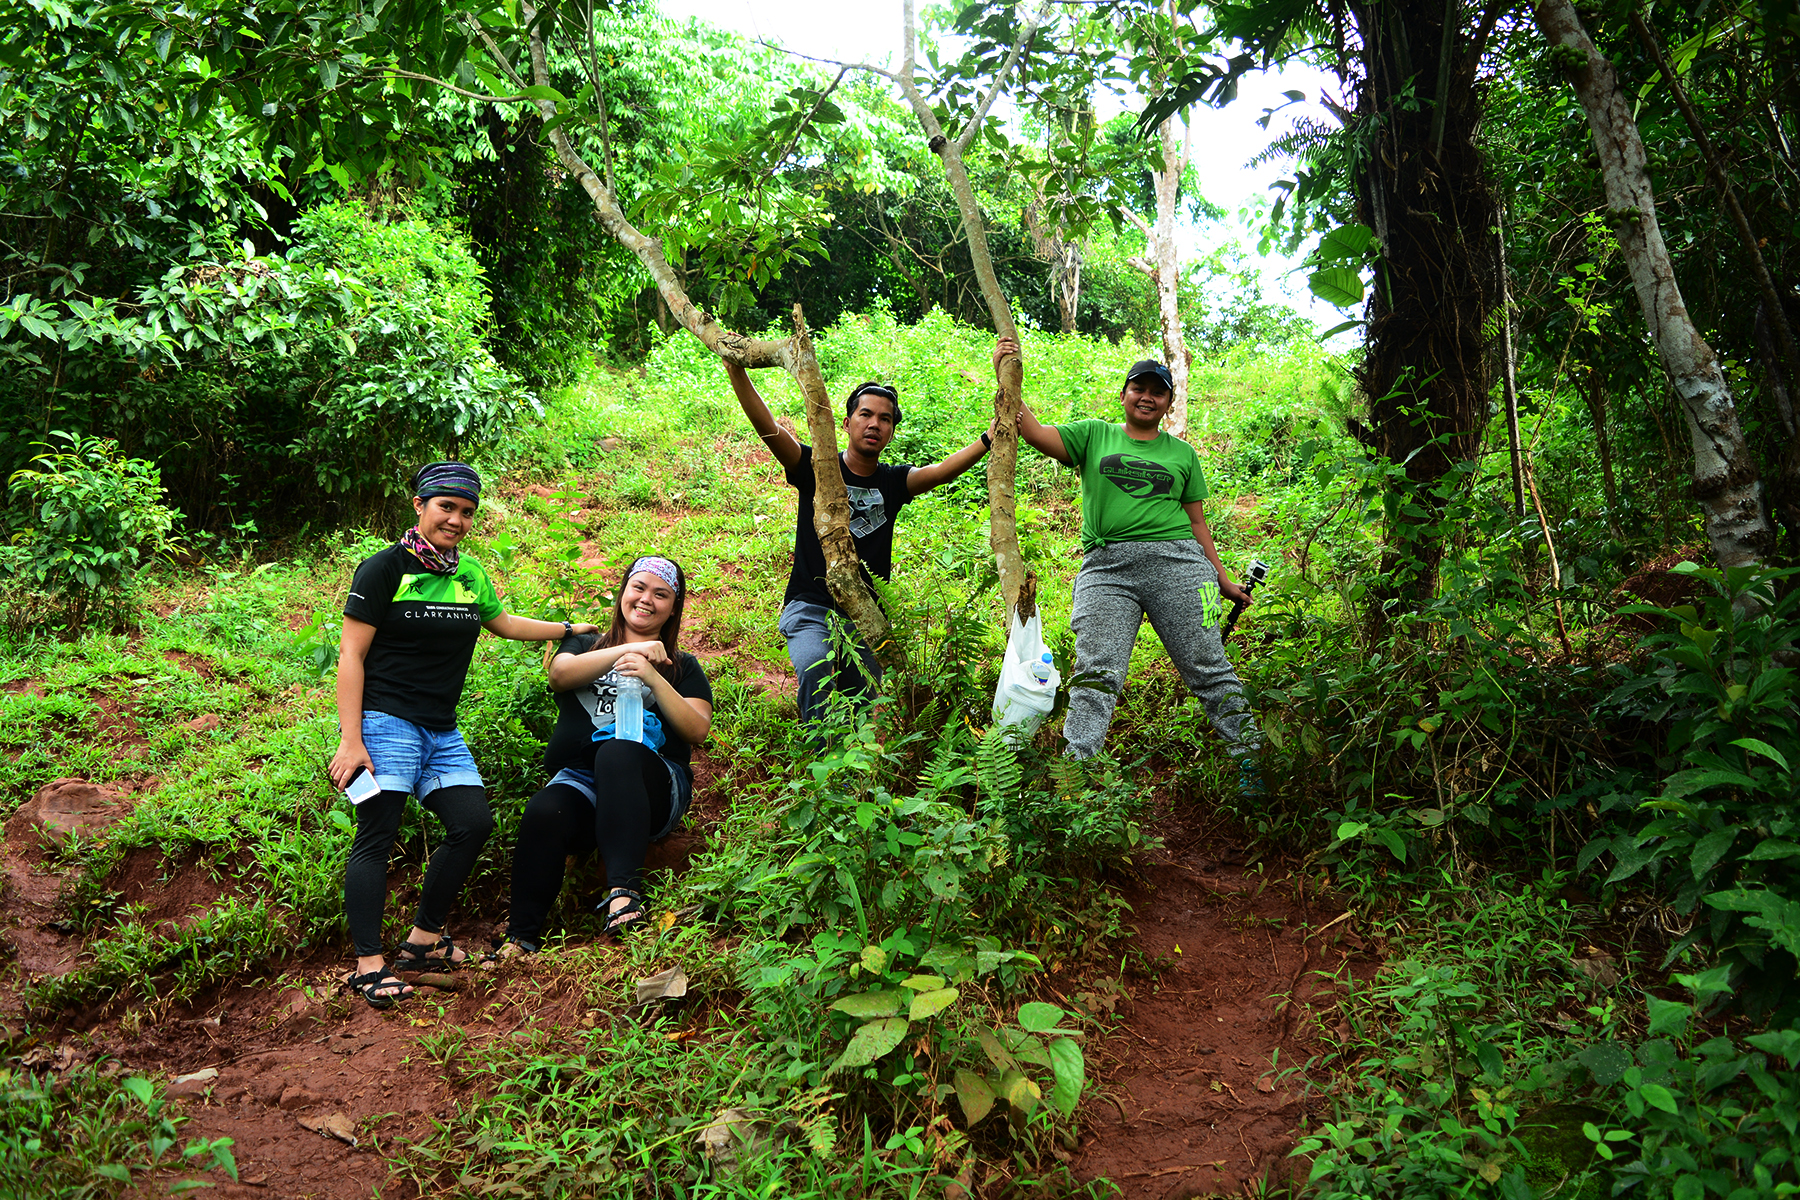
For this hike, there was only the four of us. Ian my boyfie-slash- moody-travel-buddy. Irene who already got several mountains to her name. Lorz our newbie friend. And myself. When it comes to travelling, I prefer keeping it at a lowkey most especially when hiking mountains. I like to hike with a close knit of friends. Although it will be my first time travelling with Irene and Lorz, I was comfortable enough with their company to trust this hike would be fun and memorable.
We were going for an overnight camp atop Mt. Romelo’s summit. The initial plan was to meet in McDonald’s Teleperformance at 4AM Saturday but since I was caught up with preparing our packs and provisions the night before the hike, unable to sleep until about 1AM, we decided to meet 3 hours later from the original time. Fast forward the following morning, the journey began.
We took the Shaw Blvd-Tanay-Siniloan-Mt. Romelo route starting the trip by riding a van in Starmall Shaw Boulevard. Upon reaching Tanay, we then rode a jeep bound for Siniloan in Tanay’s public terminal. Once in Siniloan, we rode a tric going to Mt. Romelo’s jump-off. Commuting proved to be a real pain in the ass from carrying our heavy packs to transferring from one vehicle to another and sitting uncomfortably inside a cramped jeepney with barely a room to stretch our legs. After what might have been four hours, we finally reached the jump-off.
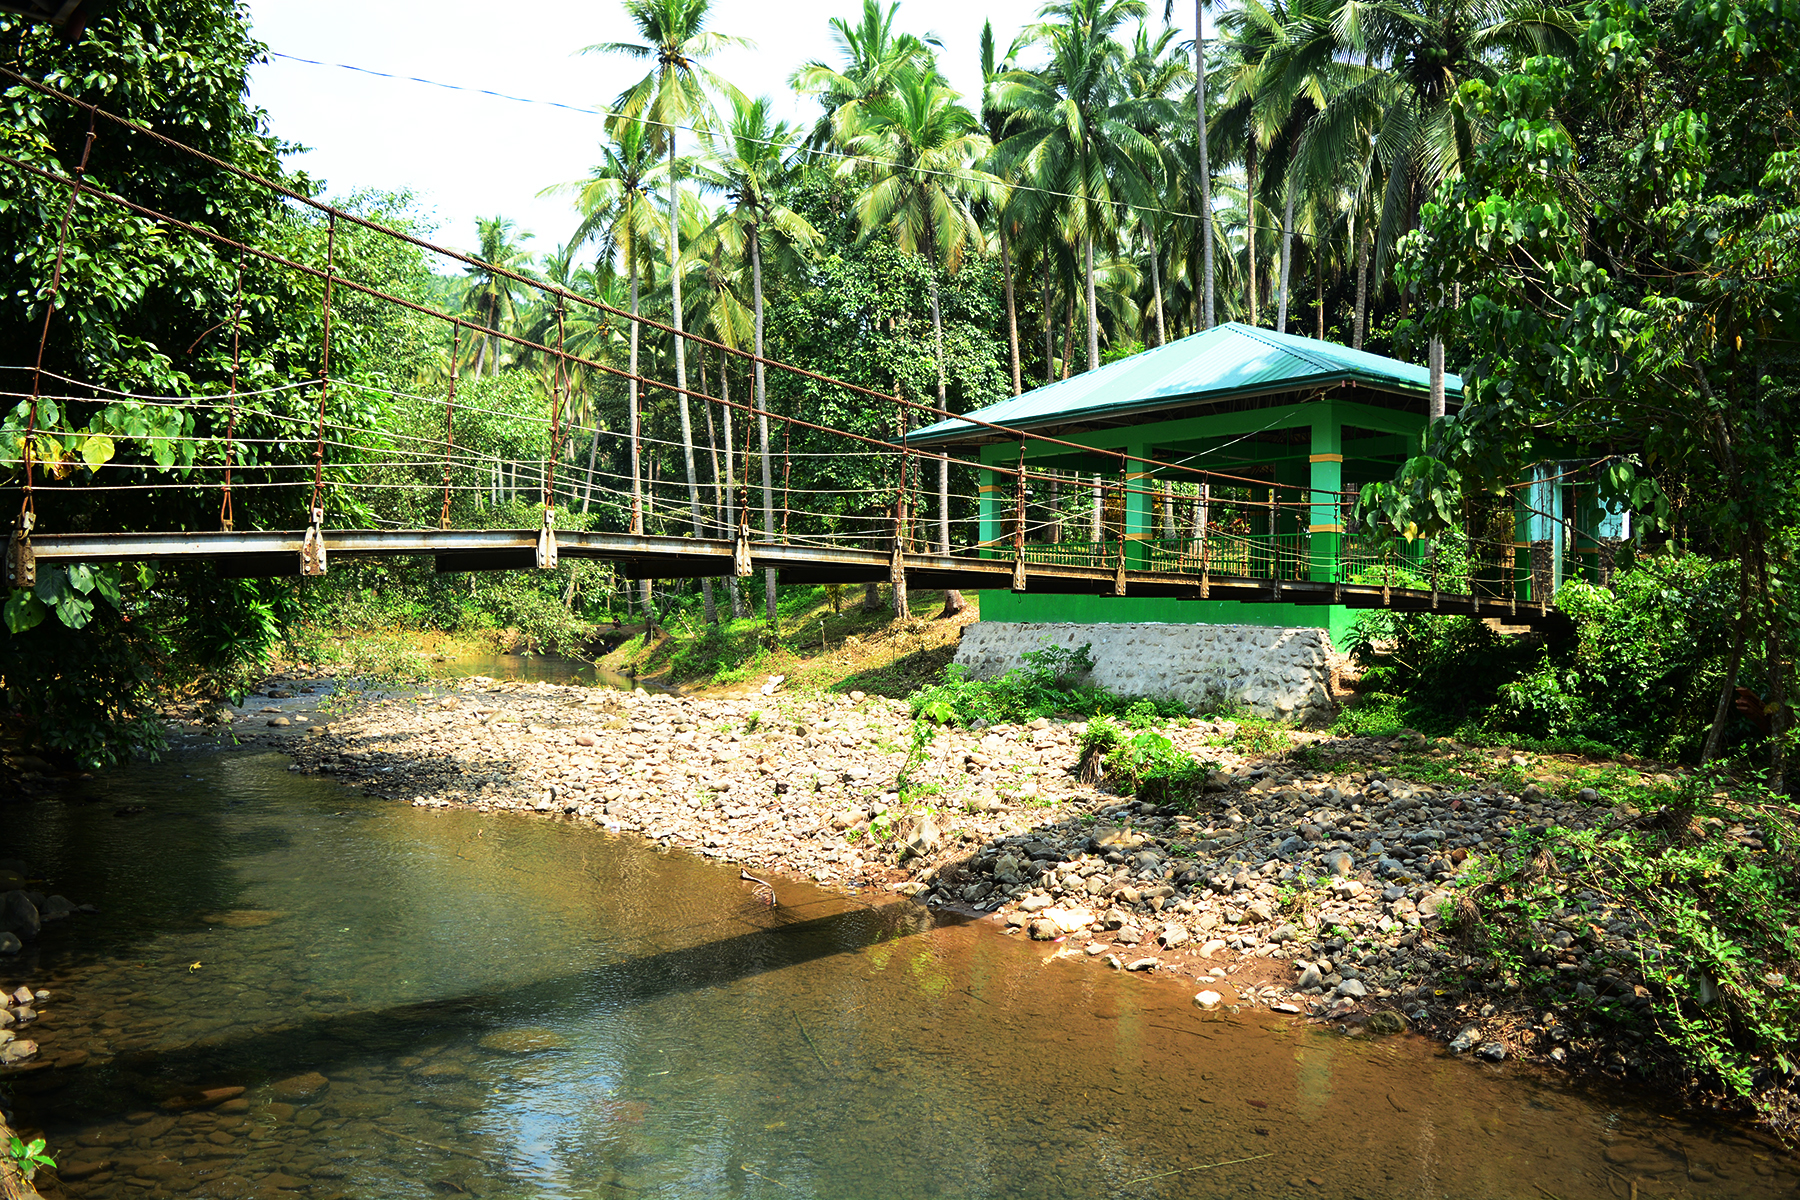
It was already 12NN when we finally reached the Greenhouse which also serves as the registration office for Mt. Romelo. It was a hot and humid day that it got me in no mood to hike anytime soon. We settled our stuff and decided to eat lunch to kill time. I thought we could use those extra energy later during the hike for we never know what Mt. Romelo has in store for us. As little as it may be, it certainly got its own surprises so we didn’t wanna get caught off guard.
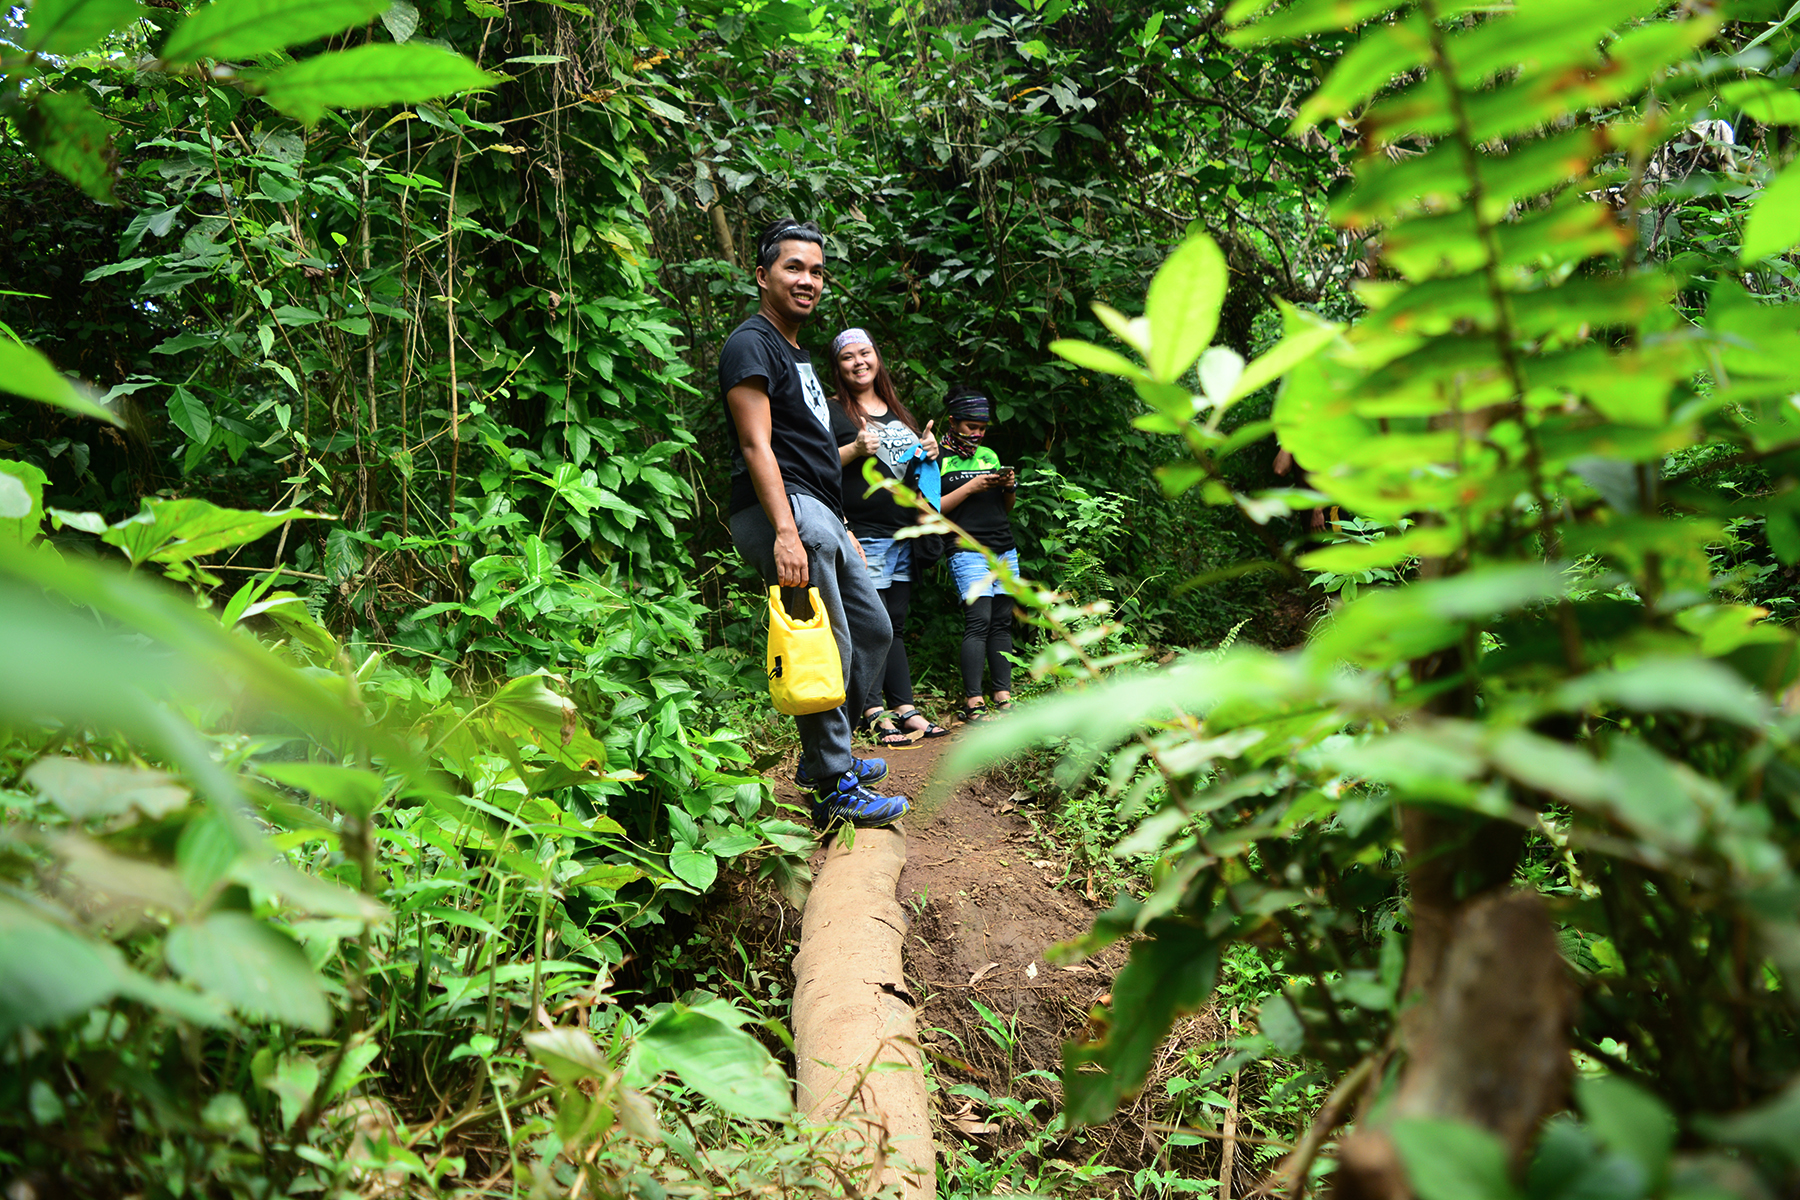
An hour and half later and after feasting over rice and my home cooked pork adobo, we started the hike. We were only hiking to the summit so we got plenty of time to spare. The hike started by crossing a hanging bridge that stretched to about 30 feet. Afterwhich we covered about 100 feet of flat surface before crossing a narrow canal connected by a small coco log leading to the first series of ascent.
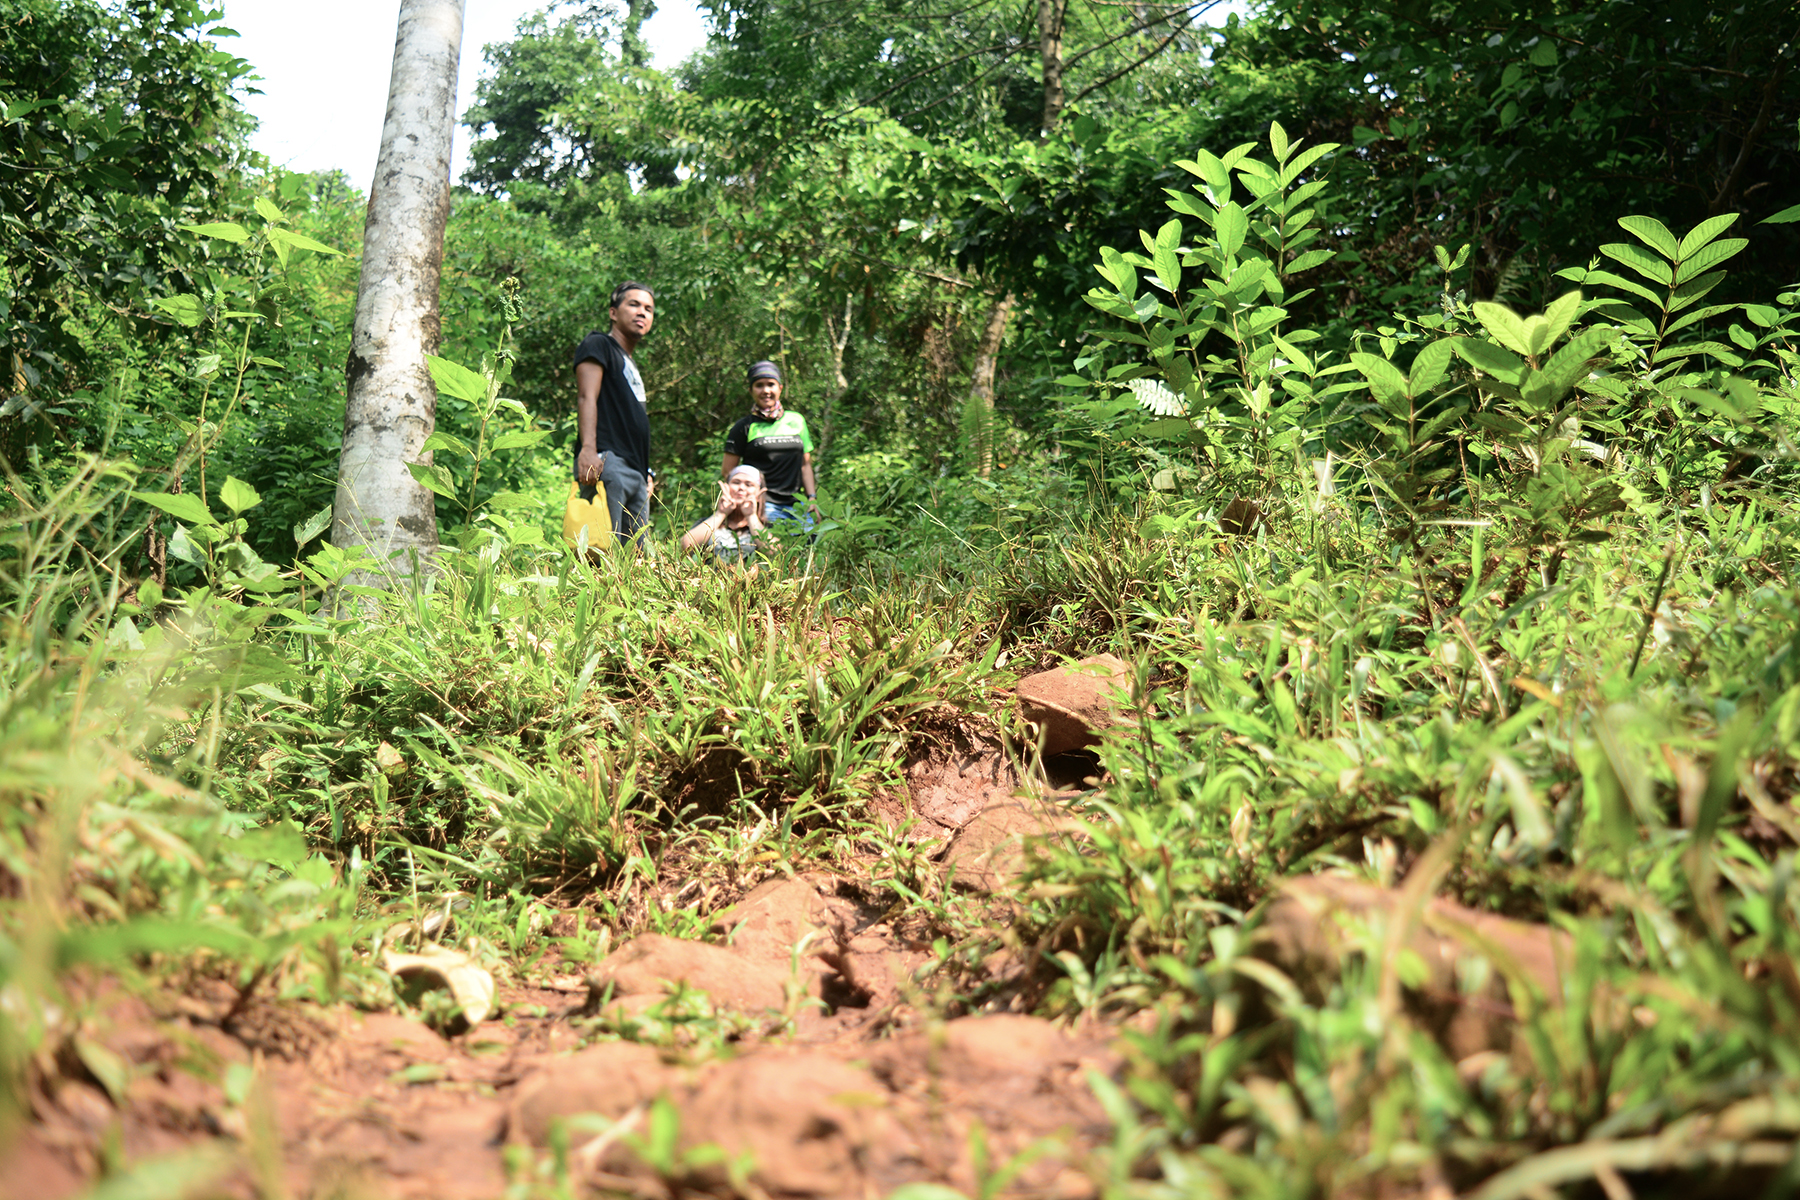
The ascent wasn’t steep and barely straightforward. It stretched to about 300 feet. Following the ascent was a series of mild slopes of mud and rocks. It continued for another 300 feet or so. The trail was well covered by coconuts and other trees so the sun only bothered us for brief instances. We paced slowly adapting our motion to Lorz, the newbie in our group. I could also tell based on how quickly I ran out of air that I wasn’t in my best condition. Or I probably have just eaten way too much before the hike that I get tired easily and had to stop for breathers every 2 minutes. Haha
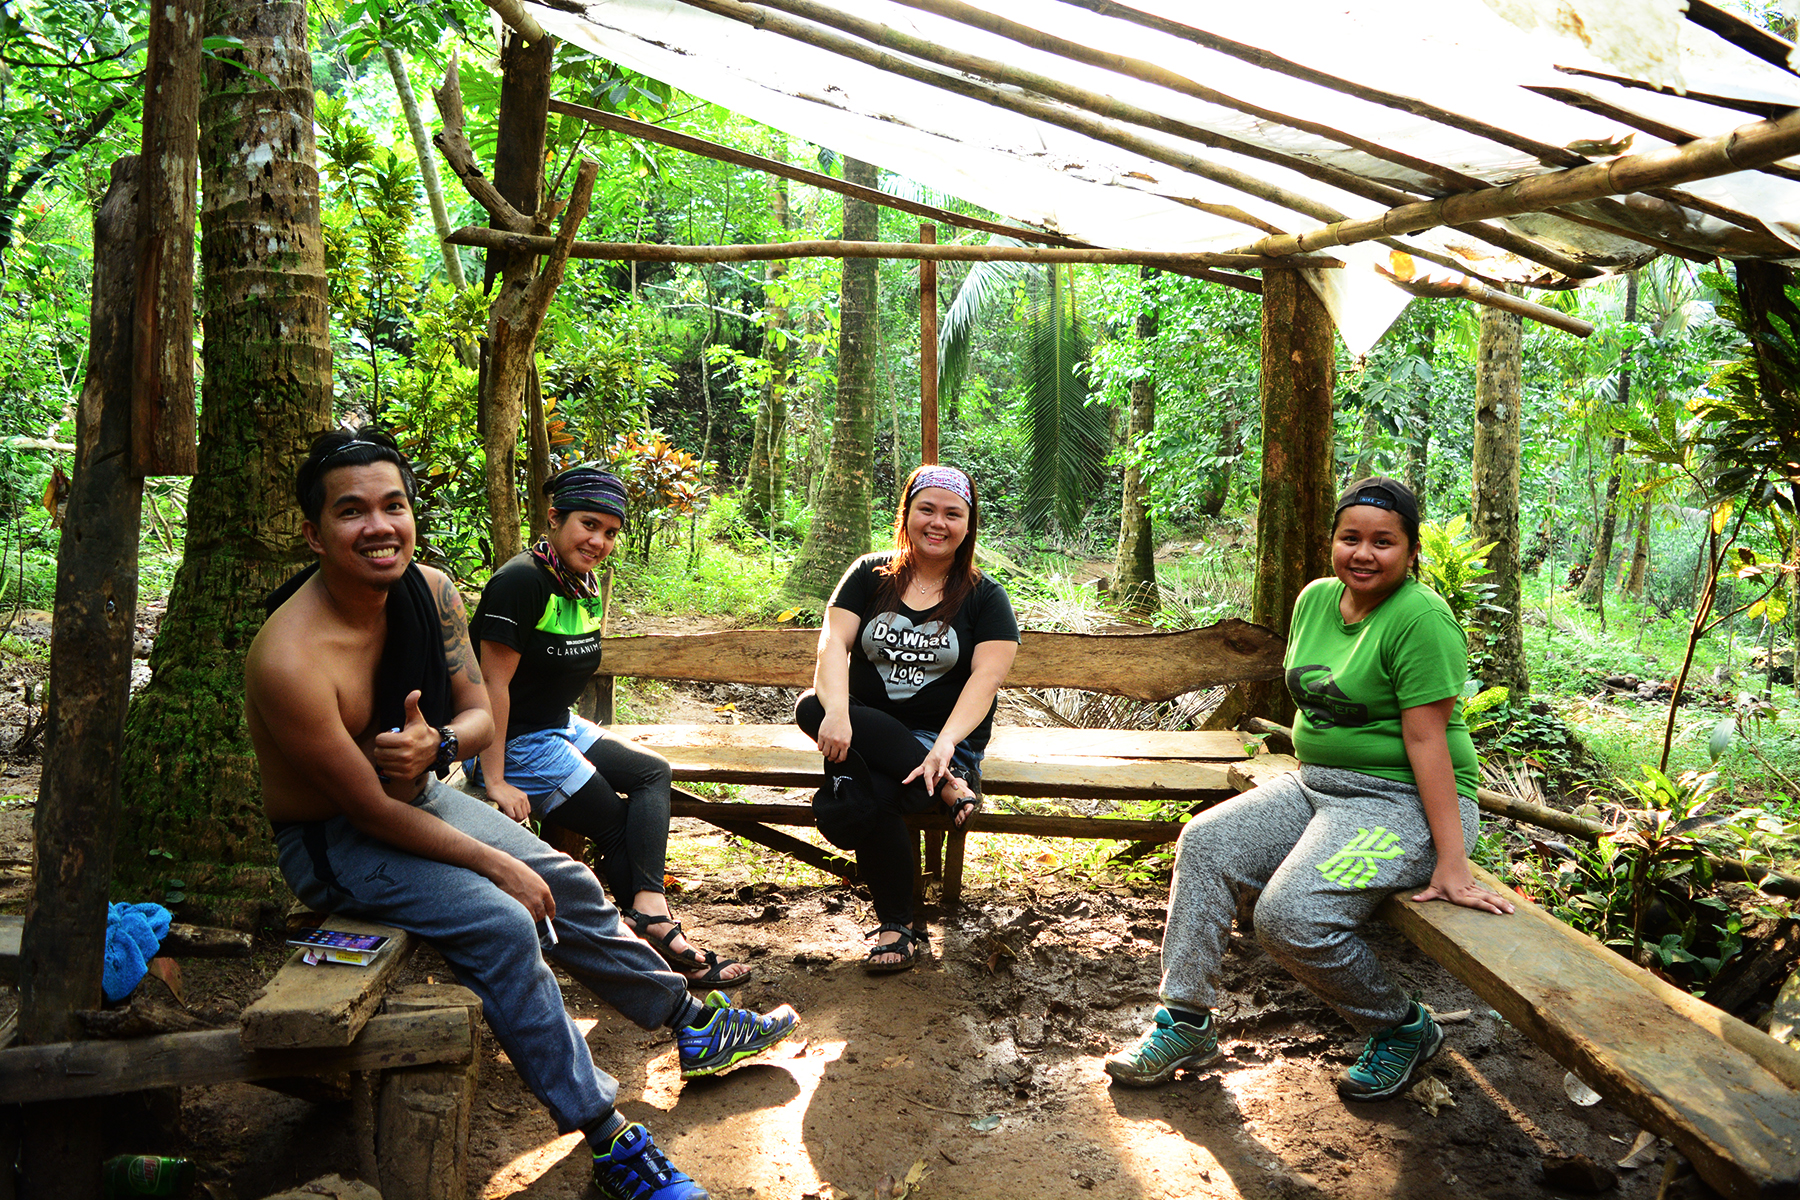
The hike to the summit normally takes an hour or even less. Our group however already used up more than an hour barely halfway through the top. This hike I would say is pretty much uneventful compared to the other hikes I’ve been to but I certainly had a hard time. I knew I have only me, my lack of training and all the extra rice to blame. Haha. The mild ascent along rocks and mud went on until we reached the first resting hut. There we took about another twenty minutes to rest before taking on the final ascent to the summit.
Exactly 3PM, we departed to take on the final ascent to the summit. The first series of obstacle we needed to overcome were the huge rocks. This rugged trail stretched to about 200 feet gradually ascending before we reached the final steep assault to the summit. The final assault started on a steep but wide trail with barely enough support that stretch to about 50-feet going up. After that is another assault along a trail covered with overgrown bushes that stretched to another 50-60 feet. And then there it was. The Peak. And we reached it a few minutes before the clock hit the hour of four.
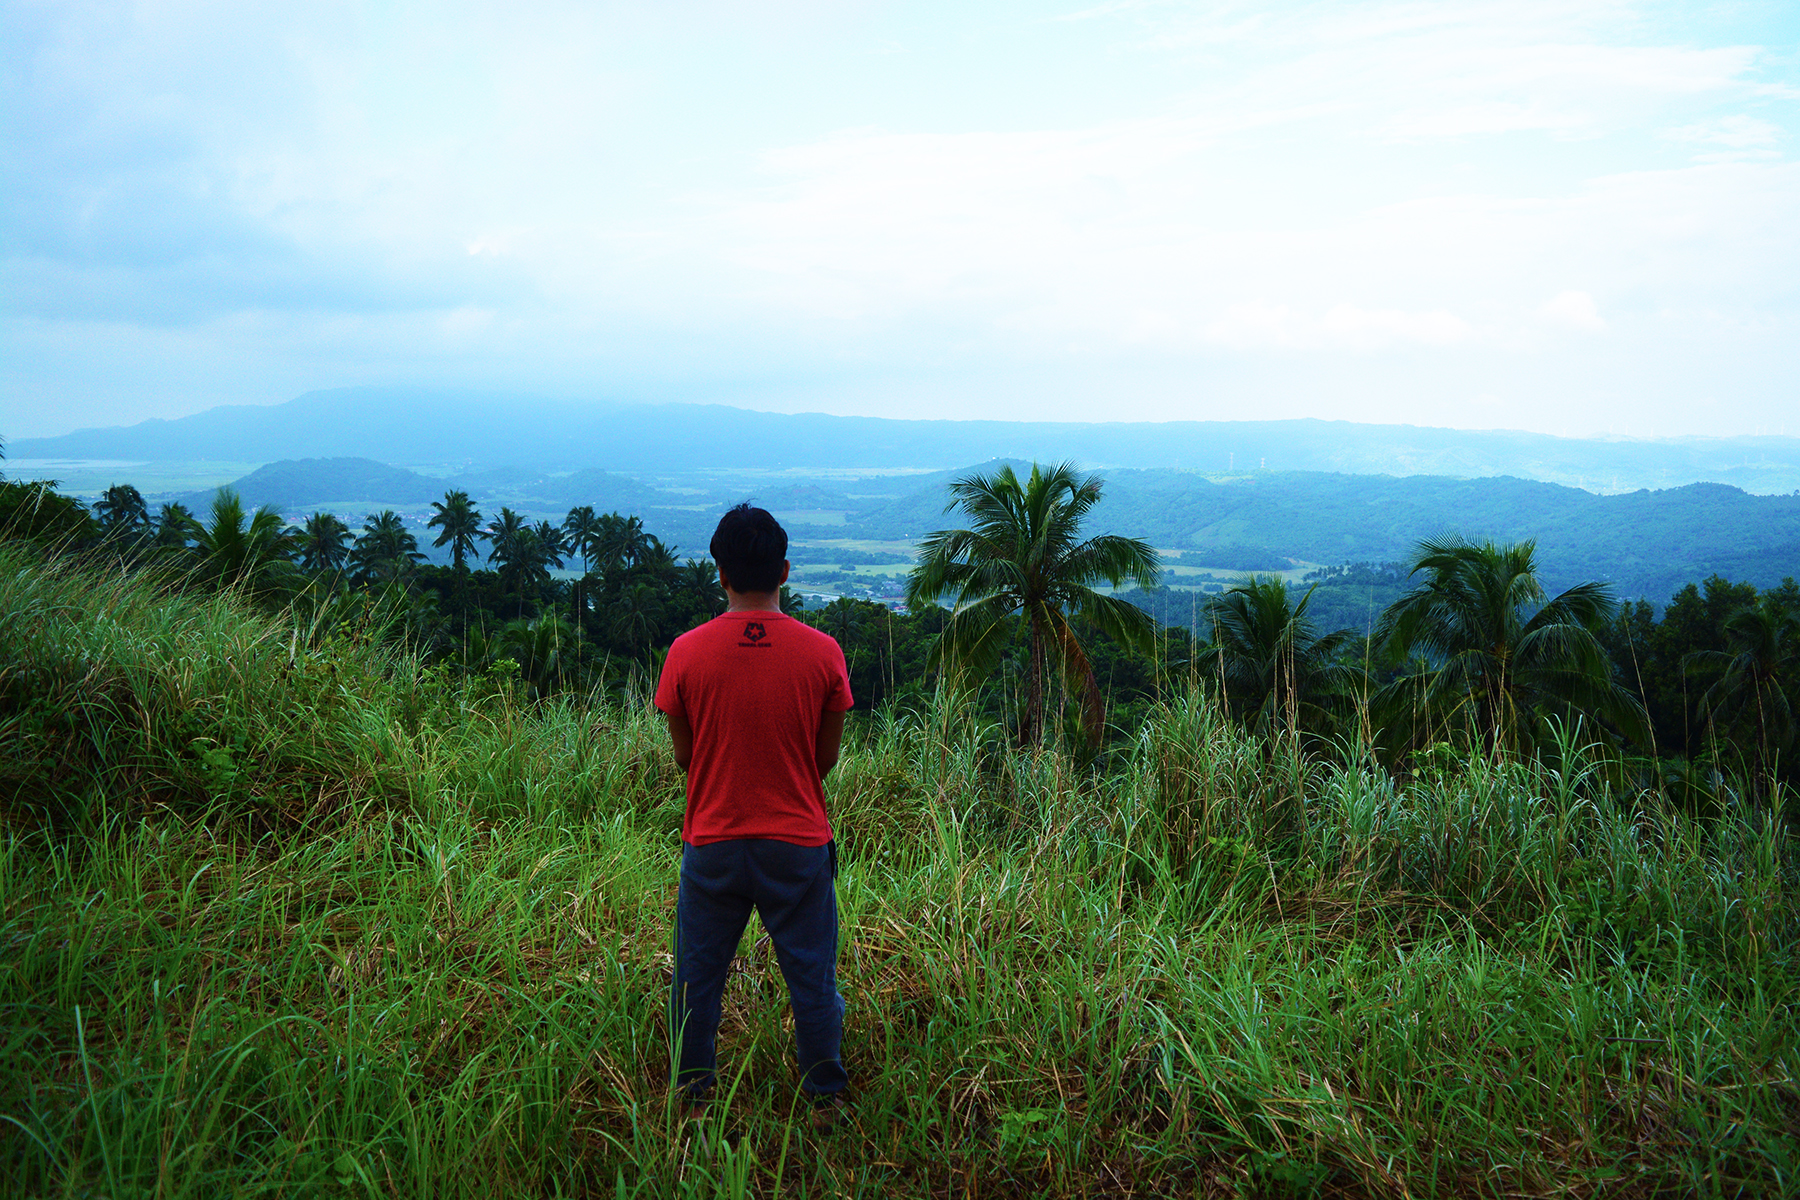
We marveled at the beautiful summit on a windy afternoon. The sun still shone brightly but the scorching heat had already subsided. The summit was small and has a flat surface in the middle that could fit up to three tents. It was perfect I thought. I love that it was surrounded by overgrown bushes. It felt as if we were on top of the world while we stood up there. Mt. Romelo was the tallest of them all despite her being merely a shadow to the mountains of the great Sierra Madre which stood from a near distance.

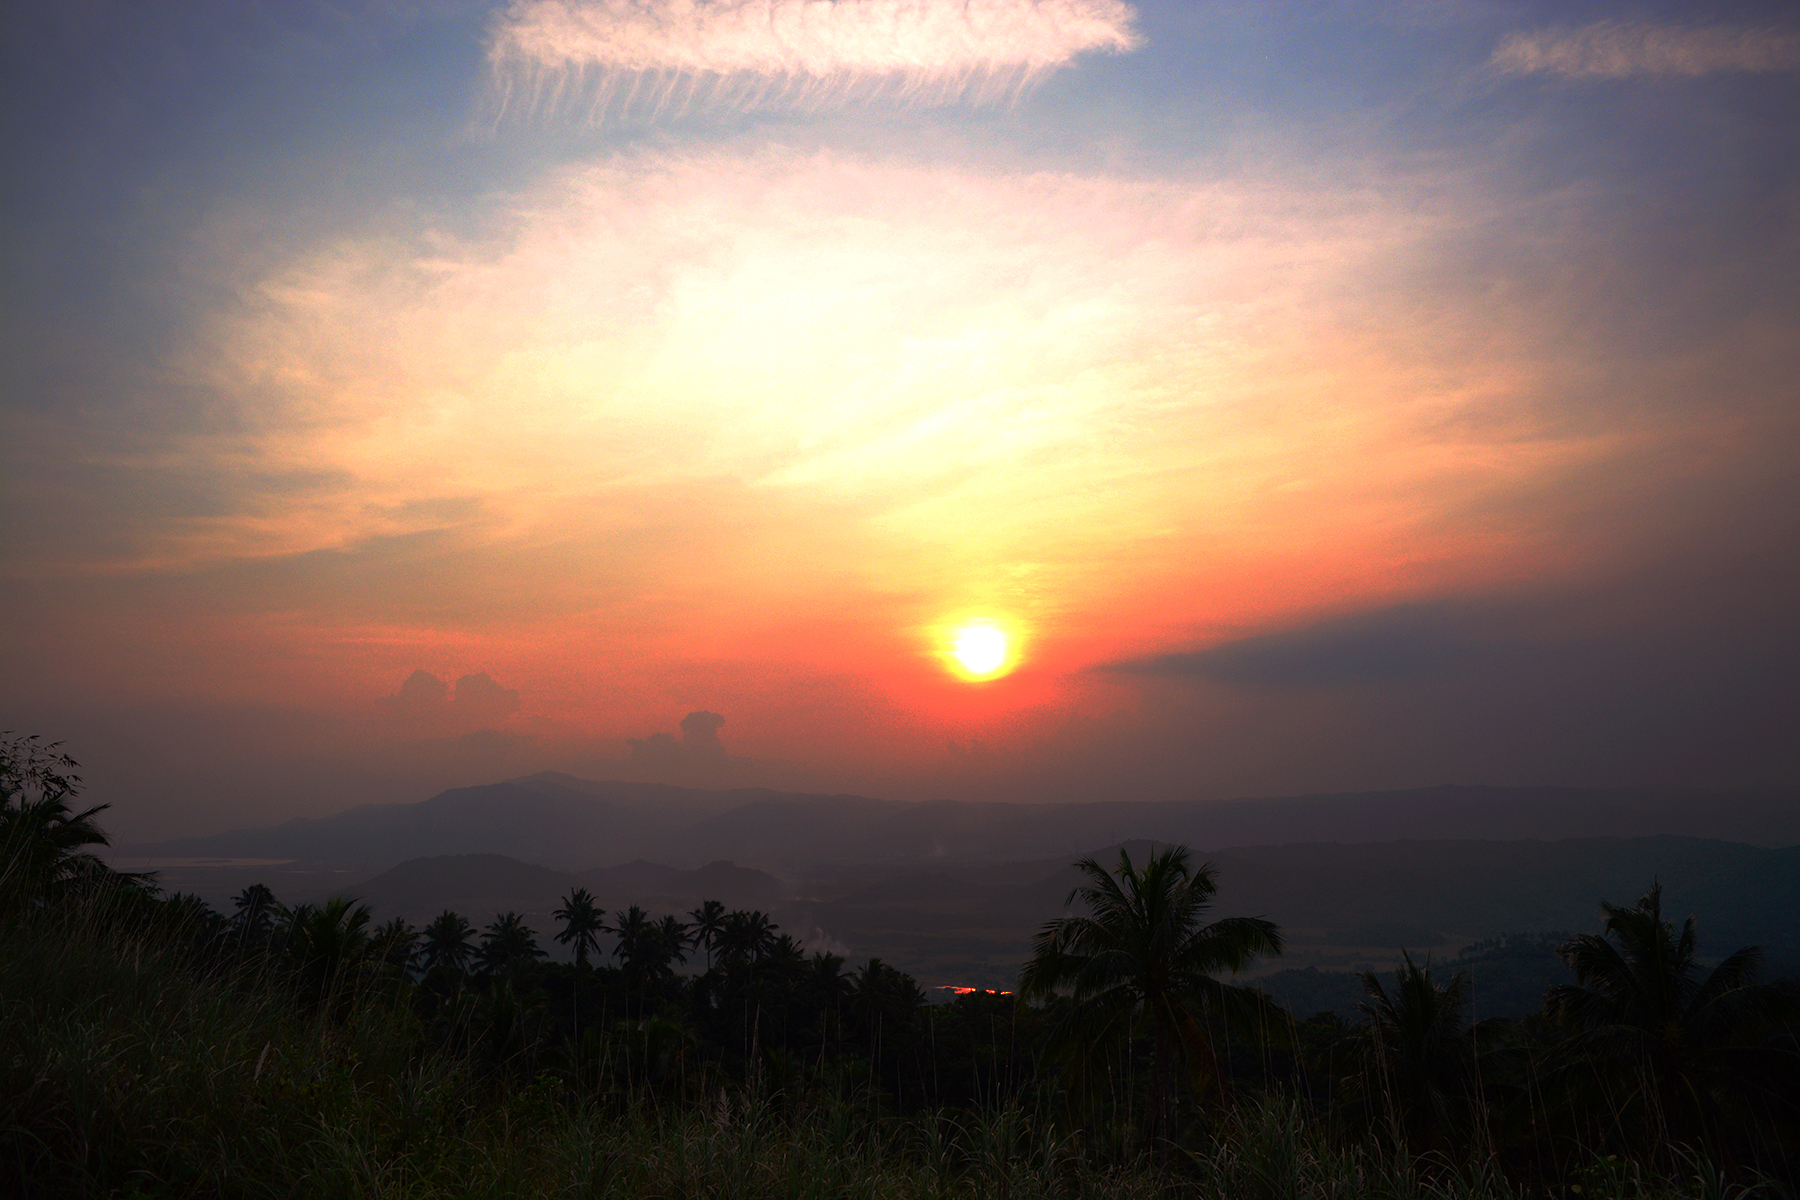
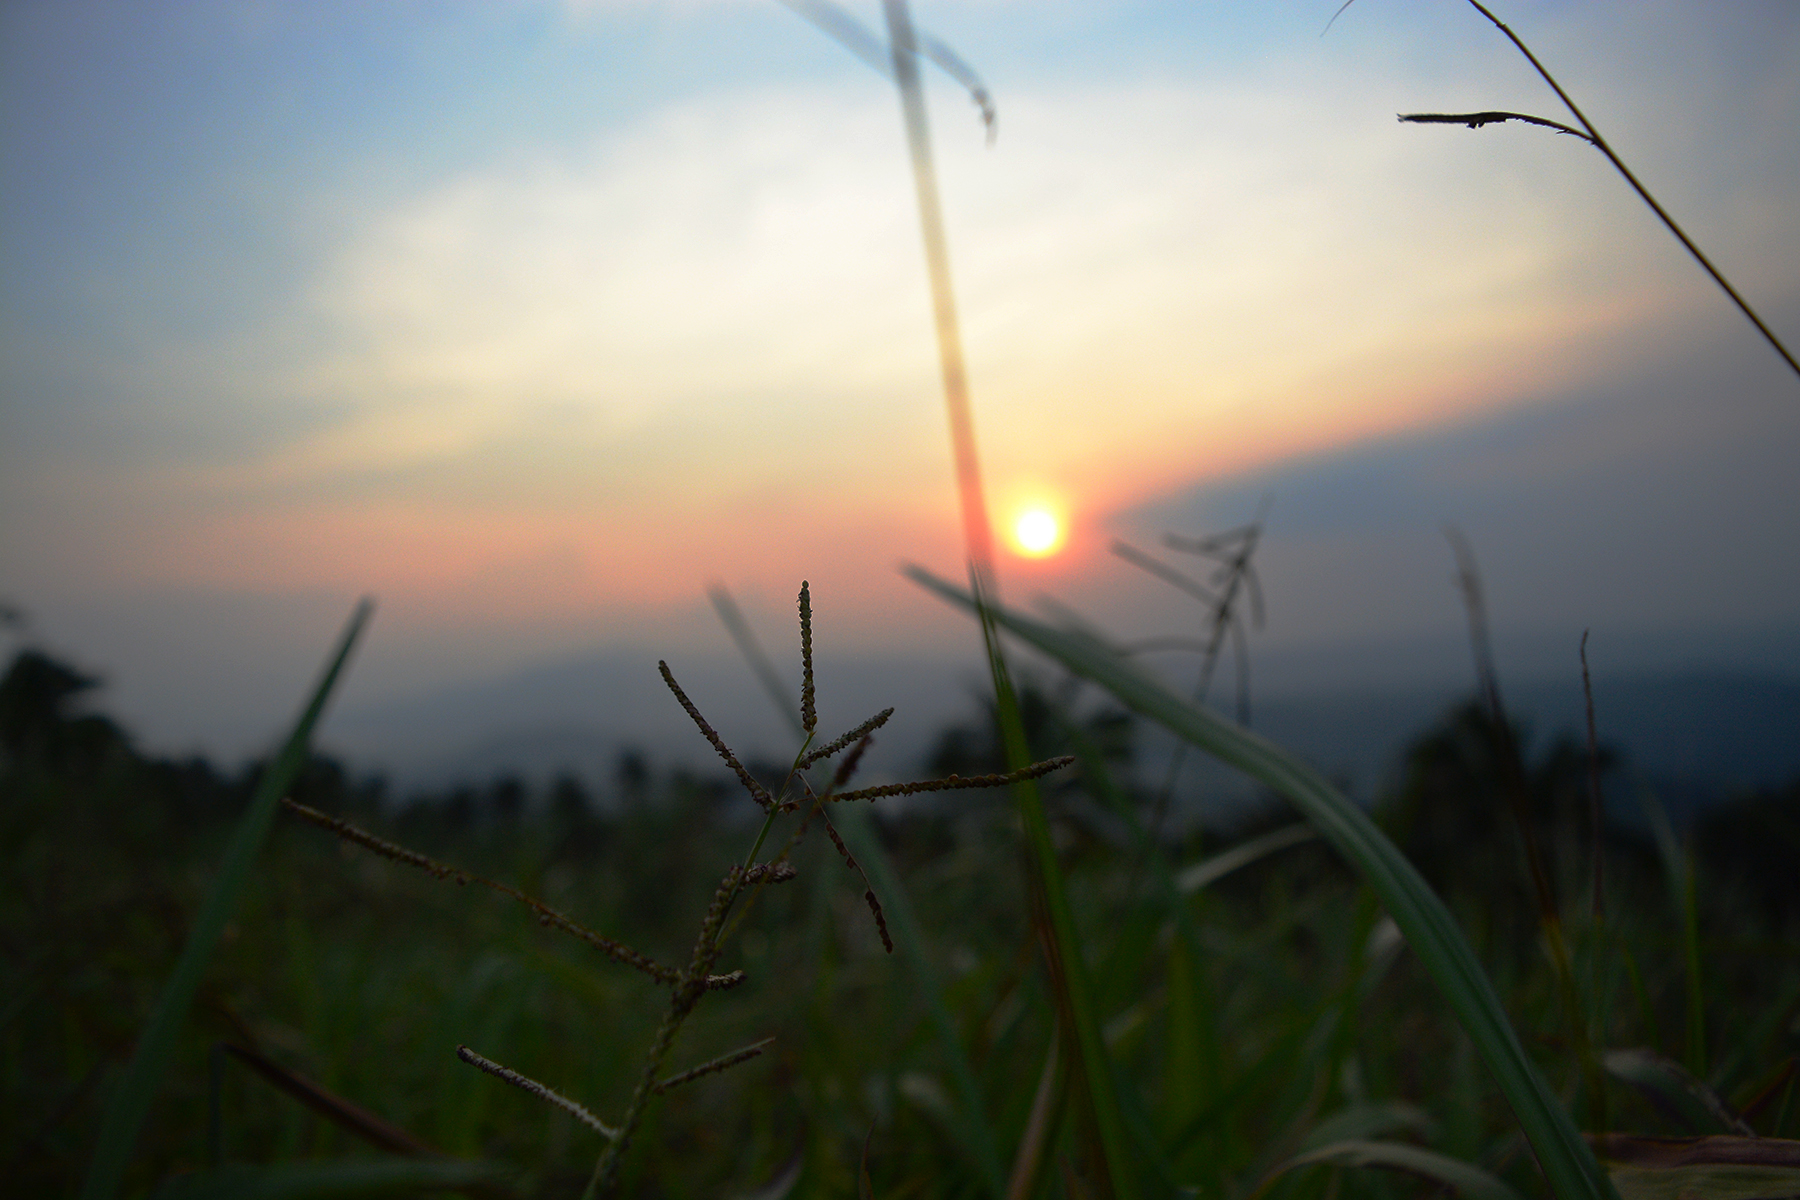
We basked at the spectacular view until the sun finally set leaving the sky in hues of blue and crimson. Then we set up camp and cooked our meals. After dinner, we made sure to clean up since we were up to drinking until the wee hours and we didn’t wanna leave our mess to clean up once we’re drunk. We all knew it was never gonna happen. The rain then came pouring hard at eight and stayed until the morning while we drank and laughed our hearts away until midnight. Two bottles of tequila later, the howling wind slowly lulled four drunken souls to a deep slumber inside the comfort of a Coleman tent.
TREK TO BURUWISAN FALLS
Morning came. And although the downpour lasted the entire night, we were all warm and dry inside our tent. I didn’t get up until it was almost seven. In normal days in the mountains, I would have crawled out of our tent as early as five to witness the sun rise above the dreamy clouds. Given how it rained until daybreak, I doubt the chance of ever witnessing a glorious sea of clouds so I chose to sleep until the tent got unbearably warm.
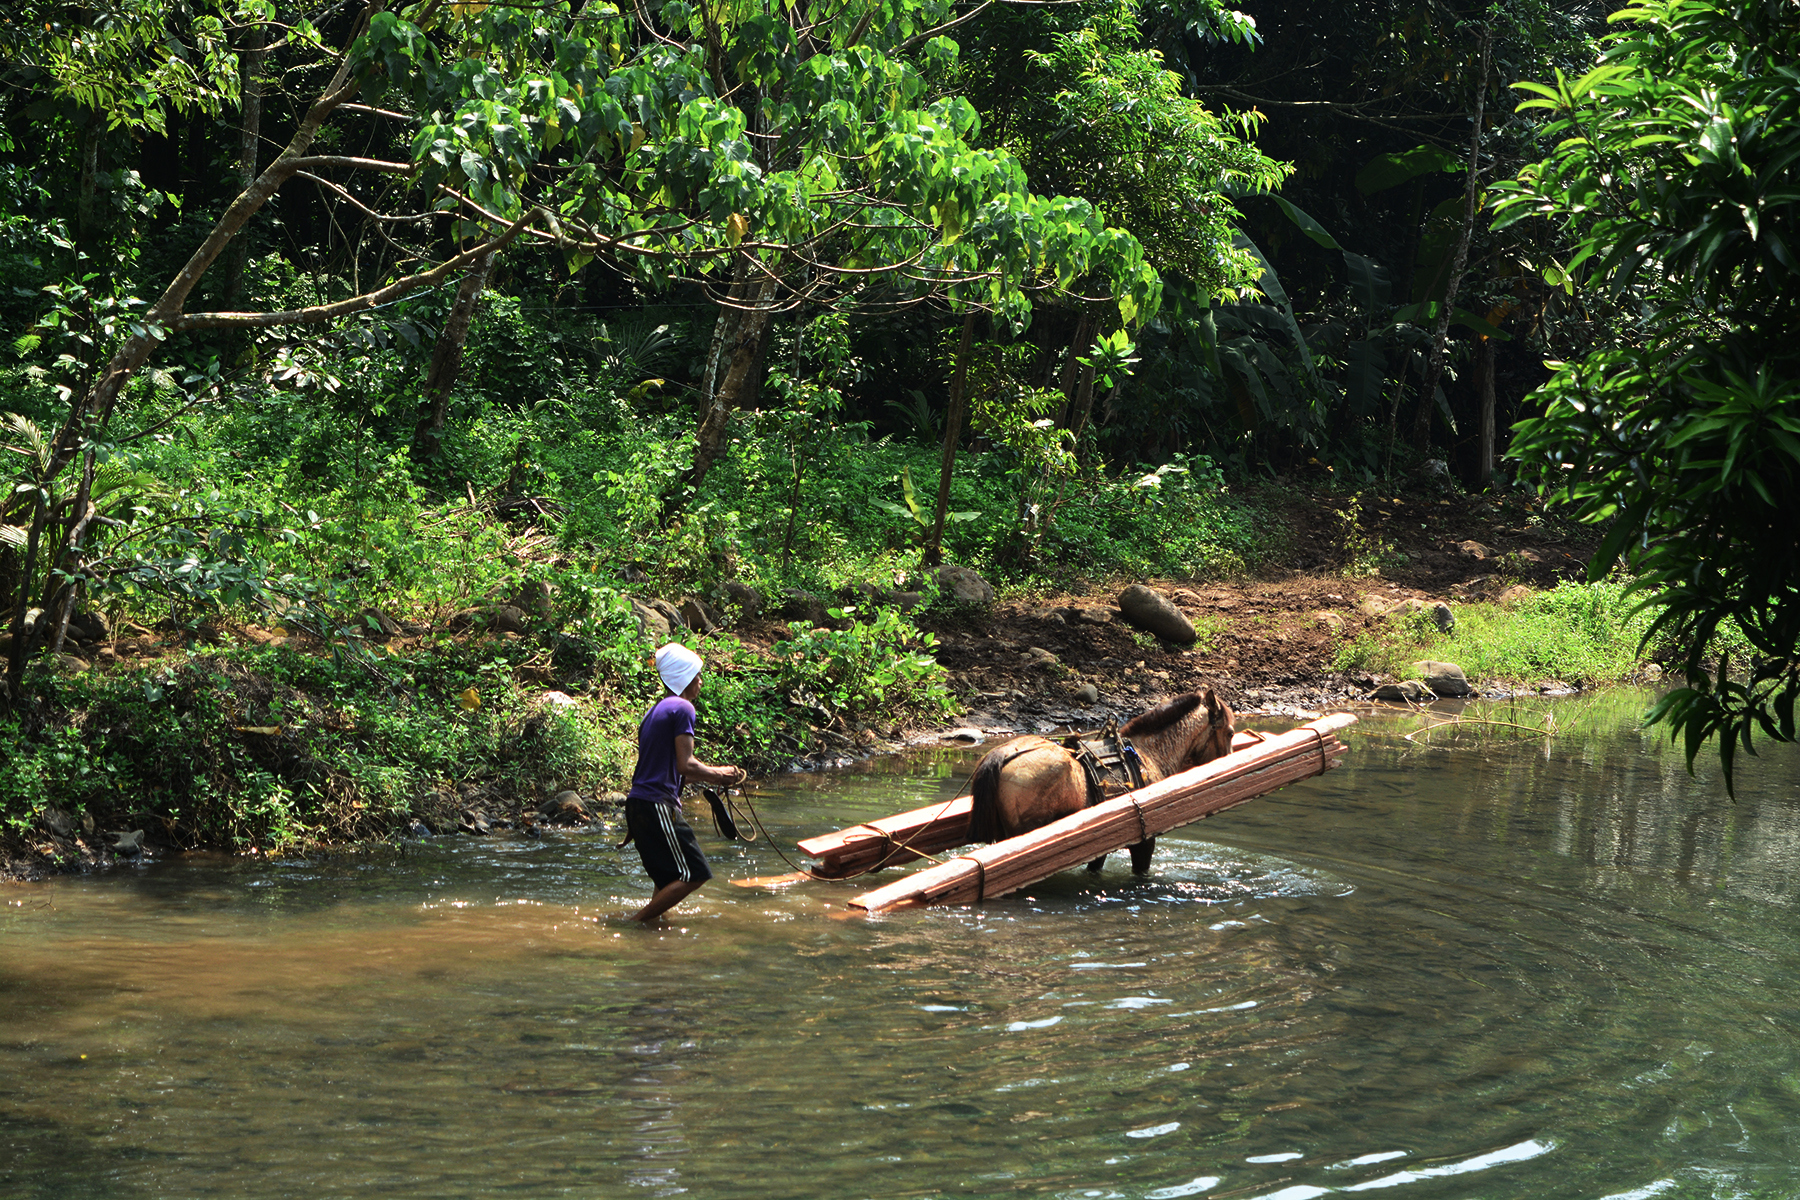
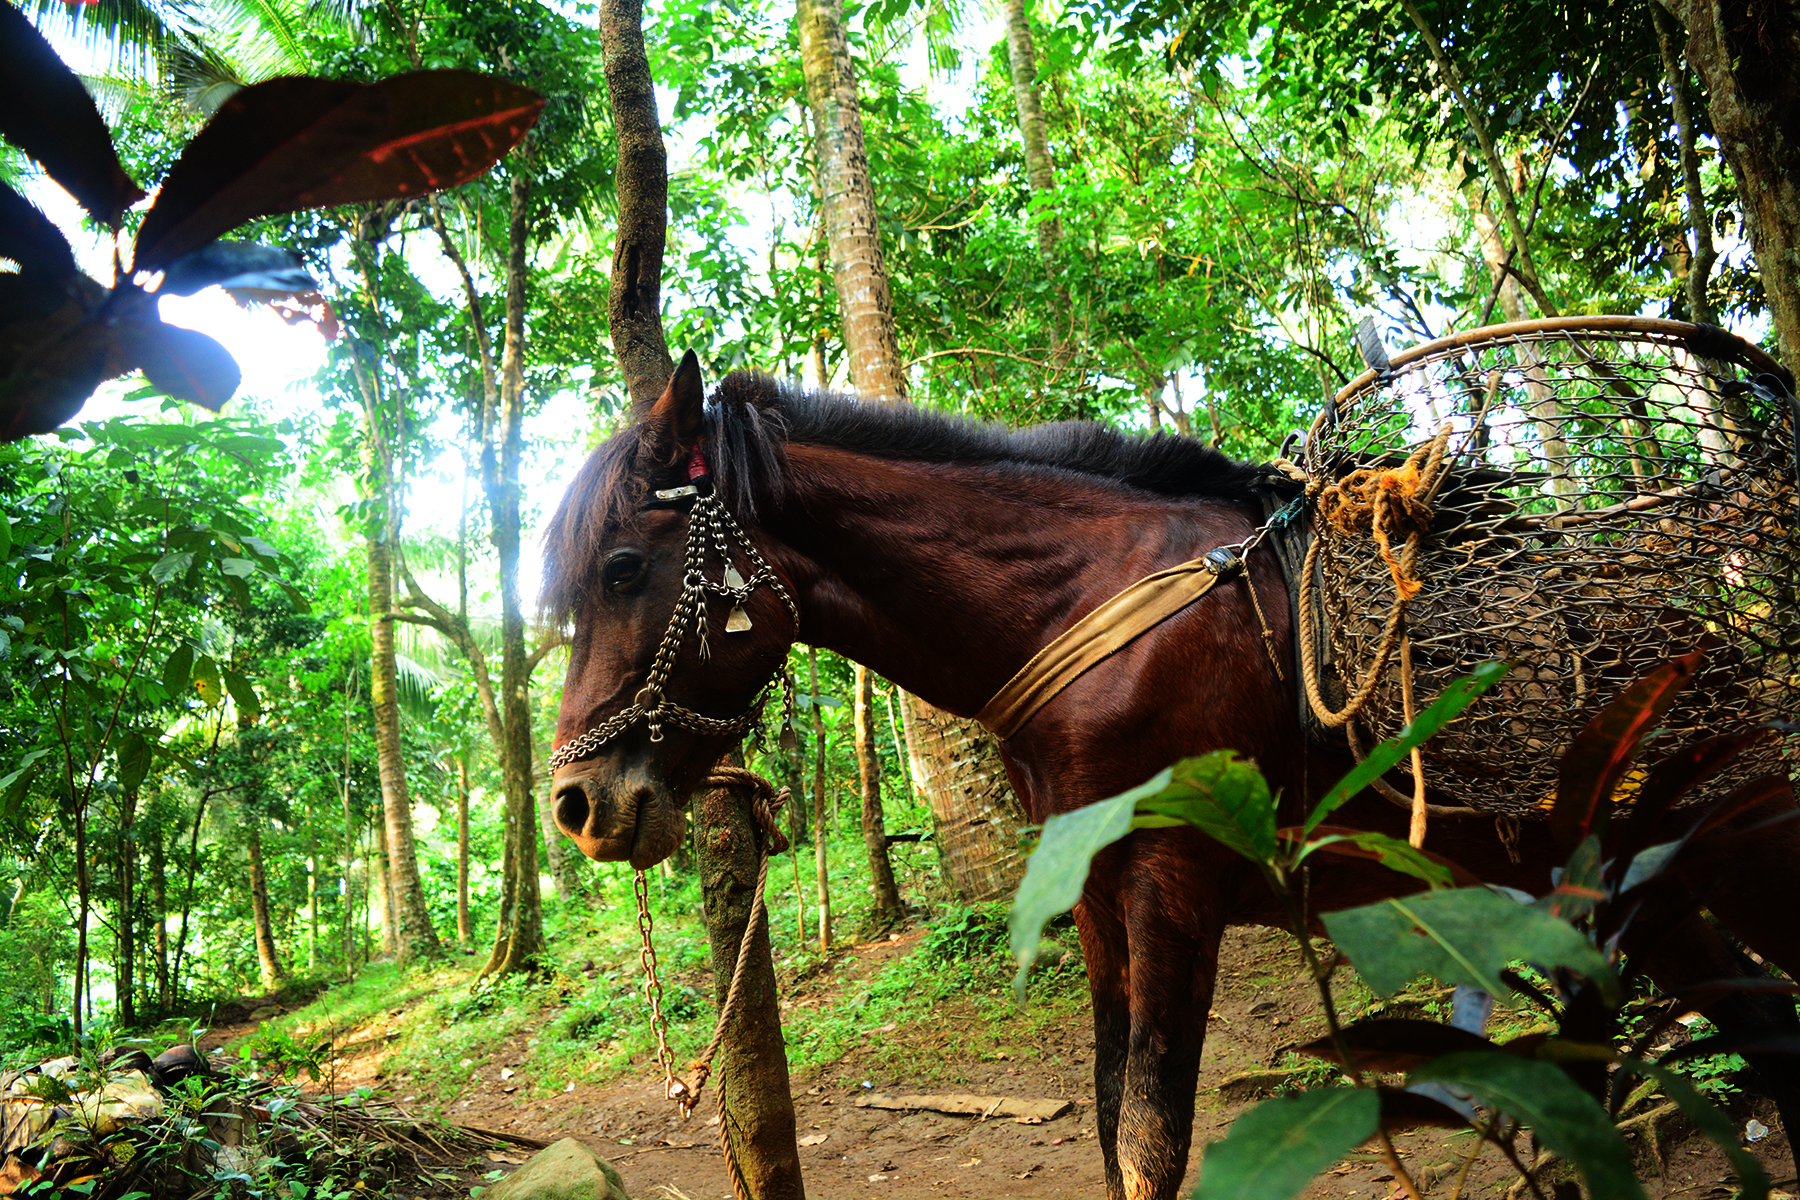
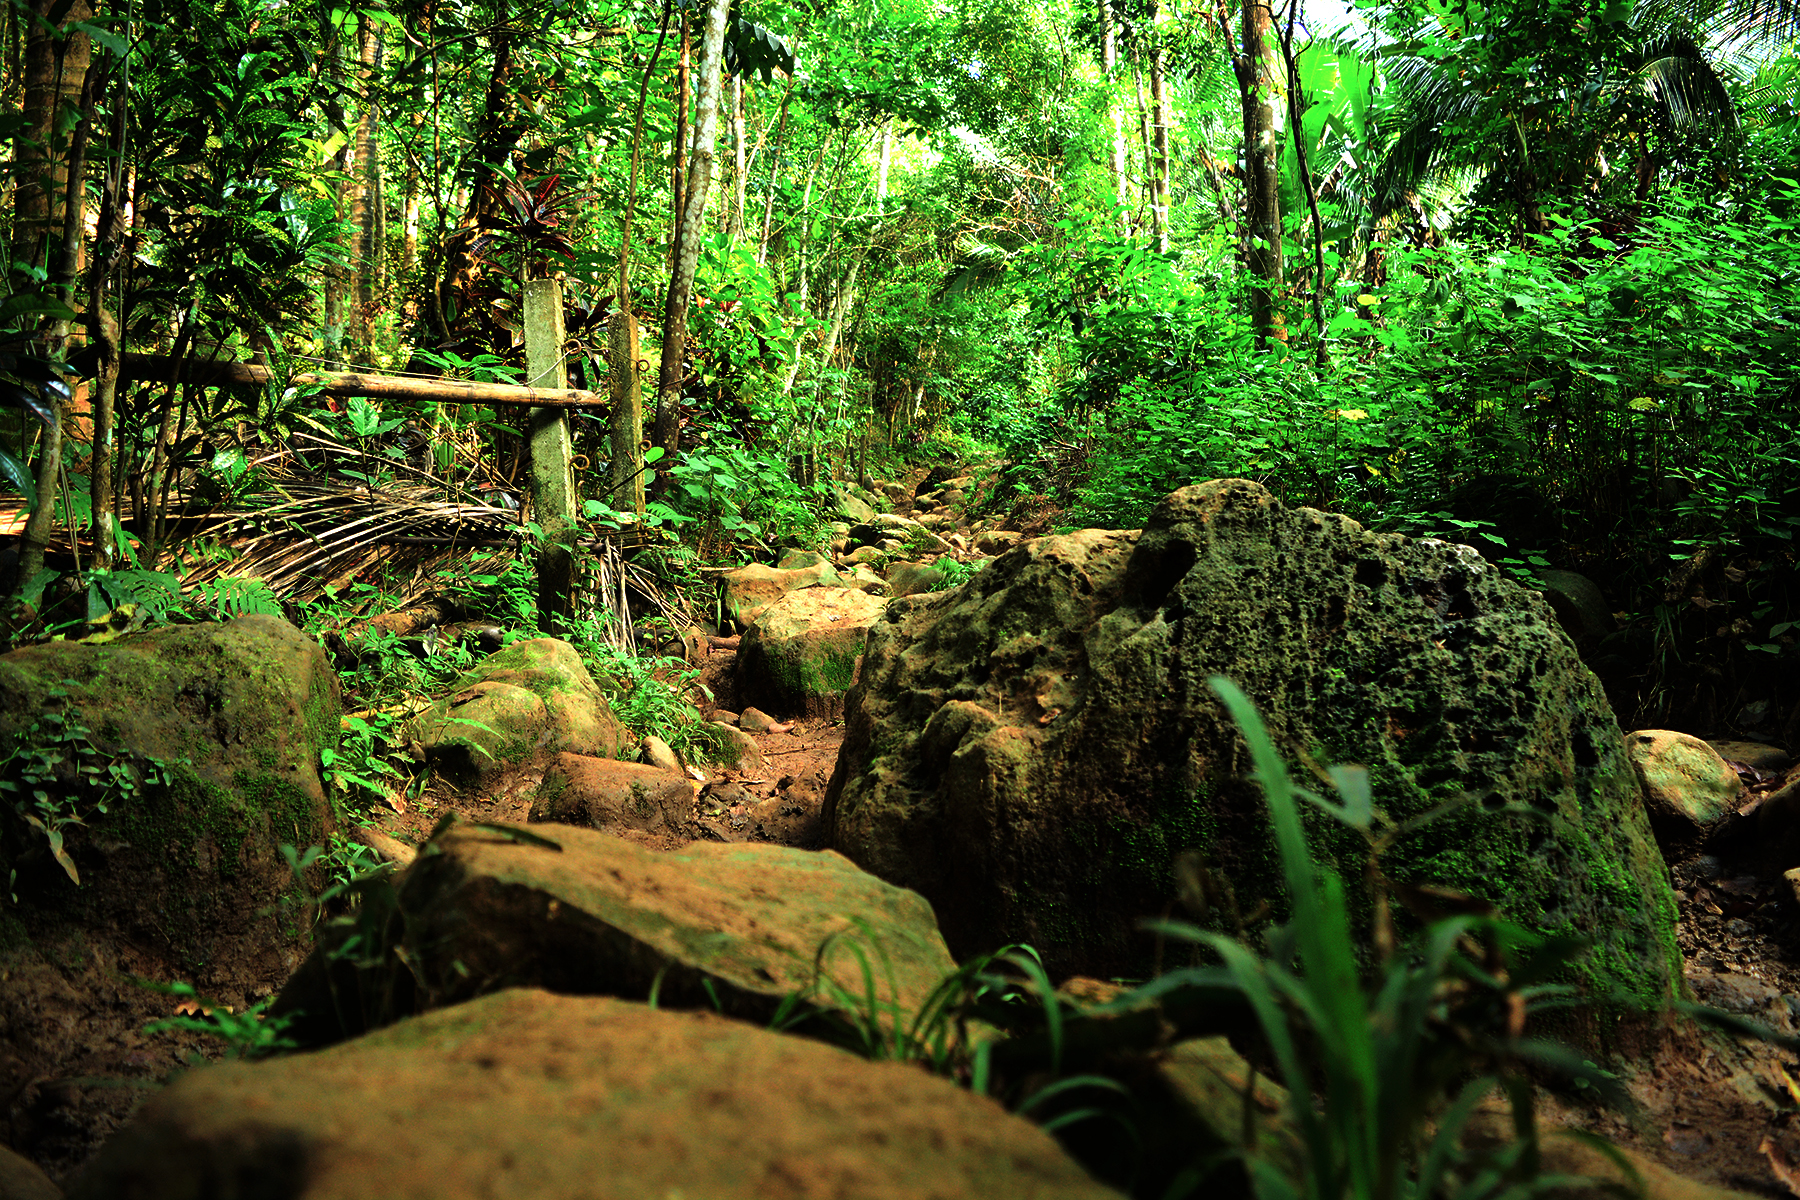
Several hikers came and went as we prepared for that day’s activity. Buruwisan Falls awaited us and no we cannot miss it. Not a chance. So after having breakfast, we immediately broke camp and got our stuff carried down the mountains on a horse leaving us only with our trail snacks, water containers and some valuables. The muddy trek started with a descent to the nearest resting hut from the summit which stretched to about 50-feet. Reaching the hut, we rested a bit then went on to take the challenge of trekking to Buruwisan Falls.
The next series of events were pure torture. From the hut, the trail was a total wreck. Muddy was an understatement! It was dripping wet that we were more like crossing a river except that instead of gushing water, we were crossing over endless puddles of mud. The descent wasn’t too steep but it was slippery enough to consider it treacherous. From the hut the descent stretched to about 100-feet leading to a flat yet still slippery trail which stretched to another 100-feet. The cycle of slippery descent and crossing over puddles of mud went on for another forty five minutes until we reached another resting hut. There we took a 15-minute breather.
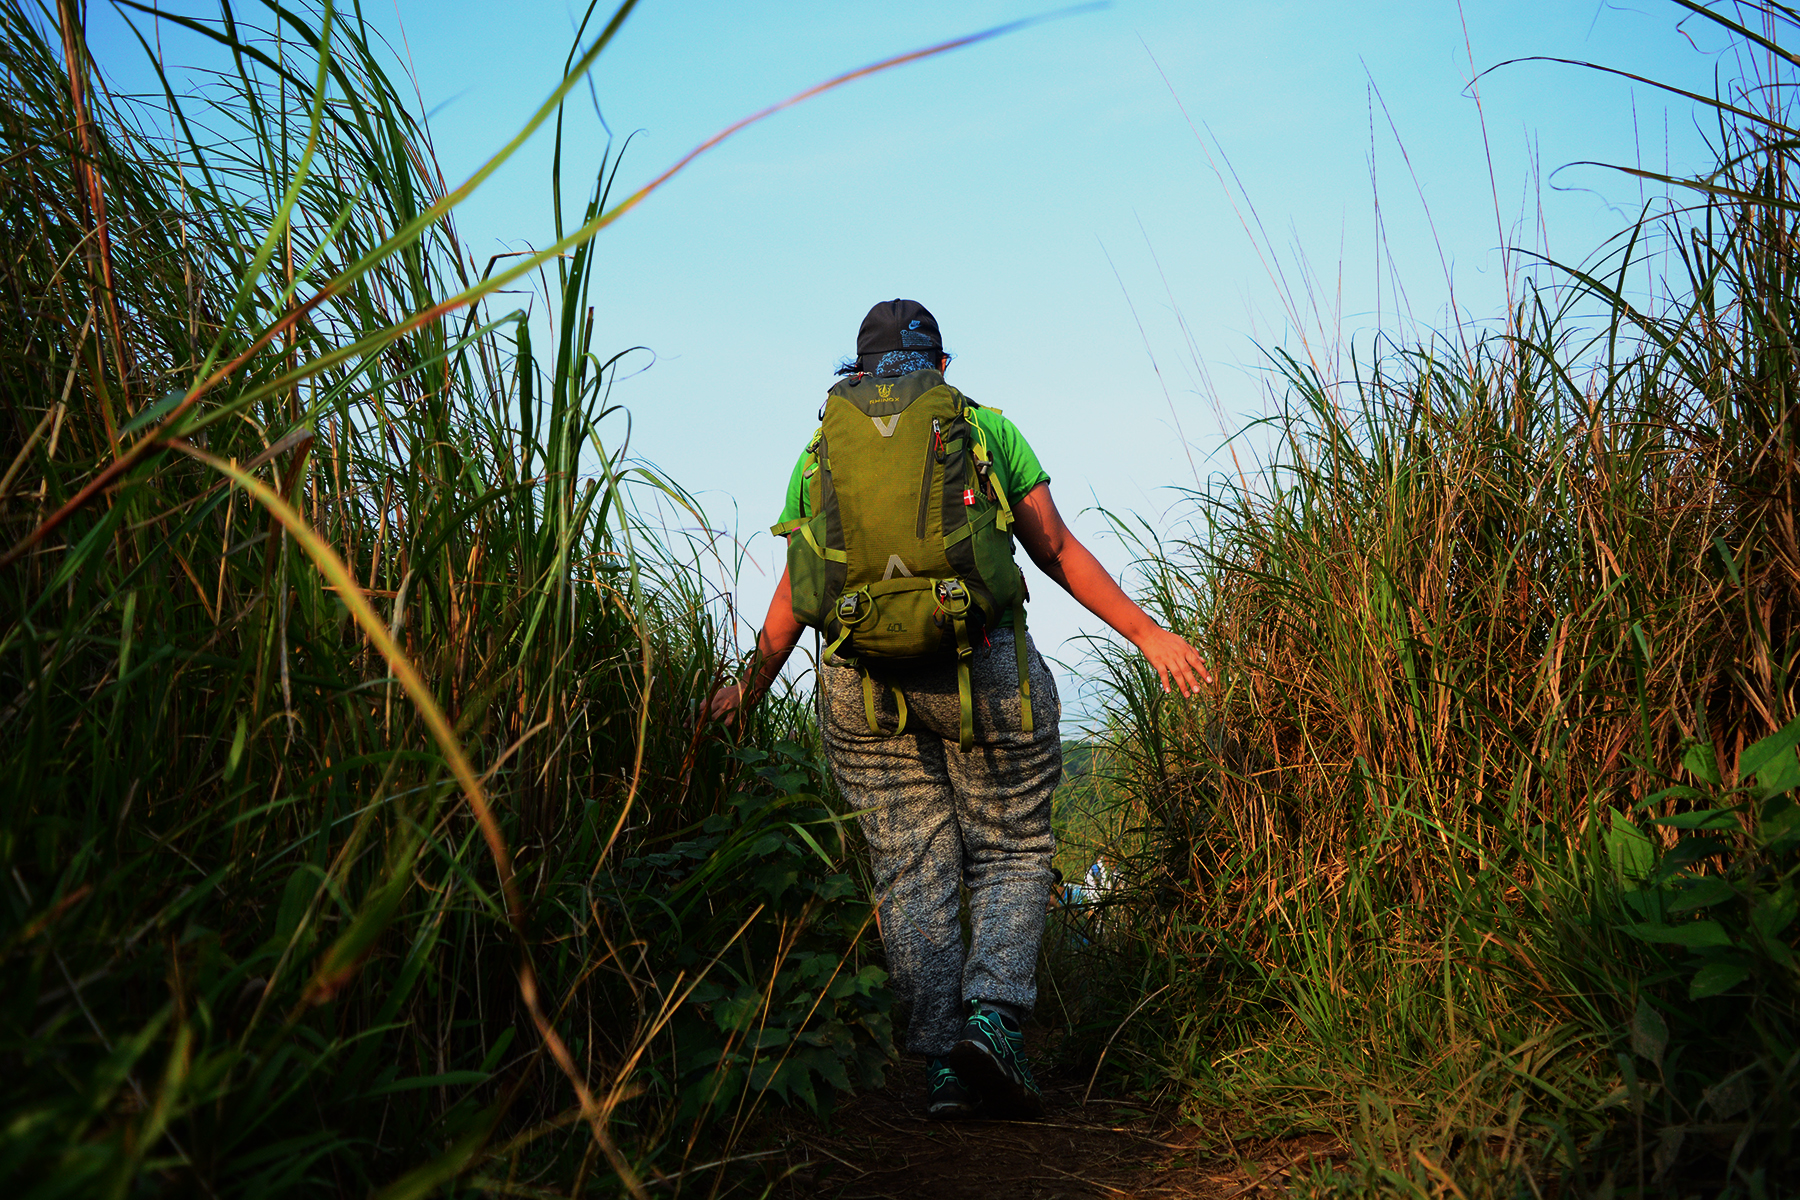
Buruwisan Falls was still way far ahead that we needed more strength to endure the hike. When everyone was well rested, we took off to get to another resting hut atop the hills. We didn’t take the usual trail since we were warned it was a hell full of mud. We ascended the hills instead. I reckon right there and then that it wasn’t the normal trail hikers take since there was no definite trail and we were just blindly following our guide’s lead. The trail was an ascent all the way through to the resting hut. It was too steep but the overgrown bushes helped us in our ascent. It stretched to about 100-feet of pure assault which took us 10-15 minutes to finish.
From the hut, we trekked for another thirty minutes along a muddy path, passing by another resting hut until we reached the final descent to the campsite. The descent was along a rugged path that stretched to about 50-feet of boulders piled together to form a natural stairway. It was wet and slippery that I had to be very careful with going down. After two minutes, I finally reached the campsite. From where I was, I could already hear the gushing of the waterfalls. It was such a sweet melody. I settled and sip coffee while I waited for the others to arrive.
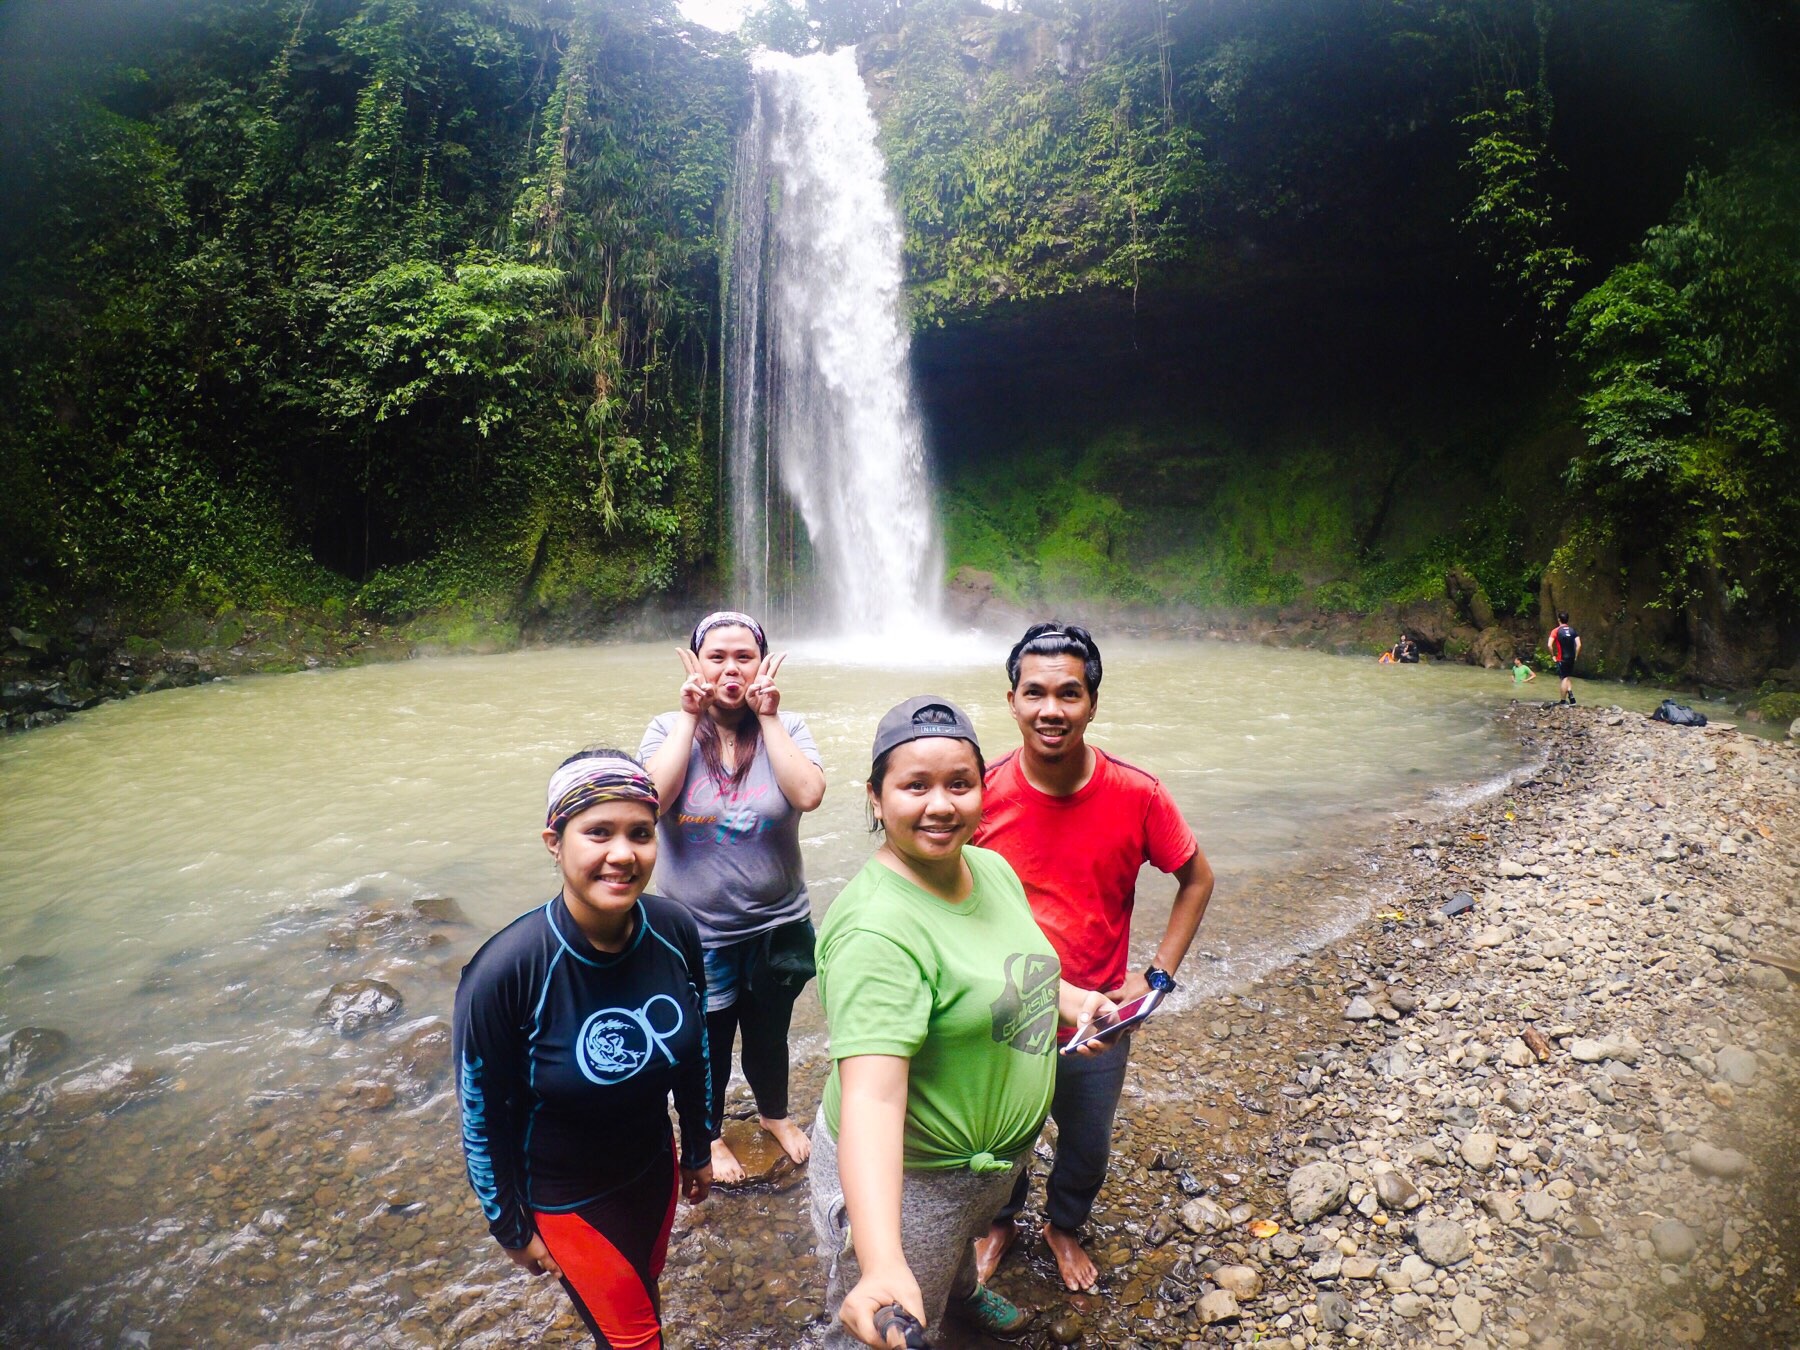
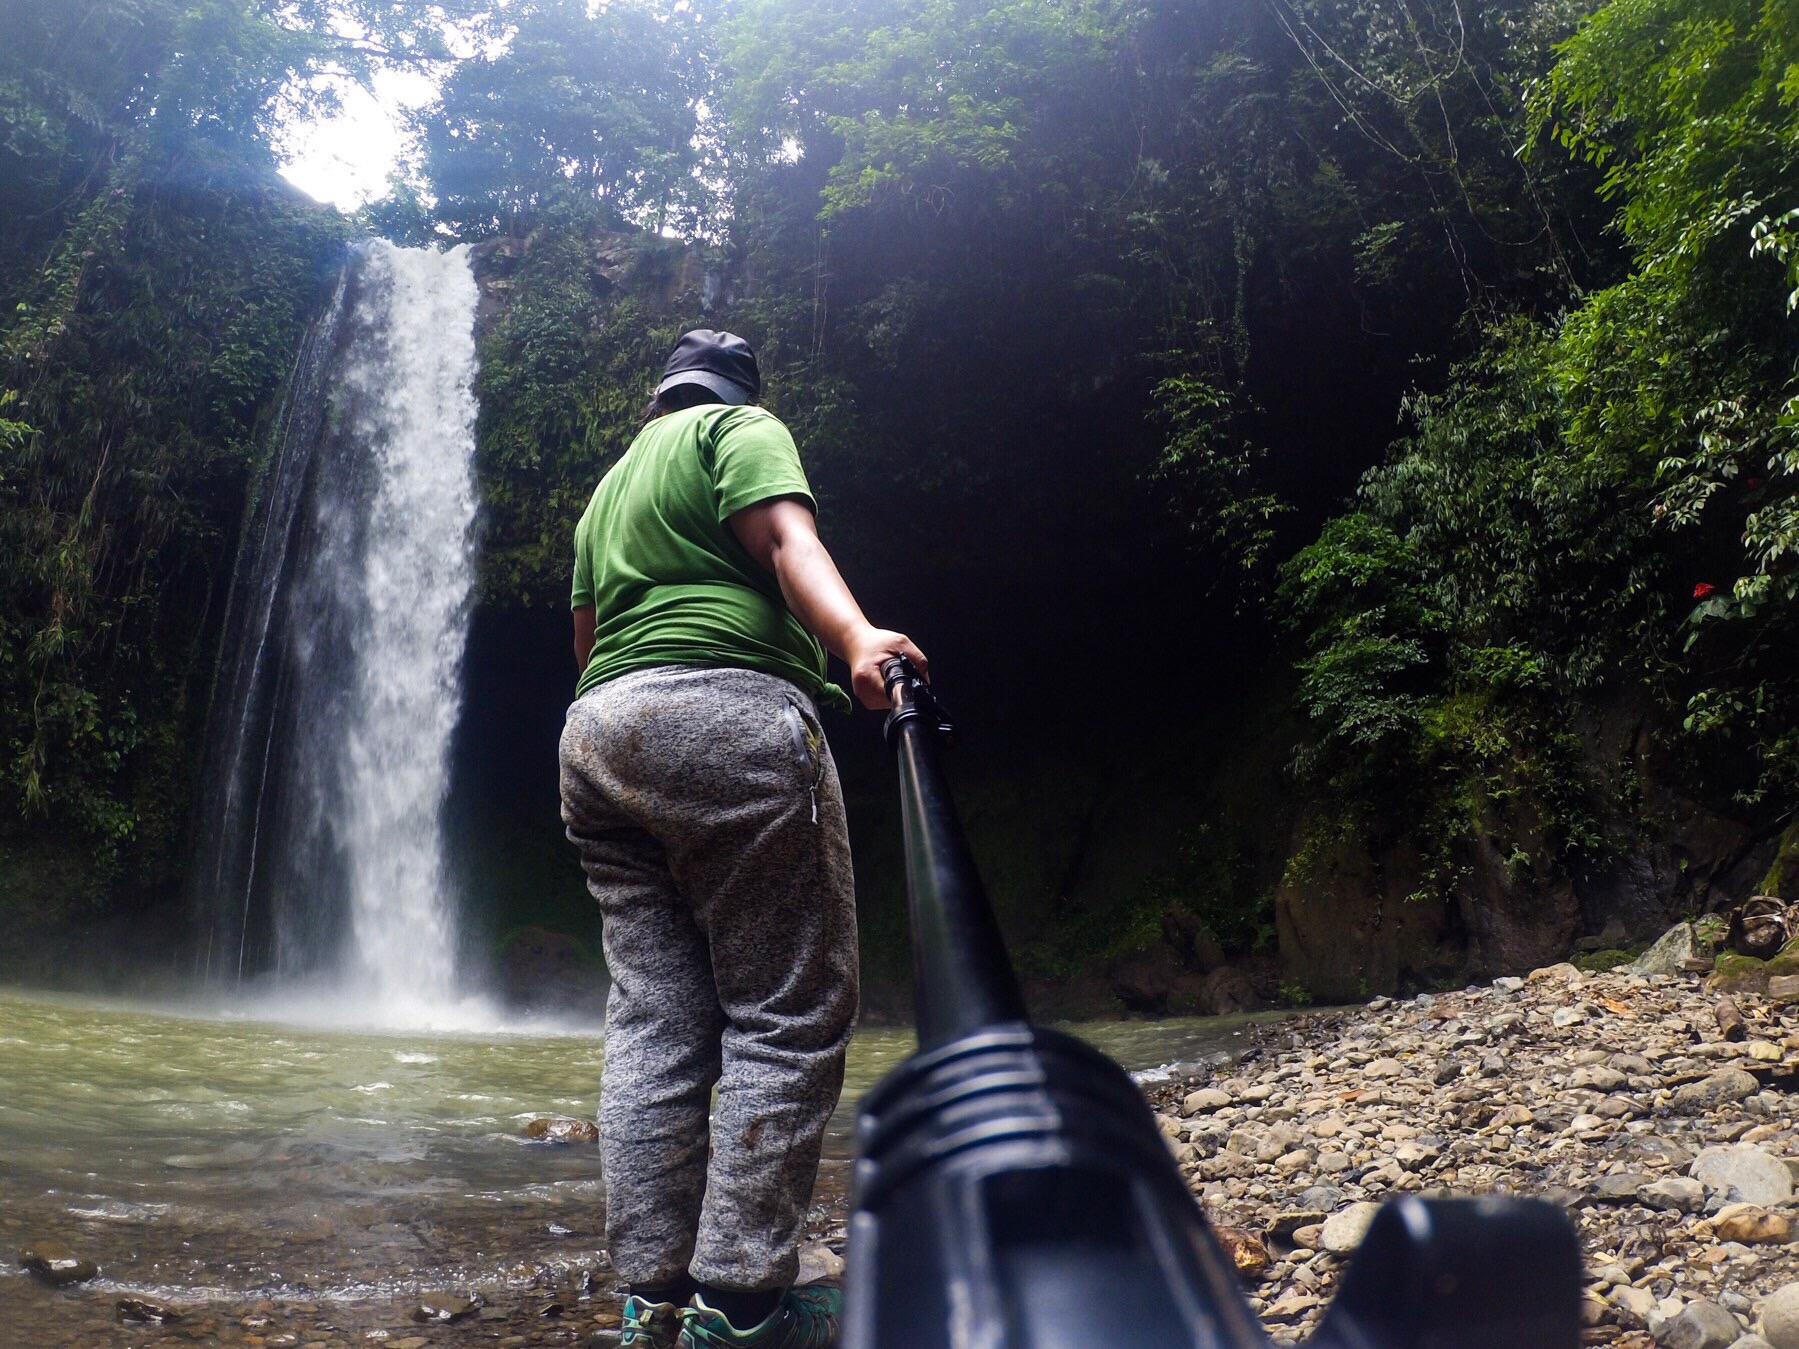
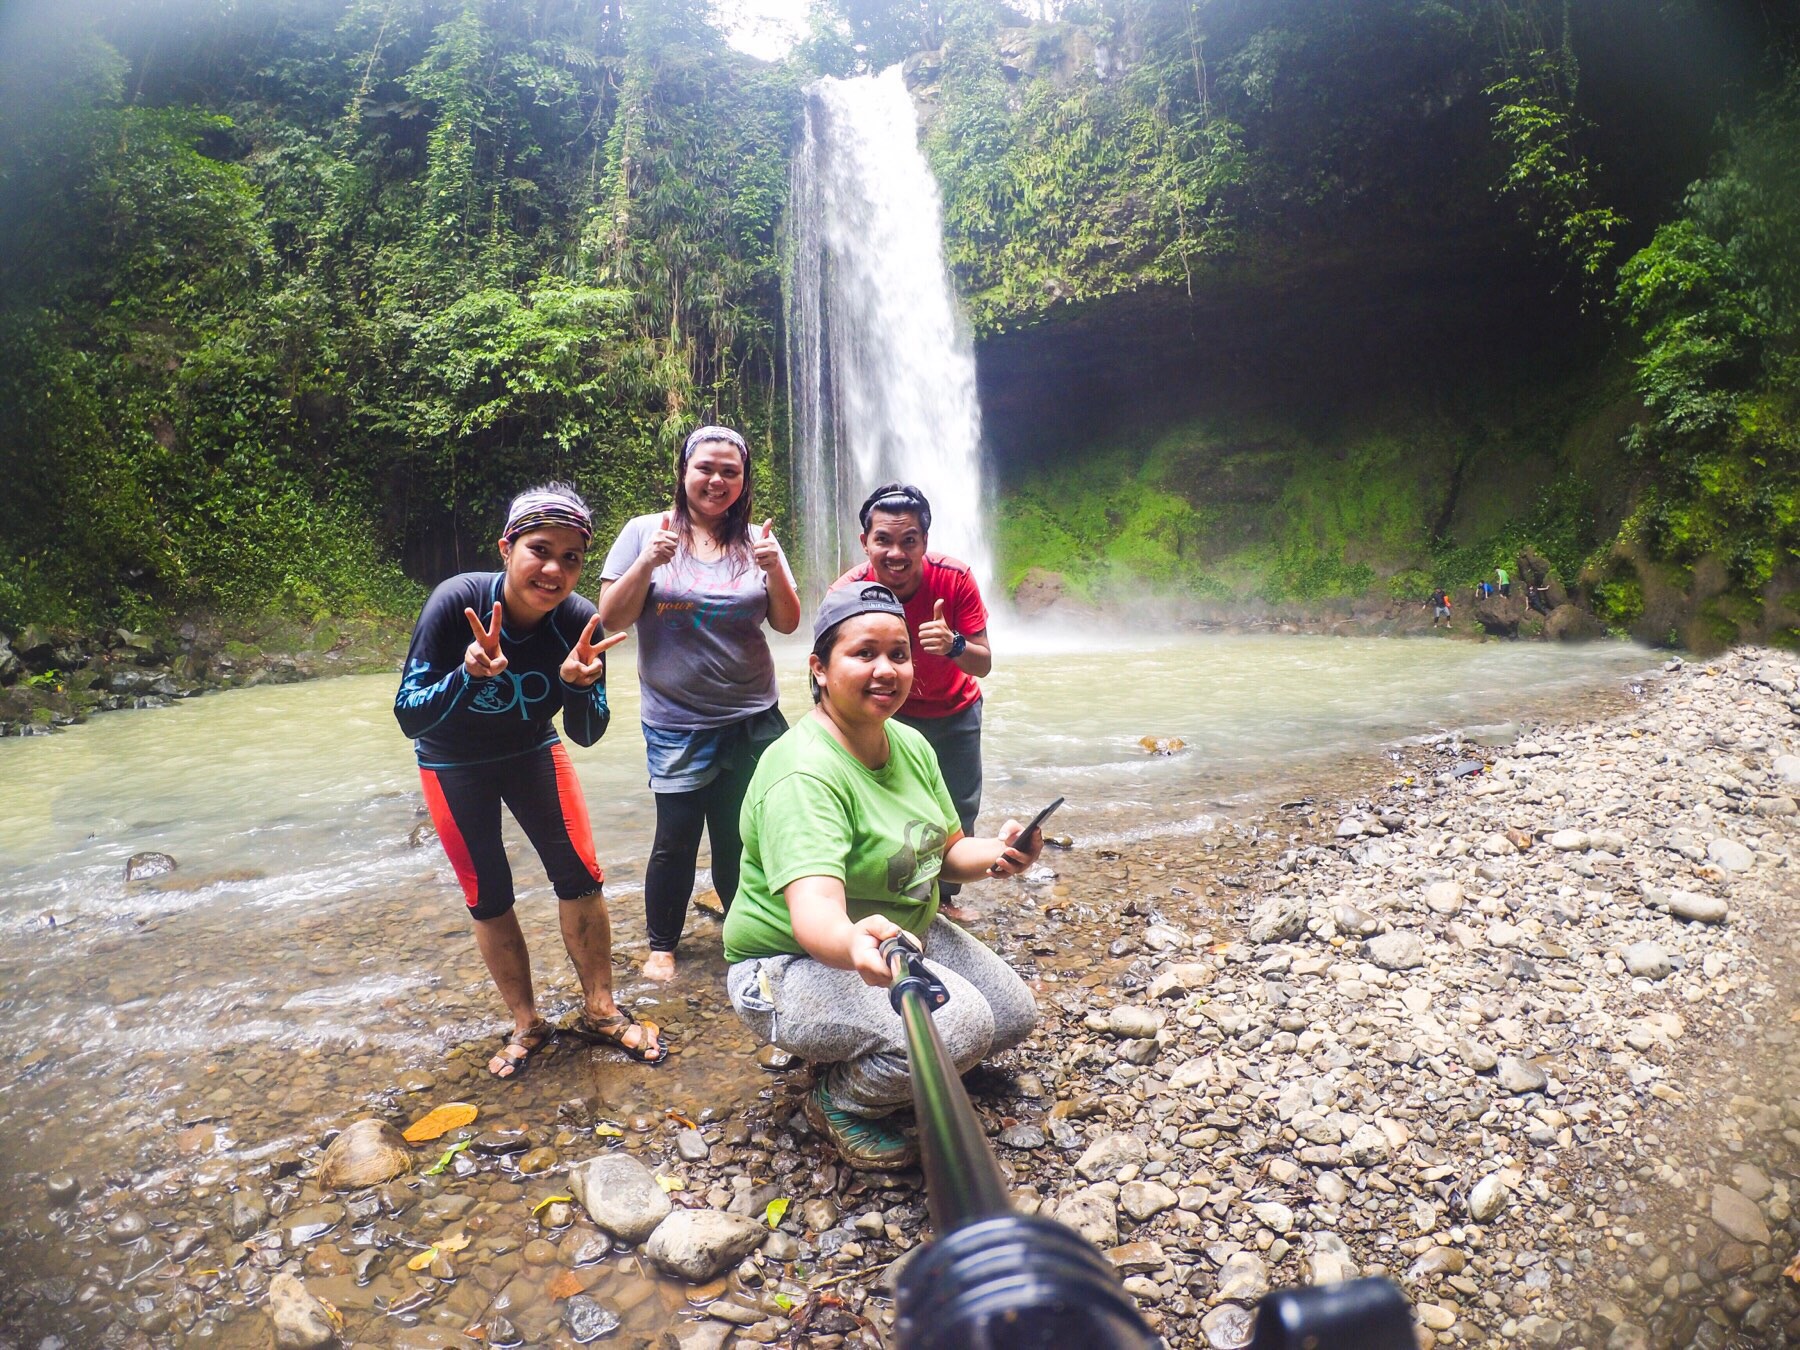
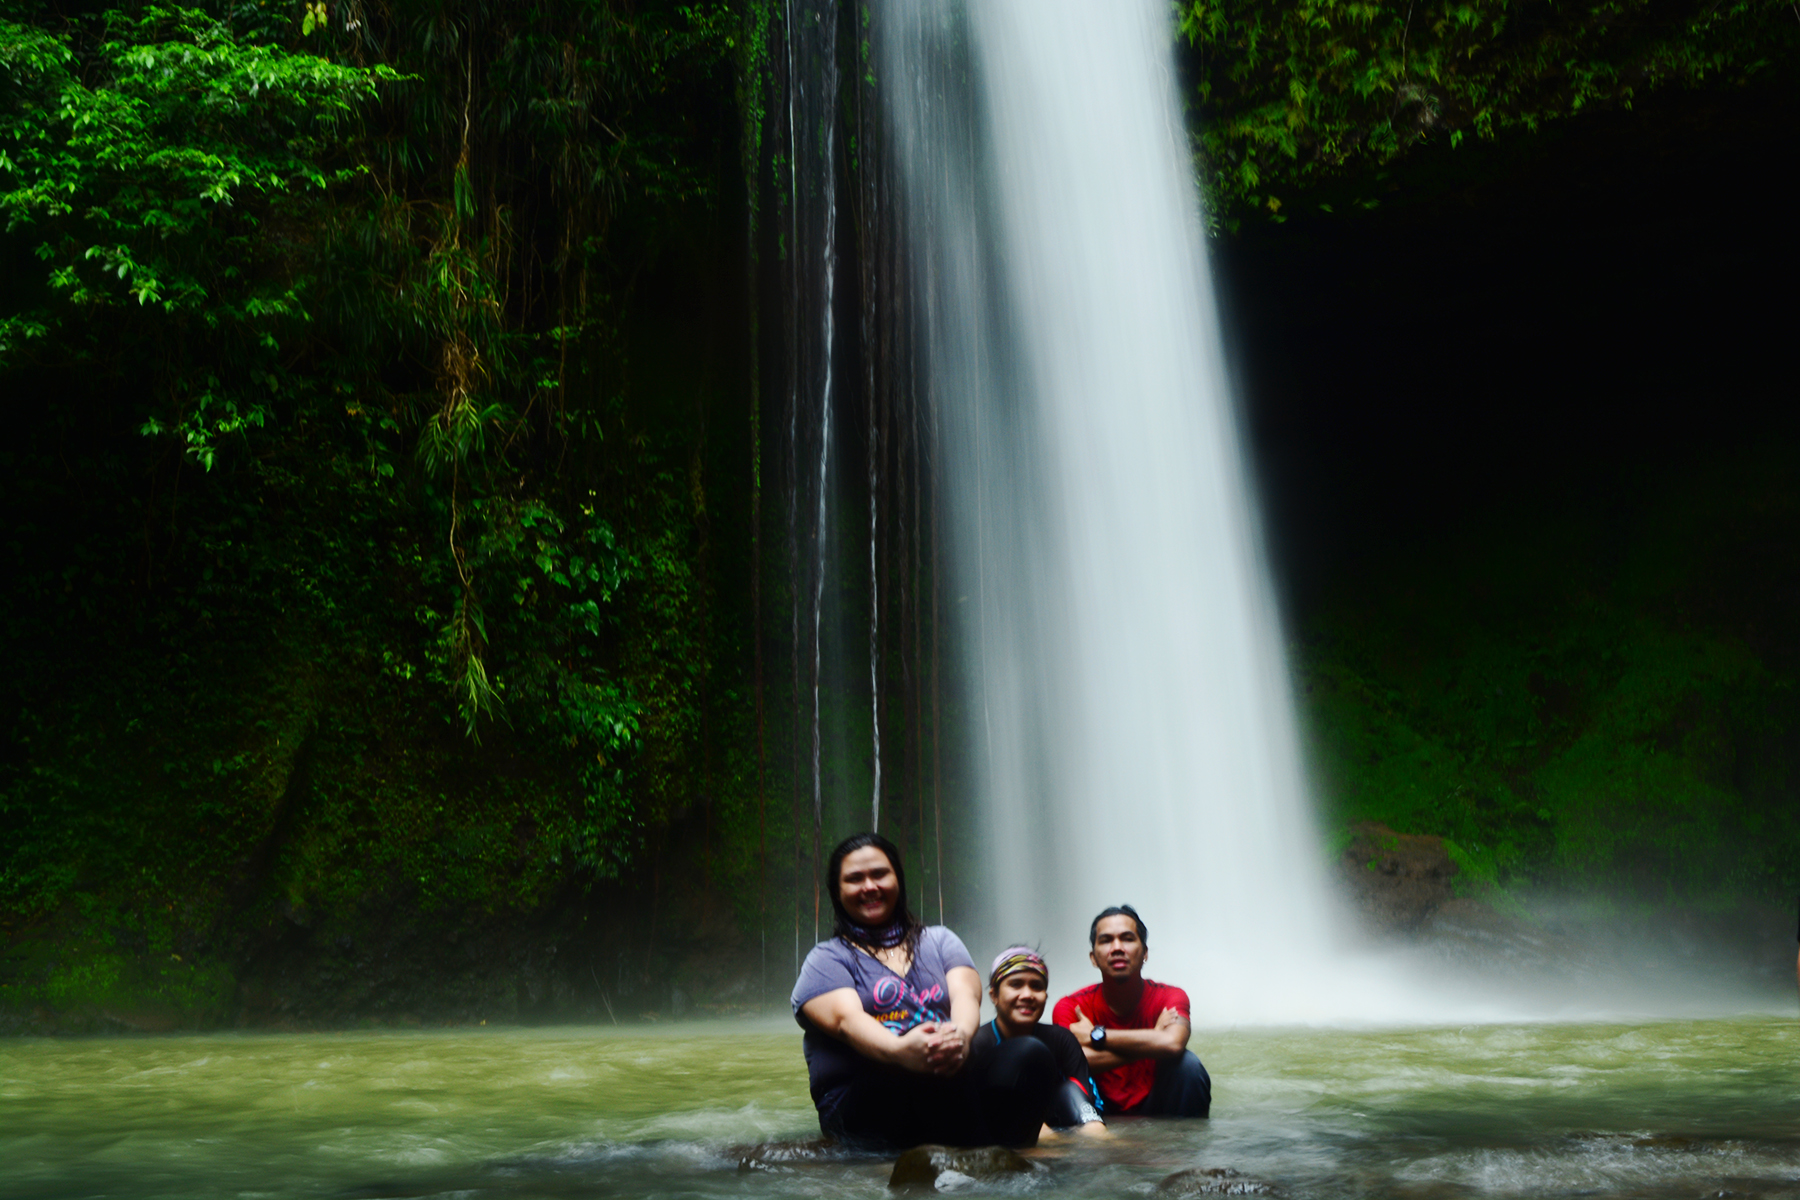
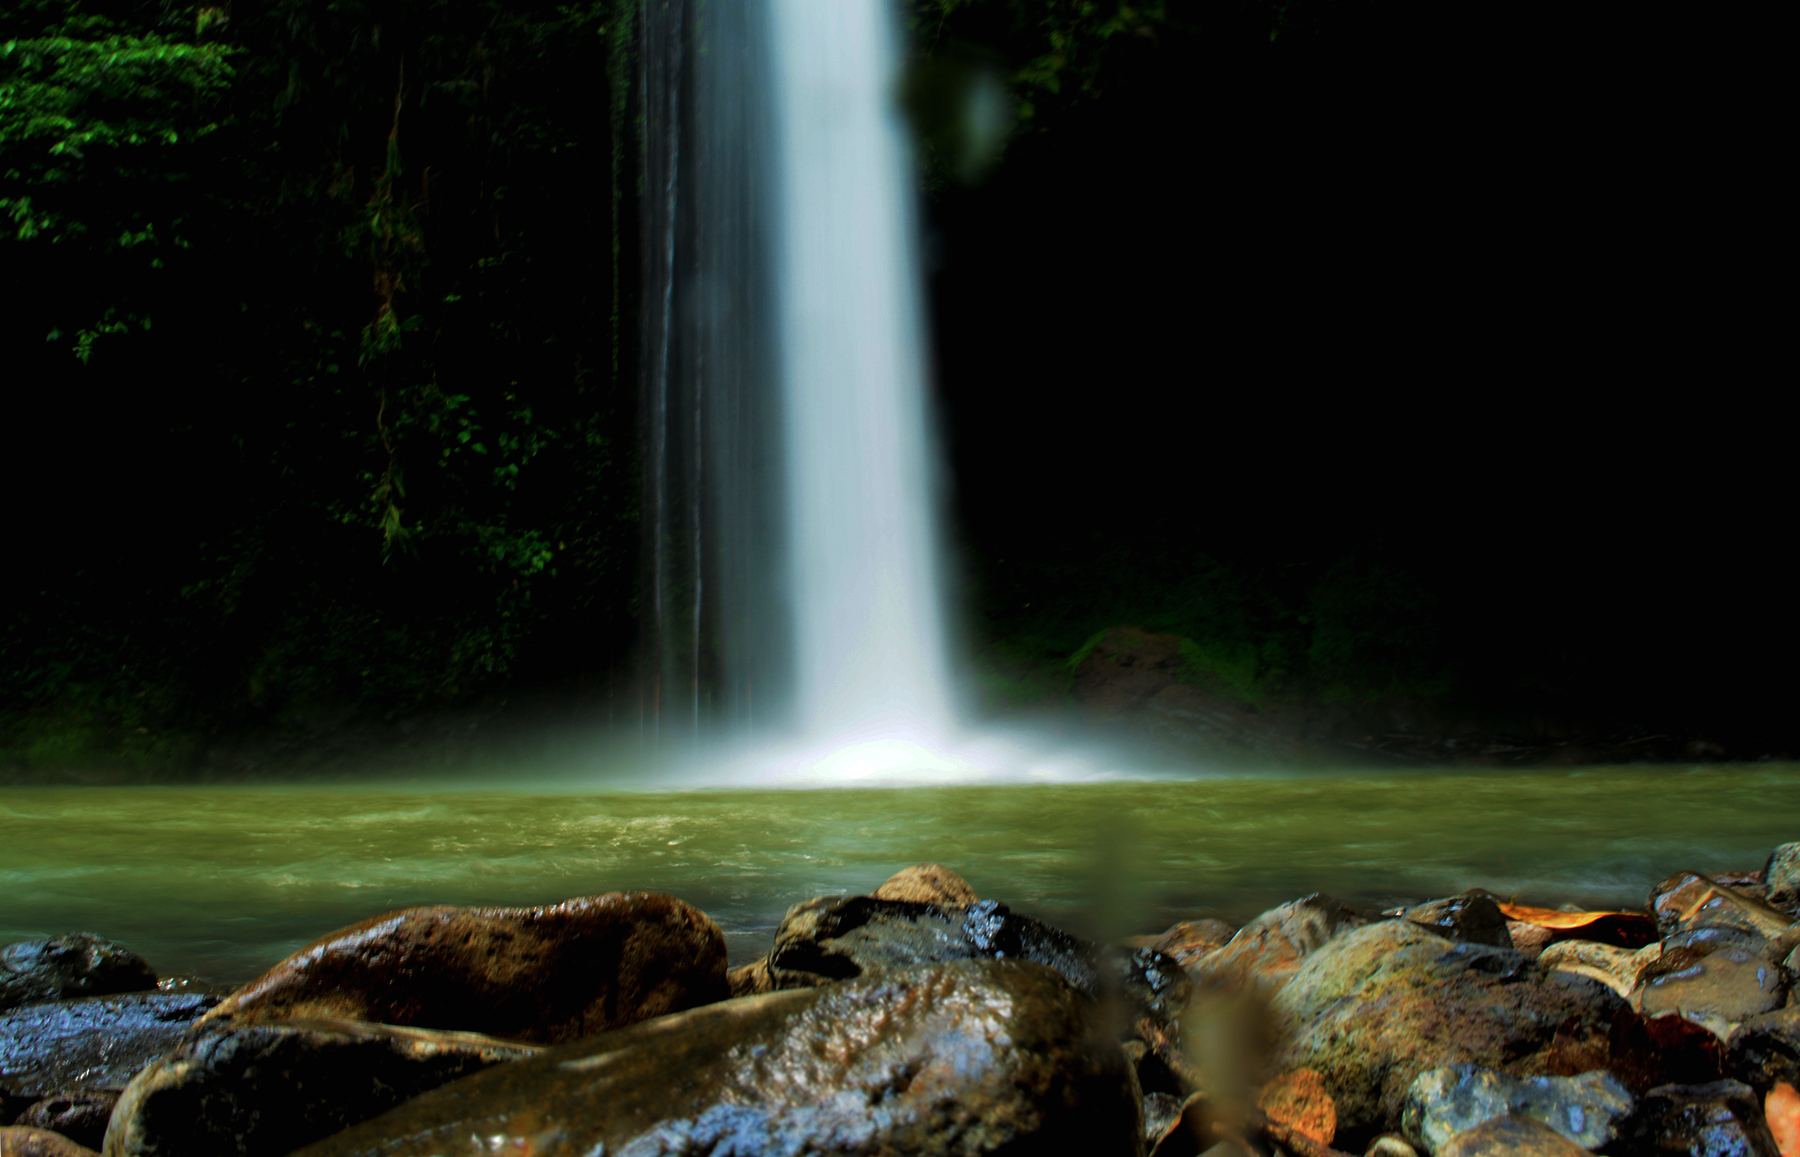
The rest of us arrived in the campsite by 12NN. While we were kind of tired, each one of us was still okay. We rested a bit and when we were ready, we head on to the final hike to Buruwisan Falls. From the campsite, the falls was another ten minutes of trek along mild slopes that stretched to about 50-feet and a 90-degree descent over protruding roots and huge slippery rocks. When the final struggle was over and done with, there was she, Buruwisan Falls, graceful and delicate in her own world where the only melody is the sound of cascading waters falling to her natural pool. She was so irresistible that after taking some photos, off we went to take a dip and relished at the coldness of her waters.
THE DESCENT TO THE JUMP-OFF
It was almost 4PM when we decided to head out. While Irene and Lorz took off on a horse, Ian and I endured another 2 hrs of trekking back to the jump-off. We passed by the same trail but this time, we were no longer too careful not to soil our shoes. All we had in mind was to get out of the mountain before it gets dark since we didn’t have flashlights with us. Three slips and a mildly sprained ankle later, we reached the Greenhouse just minutes before the clock turned 6PM.
MT. ROMELO TIPS & INSIGHTS
- Mt. Romelo is a relatively easy hike to the summit. However, it is completely different when it rains. The trail can be muddy as hell and what could have been an hour hike can instantly feel like it’s going forever.
- While the trek to the summit is easy, the hike to each of the waterfalls is on a whole new level difficult. The descent to Buruwisan Falls was proven to be arduous. I supposed the trek to the other falls would be double the hardship so come in prepared.
- Mt. Romelo is another mountain perfect for beginners. It has a little bit of every challenge which newbie hikers could learn from.
- Mt. Romelo is one of the cleanest mountains I have ever hiked. The locals were obviously trying to maintain the natural beauty of the mountain keeping waste minimal and properly managed so do you part to help them keep it that way. Always follow the “Leave No Trace” principles.
- There was no source of fresh drinking water in the mountains except for the bottled mineral water sold in the stores there. To keep plastic waste minimal, fill your containers with enough water for the hike.
HOW TO GO TO MT. ROMELO/BURUWISAN FALLS
- Via Legarda – Ride a Raymond bus going to Infanta, Quezon (3Hrs ; P130). The bus will pass by the junction going to Buruwisan Falls Ecology Park so you can simply ask the driver or the bus crew to drop you there. From the junction, the Greenhouse (registration site) is less than 10 minutes of walk away. There are also van from Legarda going to Famy Junction that would just require you another tricycle ride to the Greenhouse (3Hrs : P130).
- Via Starmall Shaw Blvd – Ride a van from Starmall Shaw Blvd to Tanay (1.5Hrs ; P70). Alight in Tanay Public Terminal. From there, ride a jeep going to Siniloan (45Min ; P50). Once in Siniloan, ride a tricycle going to the crossing leading to Buruwisan Falls Ecology Park (15Min ; P80/tric). Walk to the Greenhouse (registration site) for 10 minutes.
SUMMARY OF EXPENSES, ITINERARY & OTHER ESSENTIALS
| SUMMARY OF EXPENSES (4 Pax | Overnight) | Van Shaw Blvd-Tanay - P70 Jeep Tanay-Siniloan - P50 Tric Siniloan-JumpOff @ P80/4 - P40 Registration Fee - P50 Guide Fee @ P1000/4 - P250 Porter Fee @ P300x2/4 - P125 Food - P200 Tric Jump Off-Famy @ P80/4 - P20 Van Famy-Home - P130 Total <<>> P935 |
| SAMPLE ITINERARY (Overnight) | Day 1 0700 Meet Up McDonald's Edsa Central 0800 ETD Tanay 1000 ETA Tanay. Ride Jeep Siniloan 1100 ETA Siniloan. Ride tric to jump off 1130 Jump Off. Walk to The Greenhouse 1145 Greenhouse. Register. 1200 Lunch. Rest 1400 Start Trek 1500 Resting Hut 1600 Summit. Photo Ops. 1700 Set Up Camp 1800 Dinner 2200 Lights Out Day 2 0600 Wake Up 0700 BreakFast 0800 Break Camp 0900 Start Trek To Buruwisan Falls 1000 Buruwisan Falls. Bathe. Photo Ops 1100 Start trek to Lanzones Fall/Old Buruwisan Falls (Optional 1200 Lunch 1300 Start Descent 1500 Greenhouse. Wash Up 1600 Travel Home 1800 Home |
| THINGS TO BRING (Overnight) | Tent Sleeping Mats/Earth Pad 2L Water Cookset Trail Snacks 1 Cup Of Rice Can Goods (Tuna/Corn beef) Camera Jacket Toiletries Slippers |
| WHAT ARE THE FEES | Registration Fee - P50 Guide Fee - P500 (Dayhike) | P1000 (Overnight) Horse Porting Fee - P300/way Horse Back riding - P300-P500/way Toilet & Bath - P20 |
| CONTACT INFO | GUIDE - John Lerry - 09127305347 |


There you have it lovelies. Laguna certainly has a lot to offer when it comes to nature tripping and adventure and Mt. Romelo is just one of them. Check out other stunning waterfalls nearby the area such as Bukal Falls and Hulugan Falls if you are up to more thrilling experience after hiking this beautiful mountain. Ayt. Until next time. Don’t forget to share this to your awesome friends. See yah!
20 Comments
Hi. do we have a contact person po sa Mt. Romelo just to inform them bout our visit on July 24-25, 2021! Thank you po and keep safe.
Hello. I have a number on the blog but I’m not sure whether it’s still working. You can try it.
Informative post. We’ll visit the falls one of these days.
Thank you!
Thanks. Have fun on your visit.
Bawal po back packer lang, required ba ung mga guides para umalis?
Hi. Yes. Guide is required.
we are planning to go again in mt. romelo but i forgot a much we pay for tour guide…we are planning to stay this april 17 up to 21.2019 how much we can get for a tourguide about 5days
Hi Kiershey! Guide is P500 daily so if you are staying 5 days then it should sum up to P2500. 😊
Do you have updated contact number sa tourism or registation or guide sa mt romelo. Thanks
Hi Maiya, Try the number on the blog. That’s the only number I have at the moment. 😊
Hello po Ms. Keza I am a graduating students and we are currently conducting a thesis study about Mt Romelo. If you dont mind can we give you our survey questionnaire much better po if yung mga kasama nyo din pong nagpunta ay mabigyan din po namin ng survey questions. Thank you so much po
Hi. I can take the survey. Kindly send it to my e-mail awanderfulsole@yahoo.com
Hi Mr. blogger, I have one question. So ilang minutes papuntang falls less all the kemerlu mula sa nearest jumpoff site?
Hi. It should take you 2-4 hrs. Depends really on the trail condition and your pacing.
Hi! I would just like to ask if we could still be able to enjoy the place even if we just plan to have the whole trip in just one day.
Hi Sofia! It’s up to you nman! Kahit naman 1 day lang maeenjoy nyo pa rin yung hike! If you choose to cherish nman every moment kahit one day lng I’m sure it’ll be a blast!
Are we required to have a guide?
Yes. They require you get a guide . 😊
Very informative, detailed and excitingly composed blog. congrats!
Thanks Mina! 😘