

You probably have heard about Mt. Batulao and know how everyone raved about its beauty. You may also be one of those who are the first to resent the controversies which haunted this stunning mountain in recent years. As we may all know (or not) -the controversy got almost blown out of proportion that it got to a point where everyone in the hiking/mountaineering community was encouraged to completely boycott this mountain. Some have even called it Mt. Batollao due to the number of fees hikers need to pay. While everyone seemed to be preoccupied with Mt. Batulao, one little mountain nearby lies in silence, patiently waiting for the time someone finally unravels her charm. That mountain is no other than Mt. Talamitam -that equally gorgeous mountain most of us overlook in favor of her more famous neighbor.

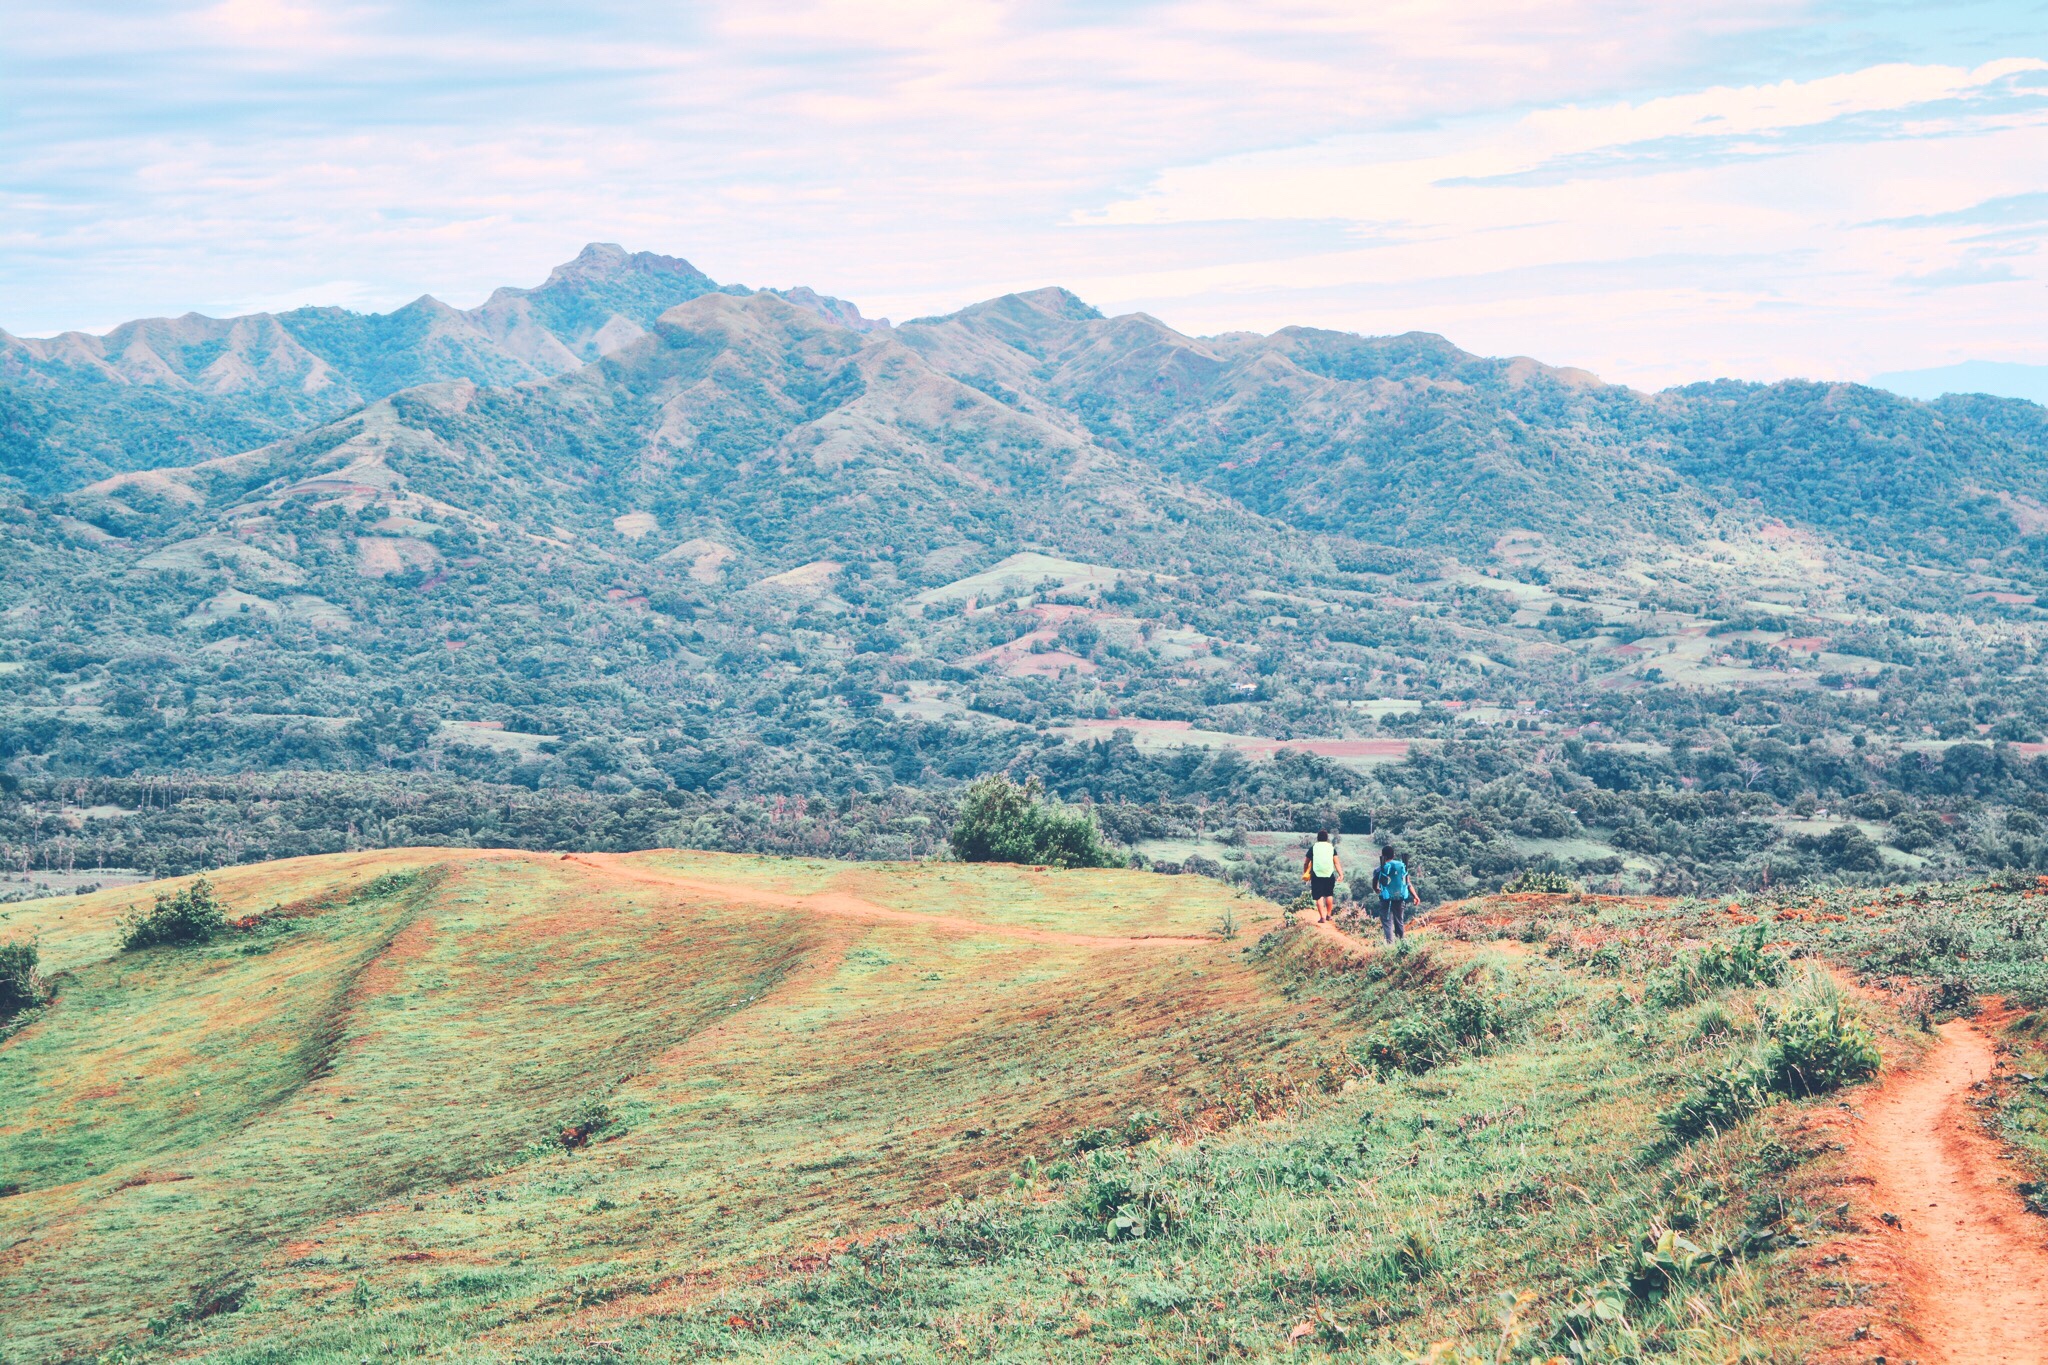
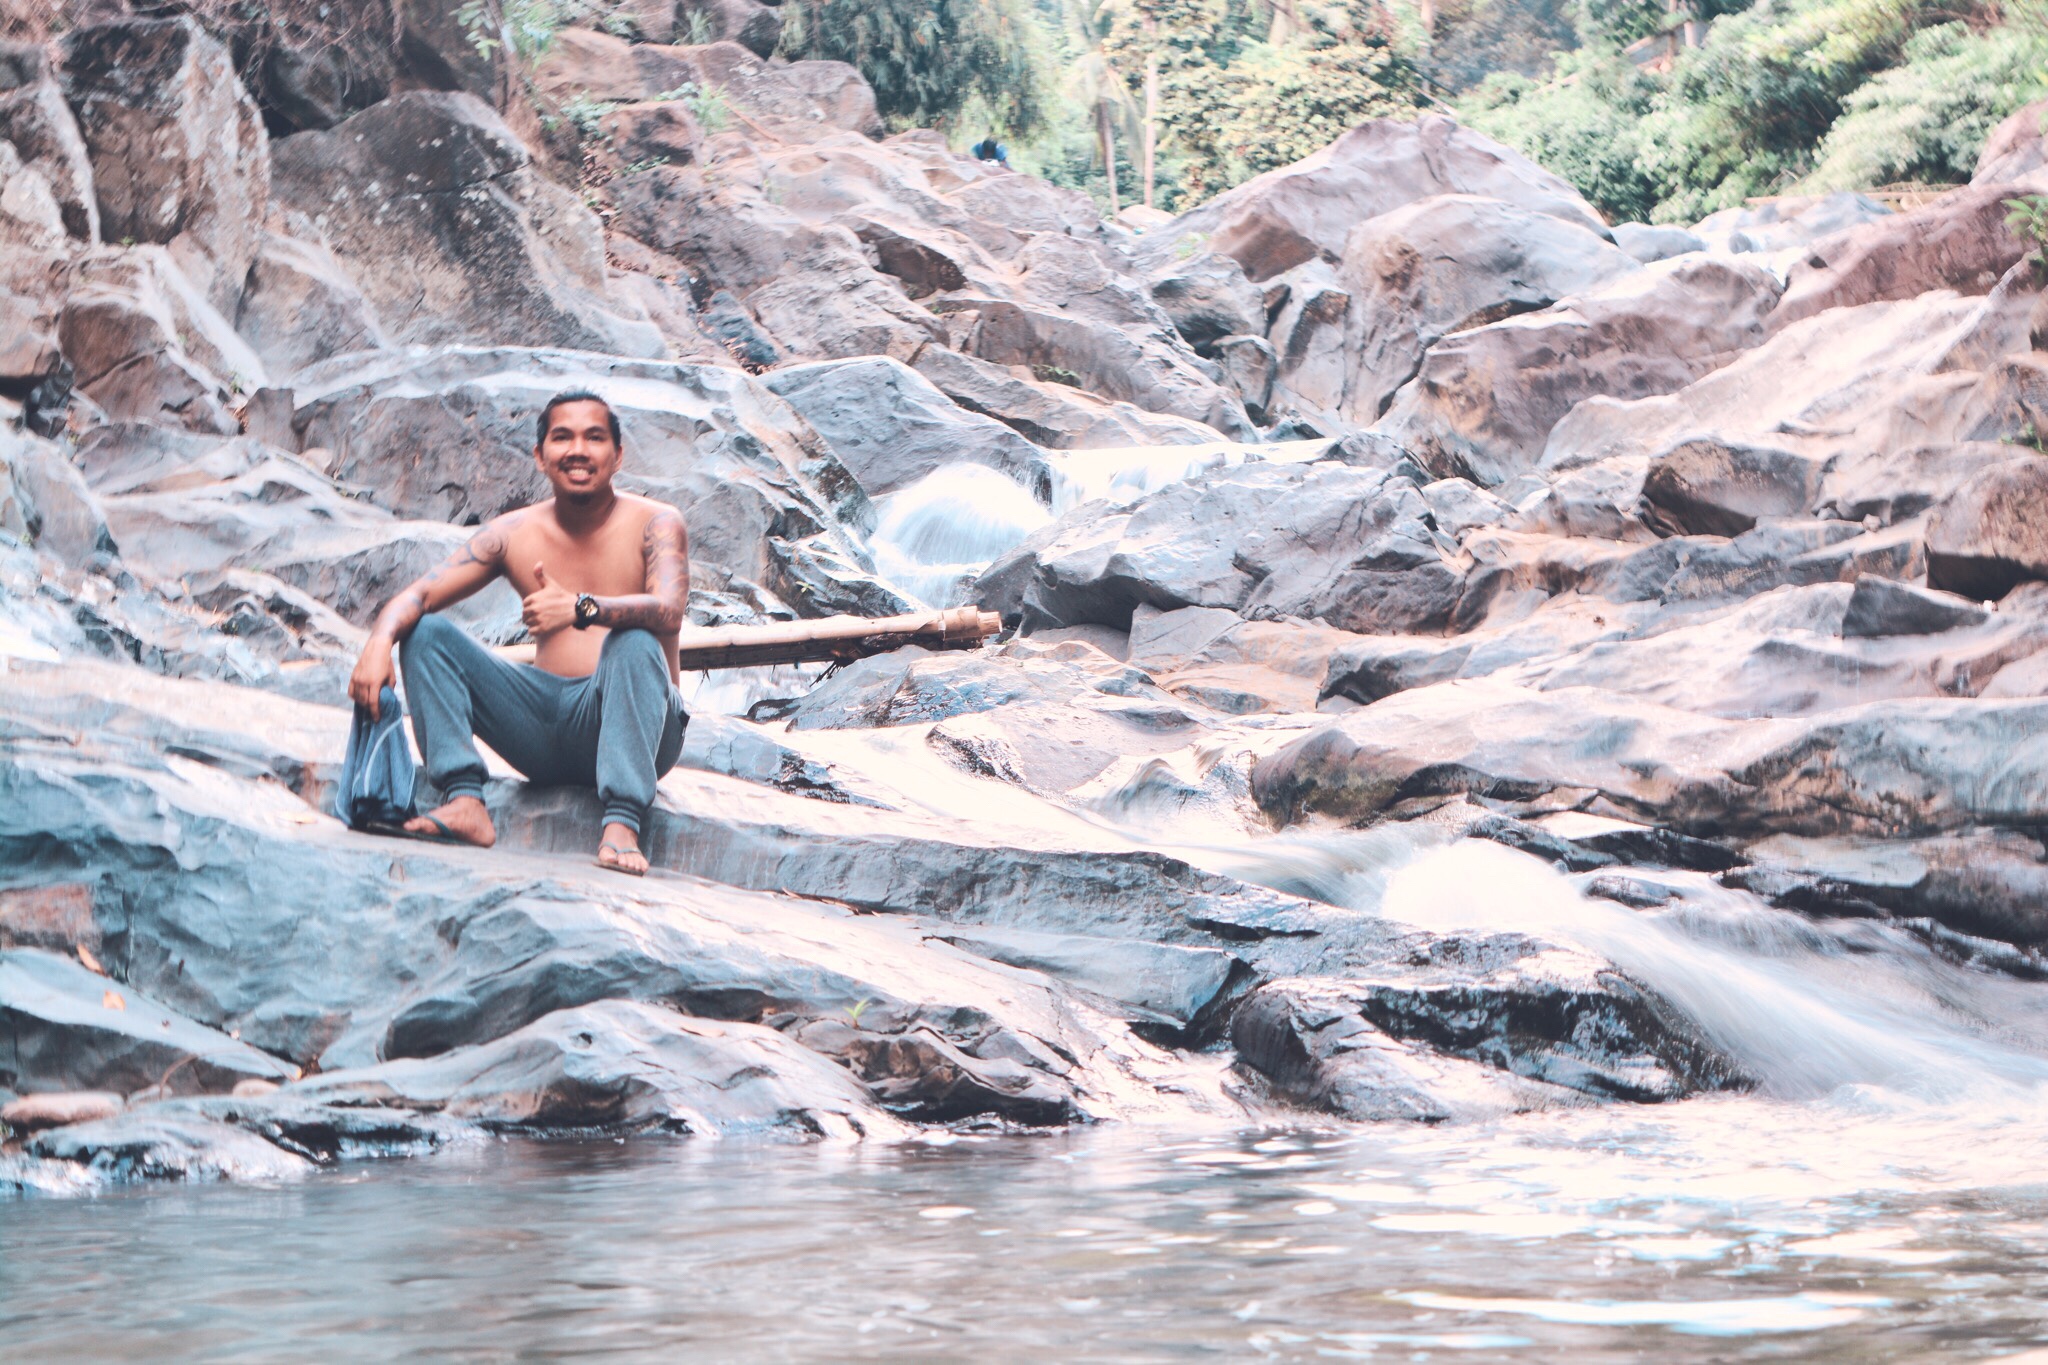
Mt. Talamitam is commonly known as the little sister of Mt. Batulao. While they both boast of sprawling grasslands and panoramic views of the coastal area of Nasugbu, the latter is considered as the more technical mountain and the former on the other hand has a more newbie-friendly trail. Another thing that I think makes Mt. Talamitam more interesting is its Batanes-like feature. You know that acre of greens on a hill that doesn’t seem to end. It also boasts of a waterfall, a lagoon and a river with beautifully carved rock formation as fascinating side trips after the hike. If that doesn’t convince you of how truly gorgeous this mountain is, I don’t know what will.
Update: Mt. Talamitam is now open to hikers during the pandemic but requires a reservation and fee to be paid beforehand. Only 100 hikers are allowed to hike per day via the Kayrilaw Trail. For reservation, please contact Ramon Casanova at 09672963538 or 09631679076.
THE CLIMB
I had been dreaming to spend a night on a mountain to maybe have a bottle of beer or two while gazing at the sky dotted with the million stars and to simply have a good time until the wee hours. I had always preferred hiking that way but my limited time off work only allowed me to mostly day hikes on weekends. Plus I wouldn’t be that insane to allow myself to be alone on a mountain so this could only be possible if I had with me my travel buddies! If my memory serves me well, the last time I had a night in a mountain was during our hike in Mt. Romelo and then we all suddenly became too busy with our lives. Gladly one day, we finally had the time and it couldn’t have been any better than to be spending it in Mt. Talamitam.
I don’t know what it is about Mt. Binutasan and Mt. Ngusong Kabayo that whenever I plan to have an overnight hike there, it would always end up getting changed the last minute. This first happened last year when we were already in Tanay and were just waiting for our ride to Brgy. Laiban but the unbearable heat of the sun made us think of the beach that without second thoughts, we instead headed straight to Nasugbu to check out Layag-Layag Beach.
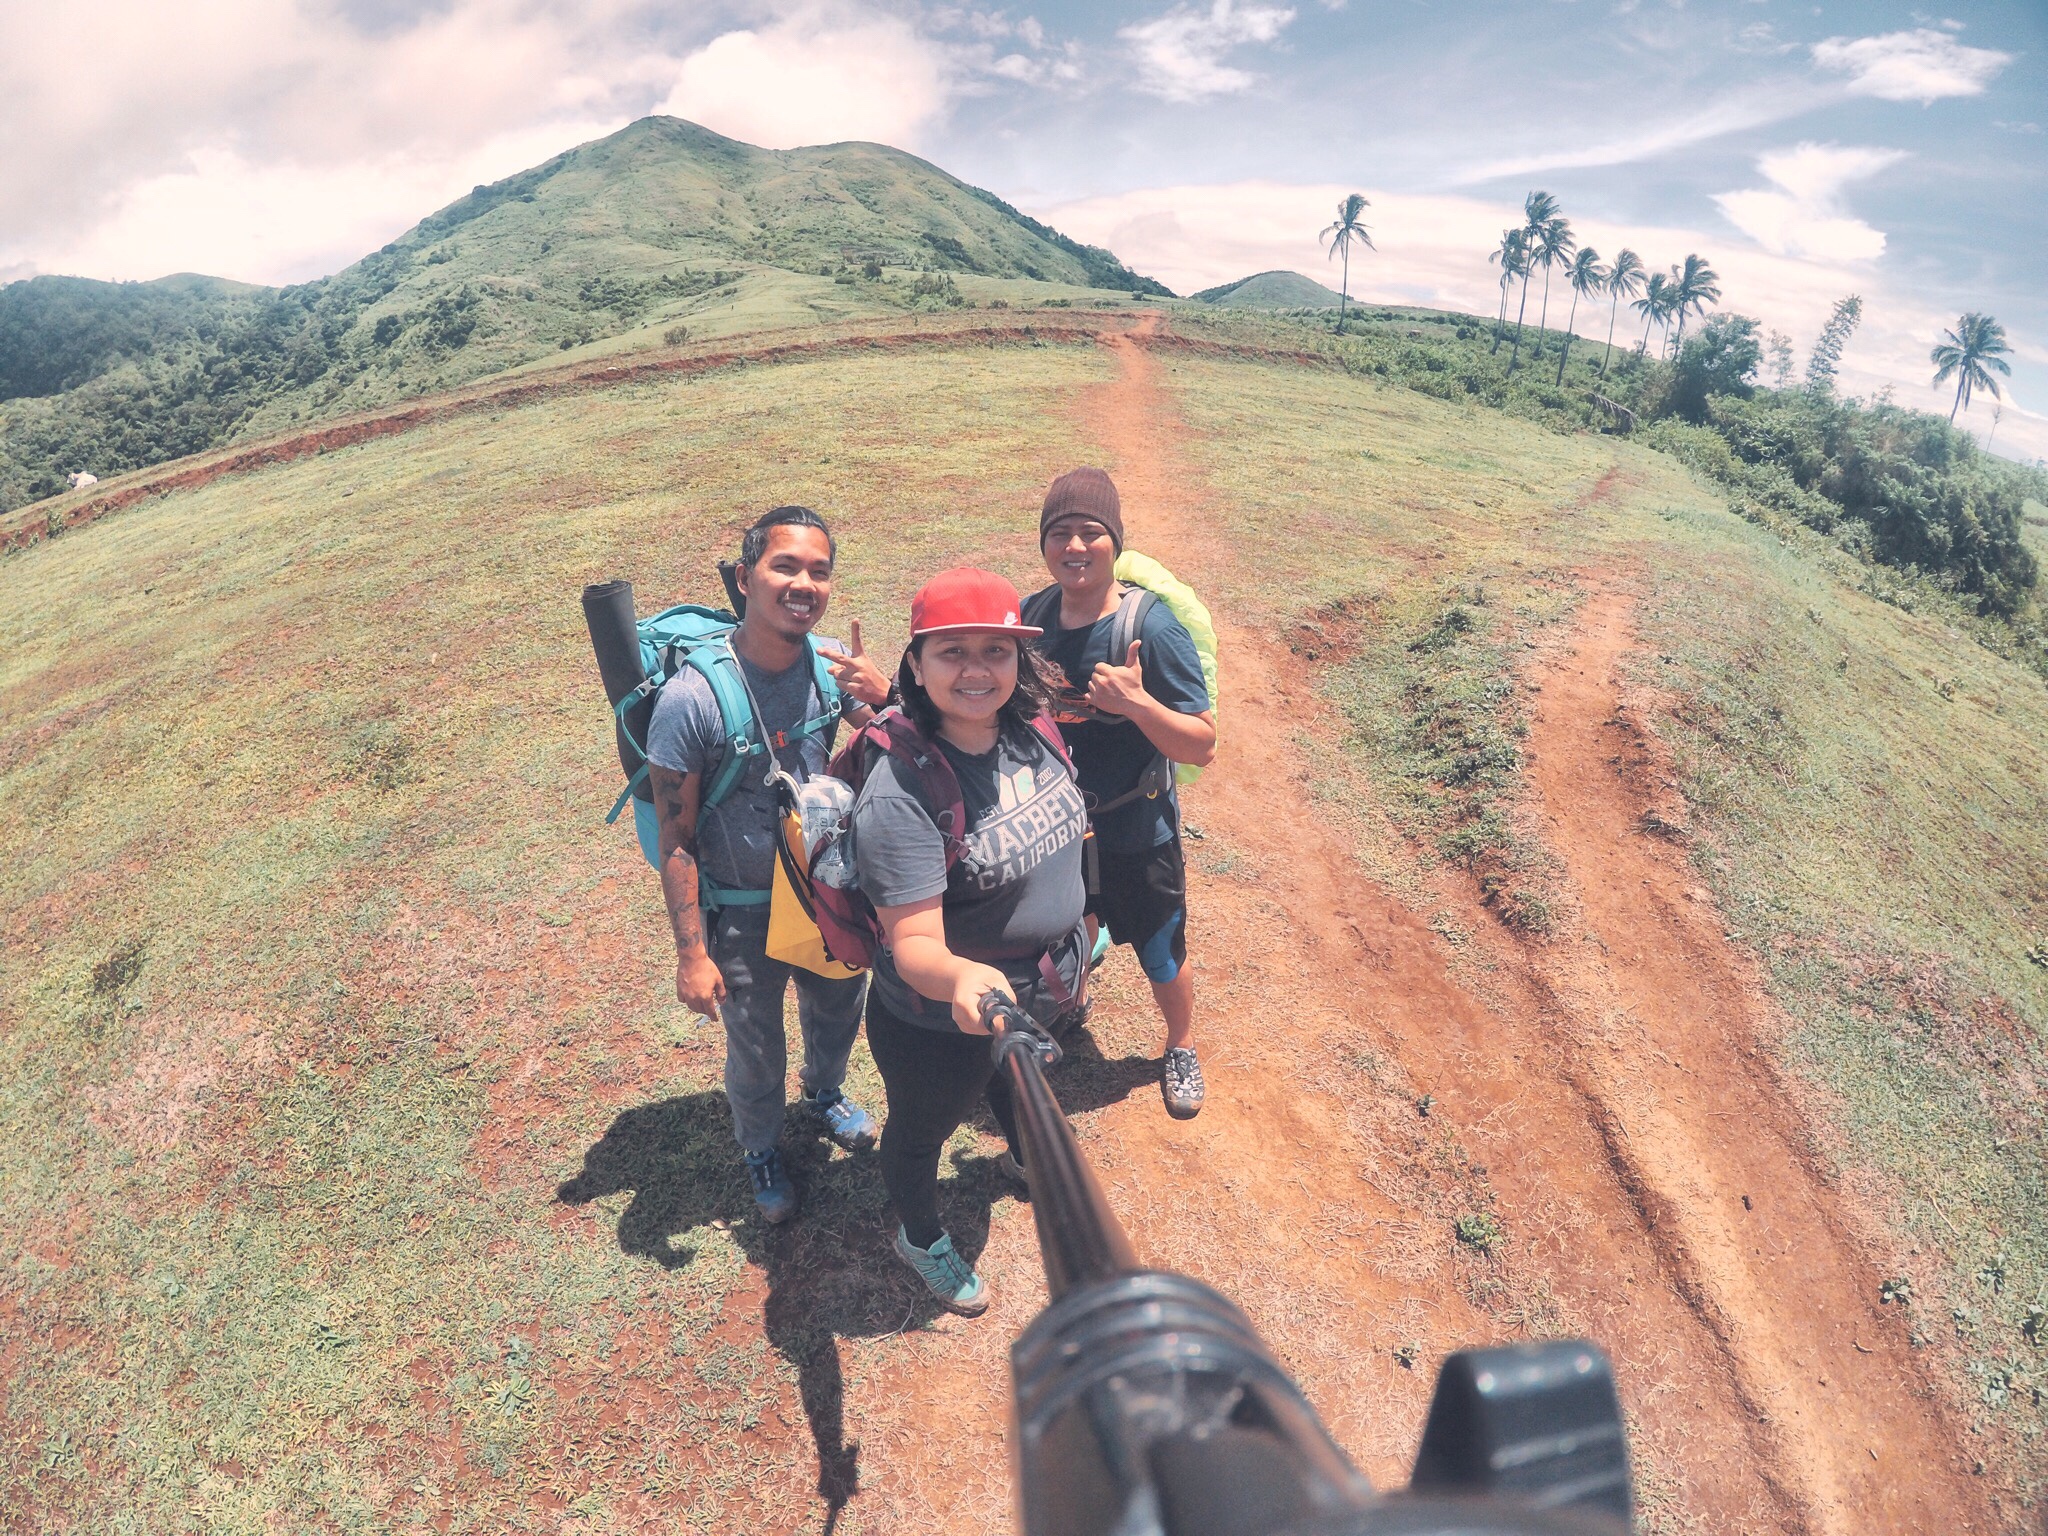
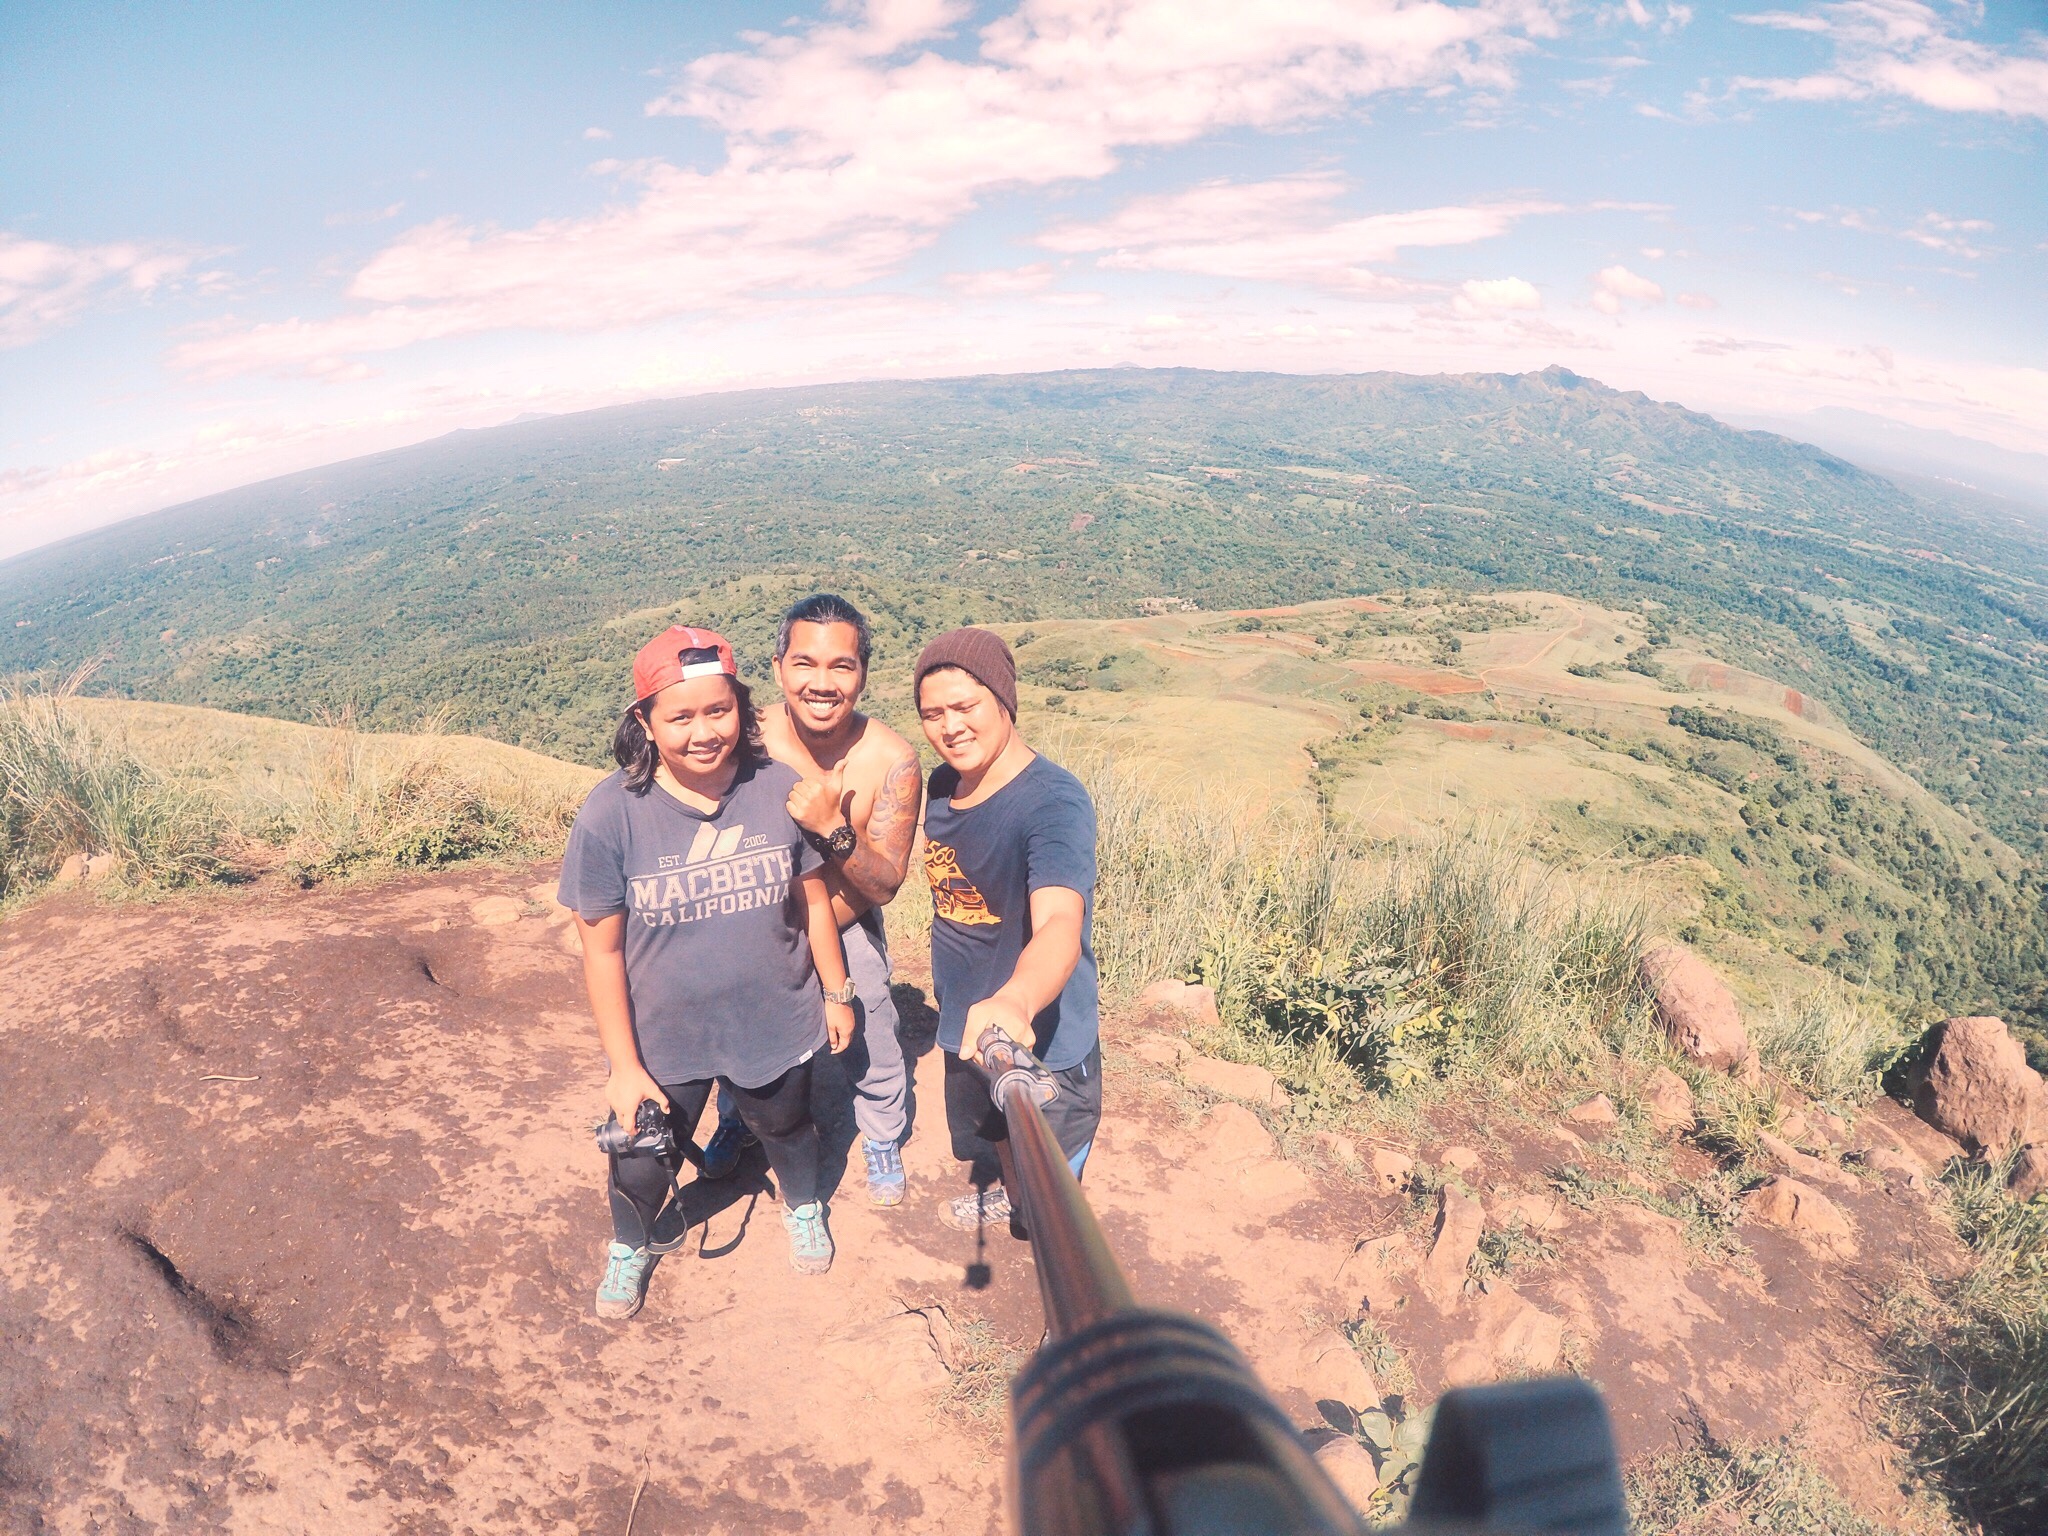
The same thing happened this year when during the last week of May, we were set to spend a night in Mt. Binutasan to marvel at the spectacular morning sea of clouds but the incredibly long wait hours to get a ride to Tanay had us riding a bus bound to Nasugbu instead to check out Mt. Talamitam. Okay! I know this has nothing to do with those two mountains and those were just me and my buddies ( Ian my boyfie and Pet his side chick) being crazy. But no regrets there whatsoever for we always had the best times in the best place! And that’s what truly matters.
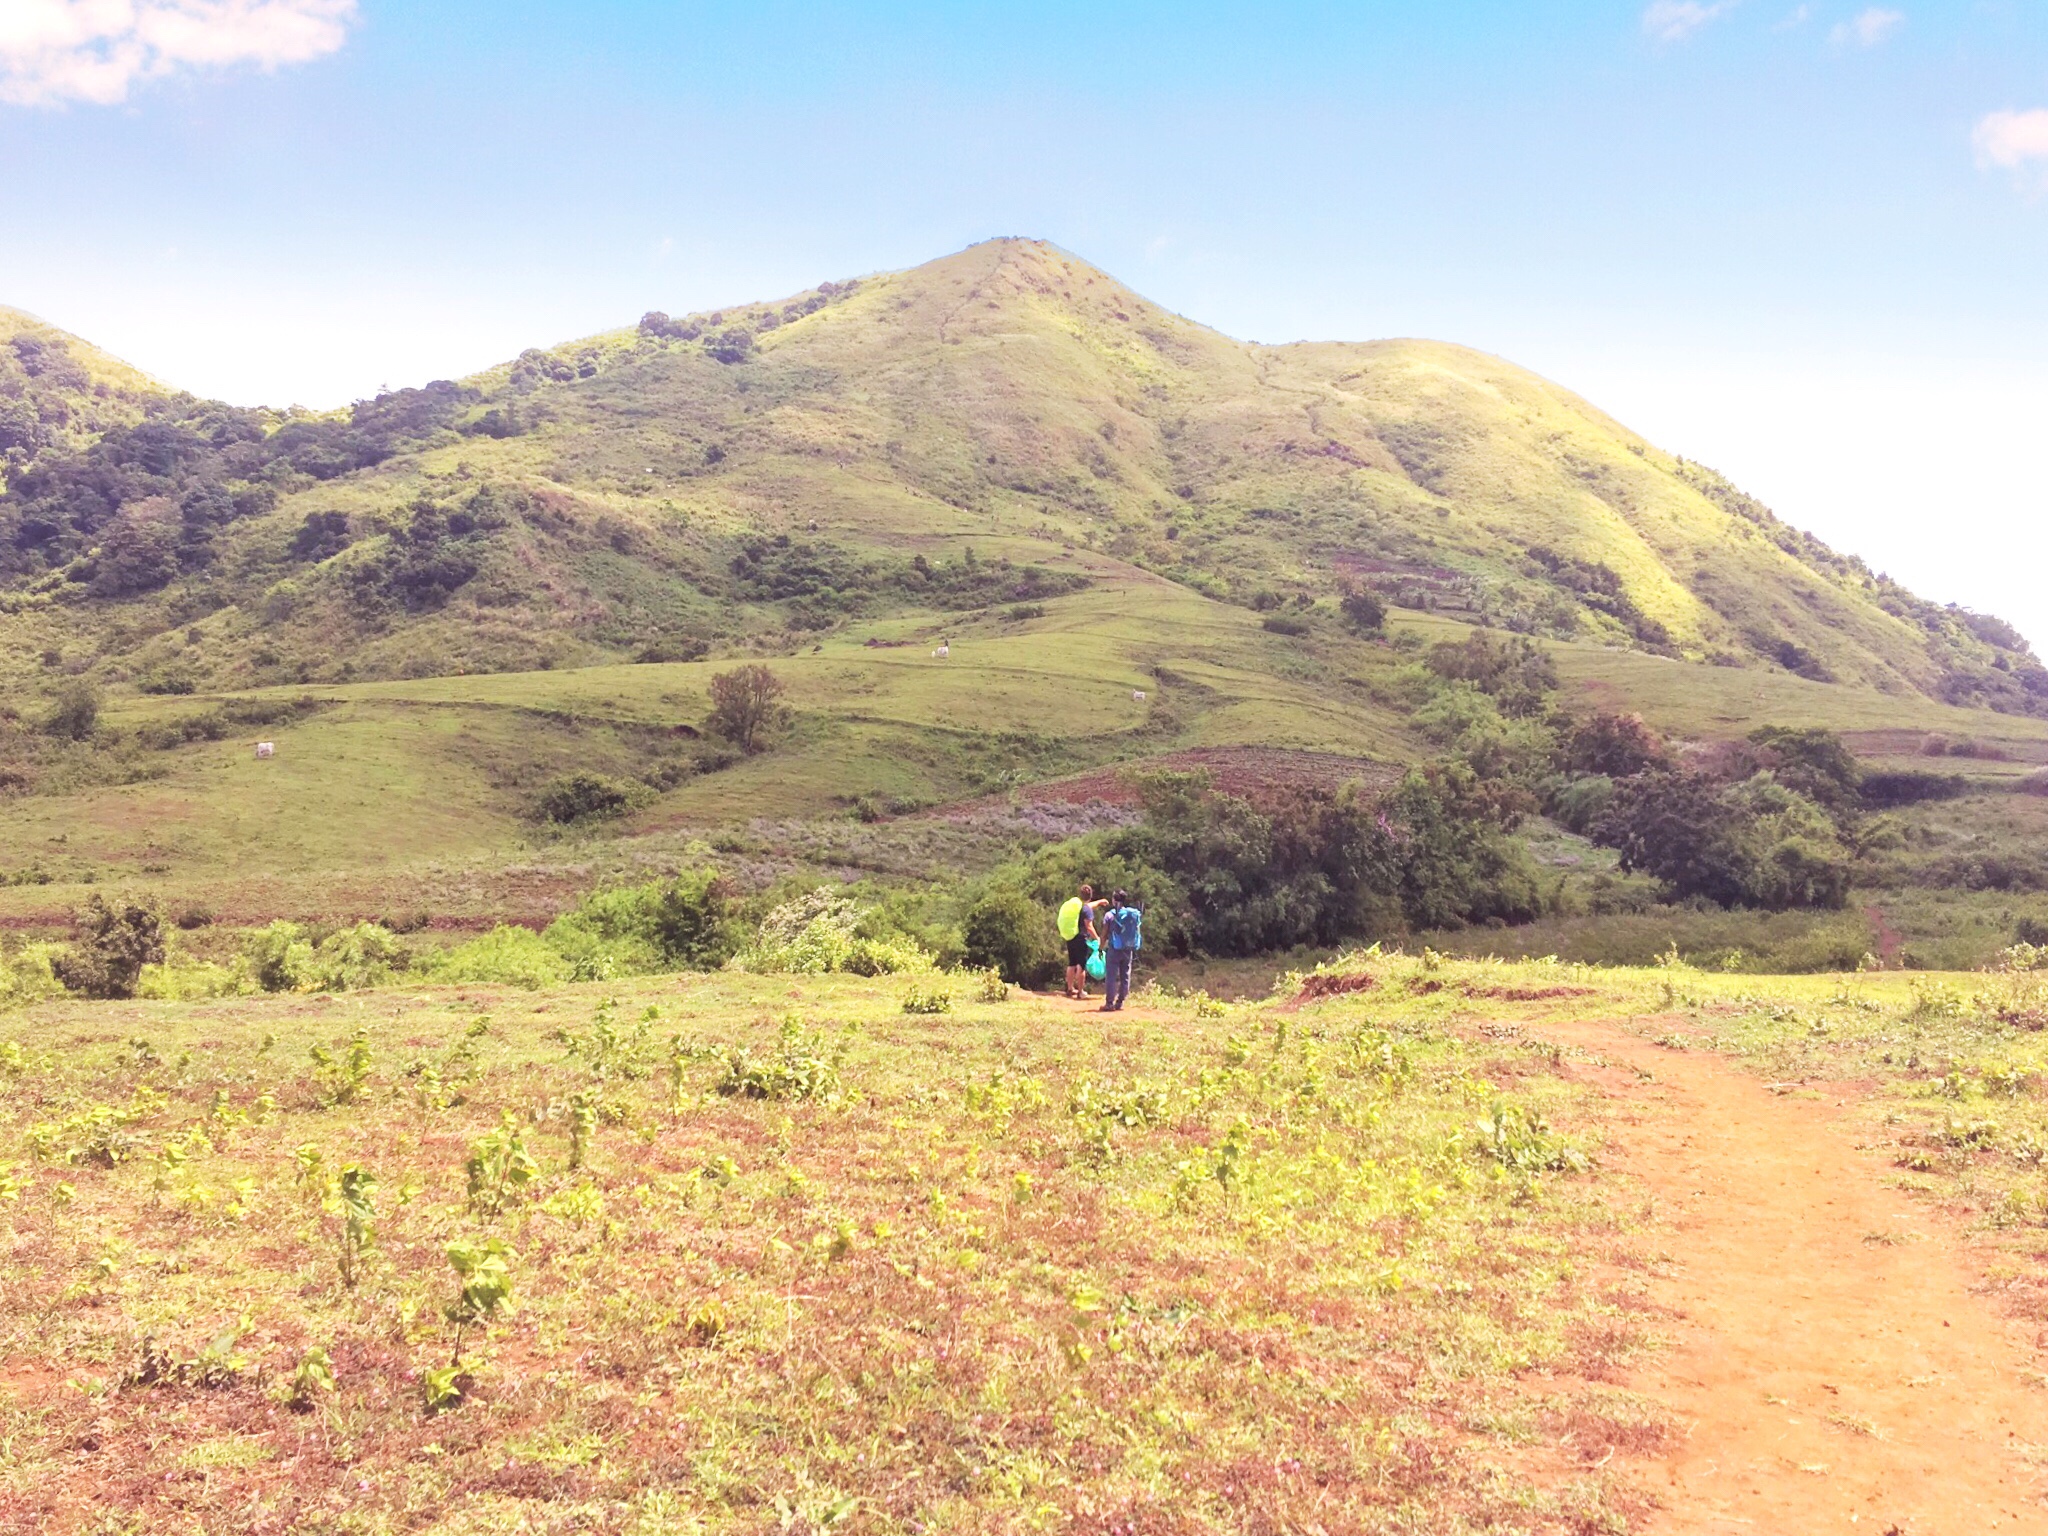
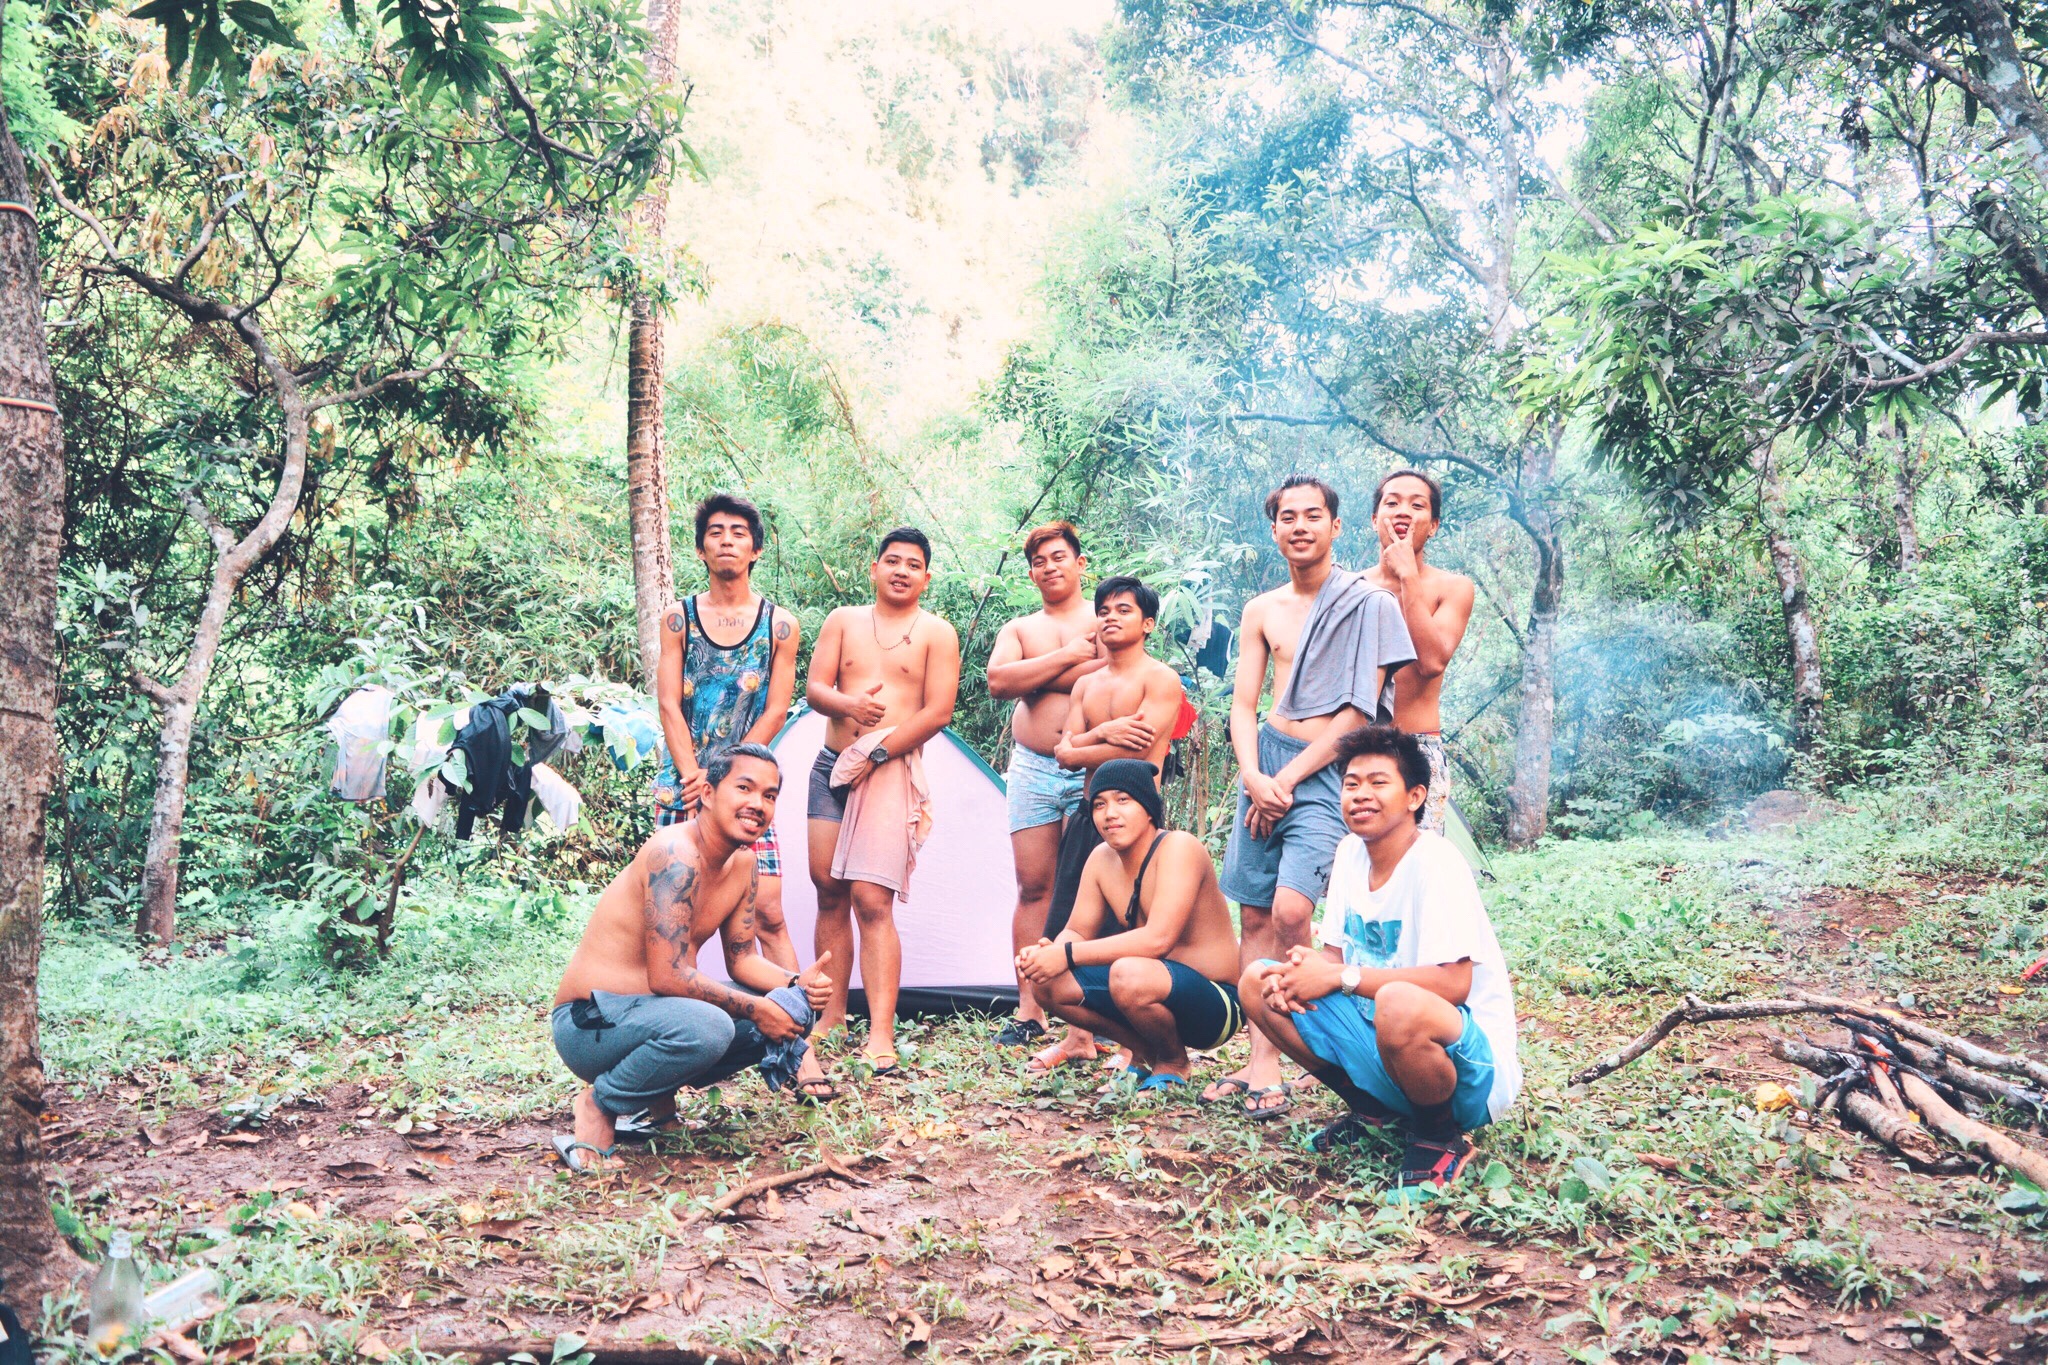
We arrived in Mt. Talamitam jump-off at 4:30PM. We paid the one-time fee of P50/person and went on our way. The hike started with over a kilometer of steep and slippery downhills along an established road. When we were about to reach the end of the road stood the last house which is home to Kuya Paul (the person who is said to be actively supporting the mountaineering community in the area) and his sumptuous Goto Batangas and Bulalo. We stopped there to get things ready before we finally take on the hike. We also took the time to have a taste of his well recommended Bulalo for dinner. It was also at that moment that we met our soon to become friends -a group of goofy young boys from Cavite.

What I love about this hike is the absence of an imposing presence. There was no one there asking to pay the fees relentlessly to a point of being annoying. Nobody was insisting on getting a guide. No one was persistent in discussing the do’s and don’ts as if we were stupid. There was only freedom, respect, and trust that we will do the right thing which is how every mountain should be like. But maybe not everyone is entitled to it because not everyone is disciplined and respectful to nature and its works.
Exactly 7PM when we started the hike. We quickly went down a muddy road before abruptly turning left taking a trail that led to a concrete bridge. The bridge stretched to about 15 feet and past that were a series of muddy slopes which led to another bridge made of bamboo that was too shaky for a group to pass through in one go. Past the bamboo bridge was a quick left along a flat surface leading to where the assault starts.
The ascent was steep and very slippery. It was along soft earth emblazoned with rocks in some parts. It was muddy that earth stacked our shoes pretty quickly after covering just a few steps making the hike more grueling. The ascent was continuous. There were few flat parts but it was mostly steep uphills. The relentless uphills ended once we finally had a glimpse of the peak. It was a towering presence in the middle of the night and amidst the vast grassy land. We went on to hike a few more easy uphills for nearly 15 minutes. Exactly an hour after we started the hike, we finally reached the campsite.
Our chosen campsite was somewhere isolated. It was situated halfway to the summit. I liked that there was only our group camping in that area. Hanging out and meeting other people is one of my favorites when I travel but in the mountains, I like to keep it nice and quiet. We quickly set up camp. Once done, off we started with our drinking spree. We had with us a bottle of a mojito flavored GSM Blue and it was just what we needed to chase away that cold mountain breeze. There were a few stars in the sky that night but it was so serene and calming. We were down to a few drops of that GSM Blue when the rain came pouring. A few more sleepy conversations inside our tent and we were off to dreamland.
The following morning we woke up to a gloomy weather dominated by cloudy skies. While I was adamant in witnessing another magical moment with the sea of clouds all week, I wasn’t in any way disappointed. I know that I will have plenty of chances to see such splendor much like the one we had in Sagada’s Marlboro Hills. Mt. Talamitam is so calm and quiet in the morning. I like that there were only a few hikers passing by from and to the summit. I took the chance to get me some nice photos of the scene. The clouds were quickly shifting that I knew it was about rain again. Just when I got me enough photos came the drizzle that we stayed in our tent until it stopped at about 11AM.
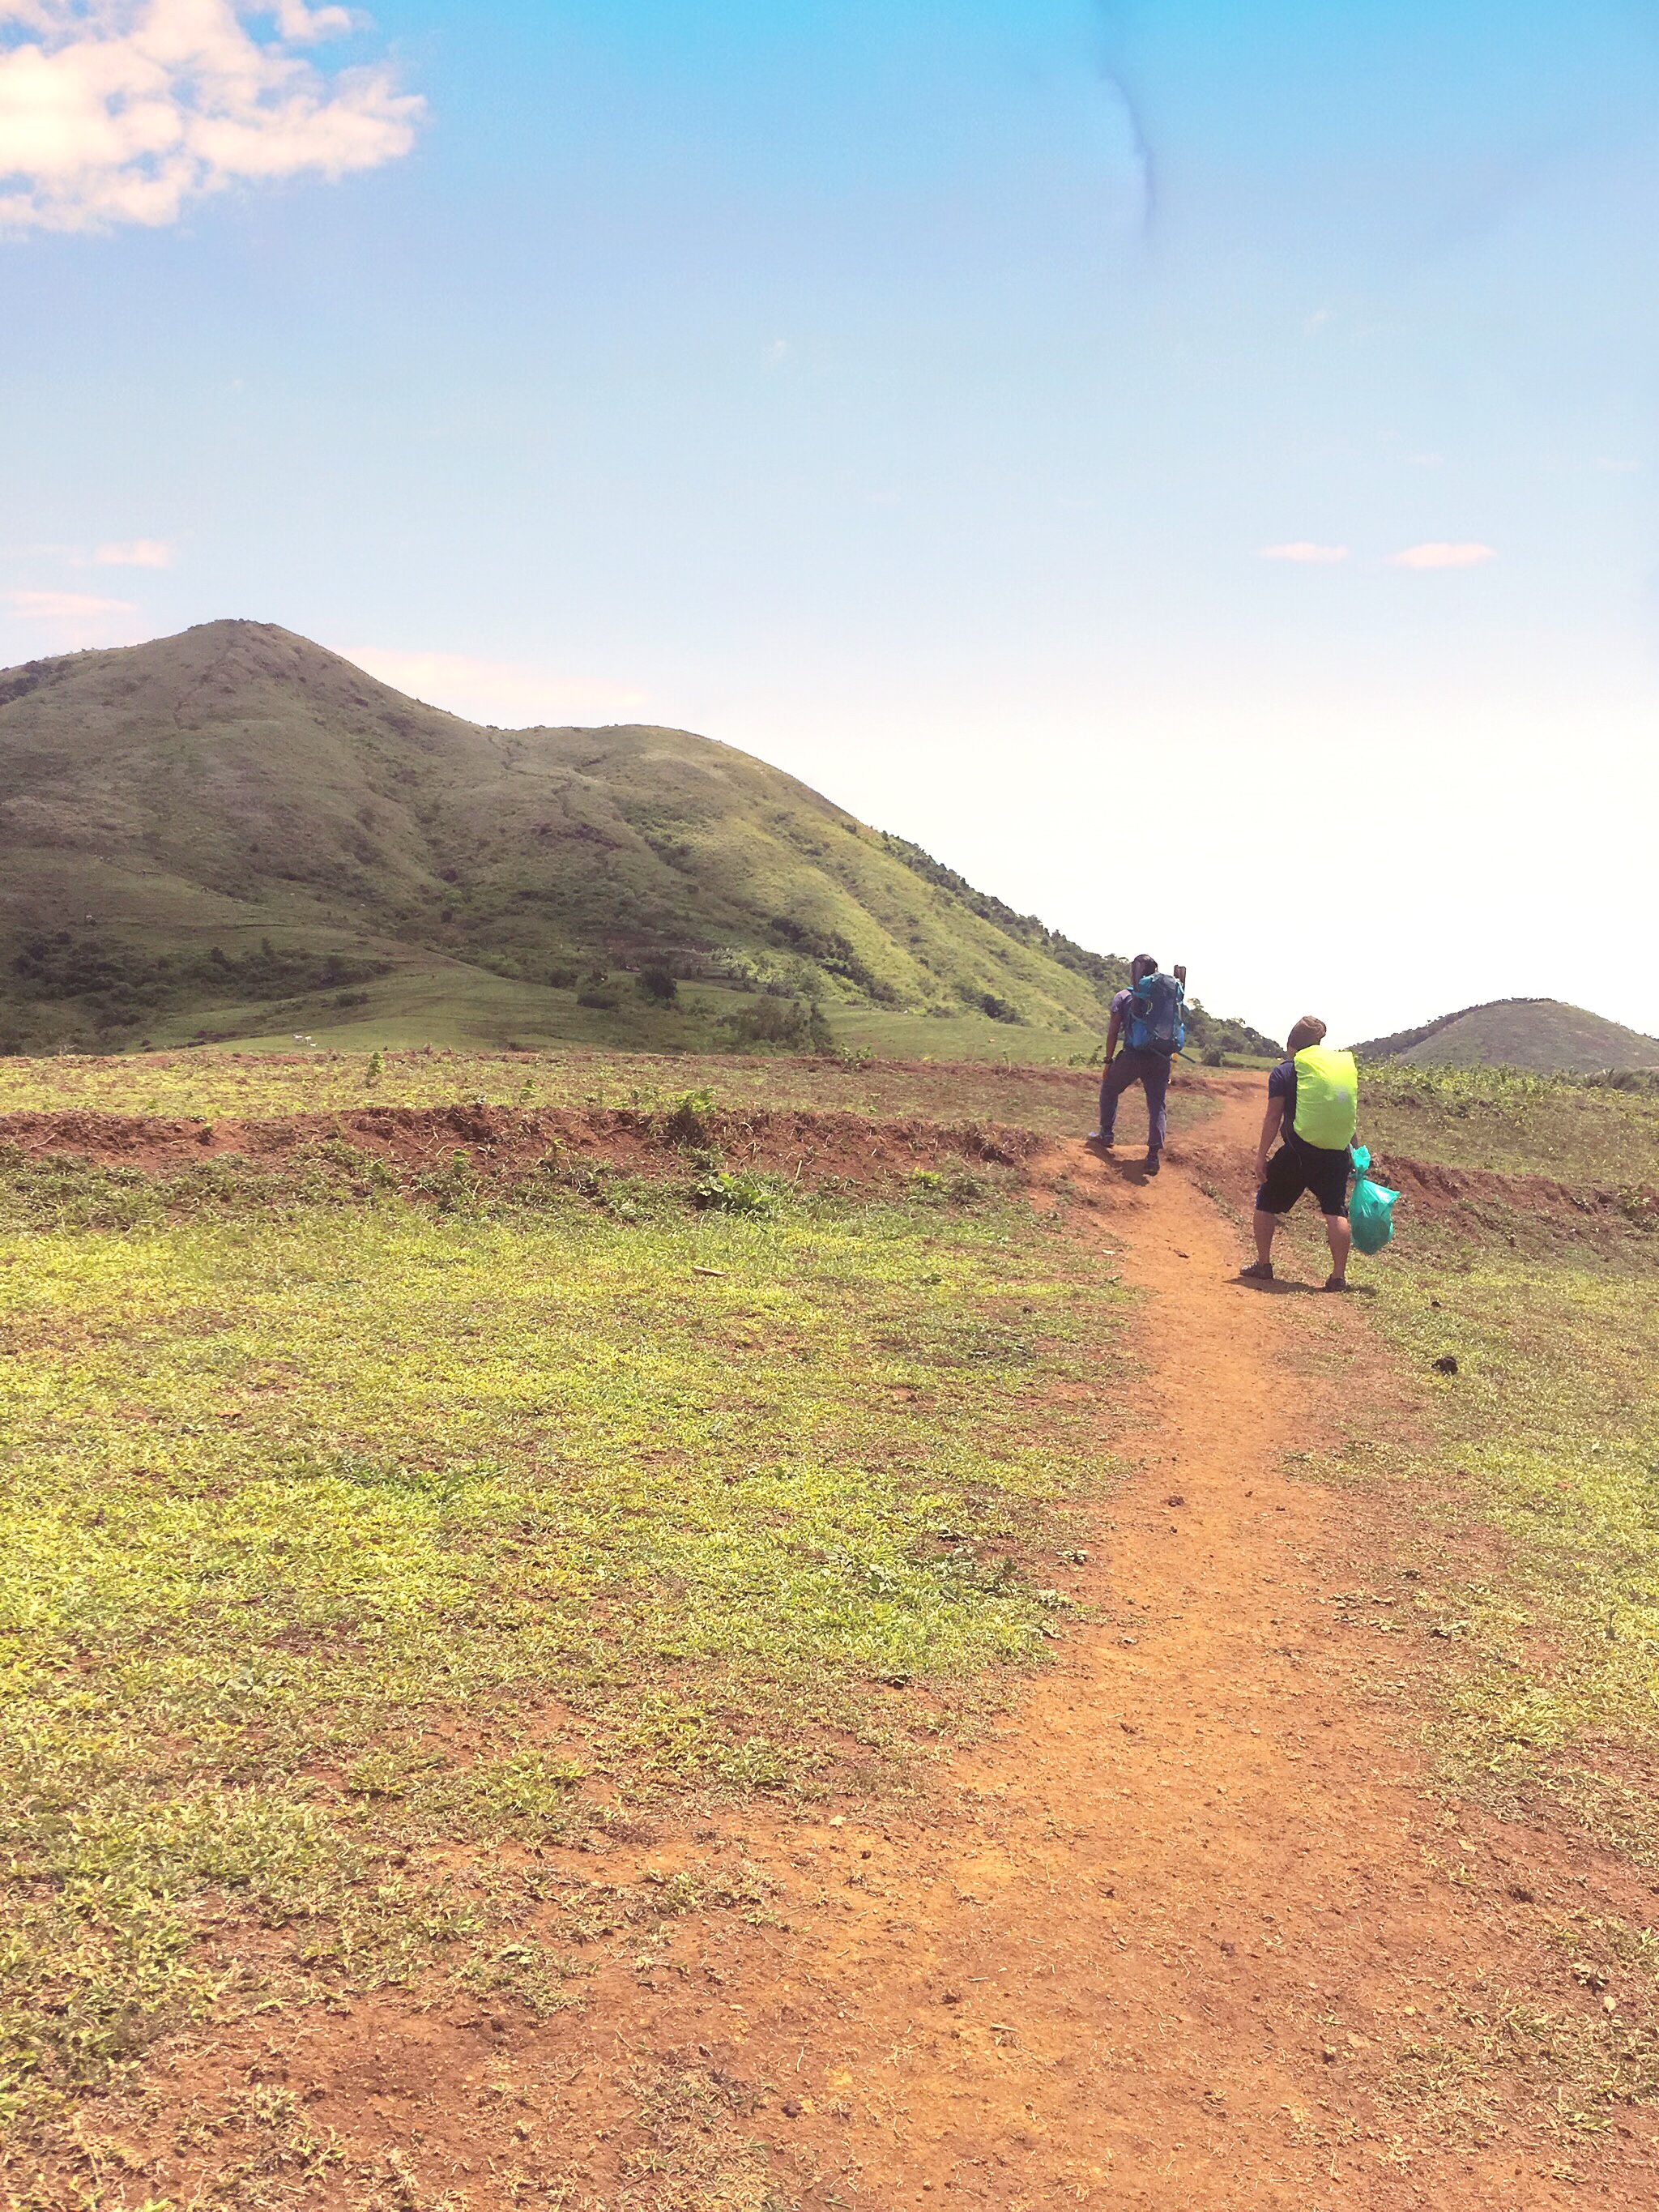
As soon as the rain stopped, I urged the group to get going. We were already enjoying that lazy vibe the weather was giving us that I feared we might decide not to scale the summit anymore and go home. It was rubbing on us far too quickly that before it itched too much, off we broke camp and took on the final challenge which started with a walk along muddy slopes.
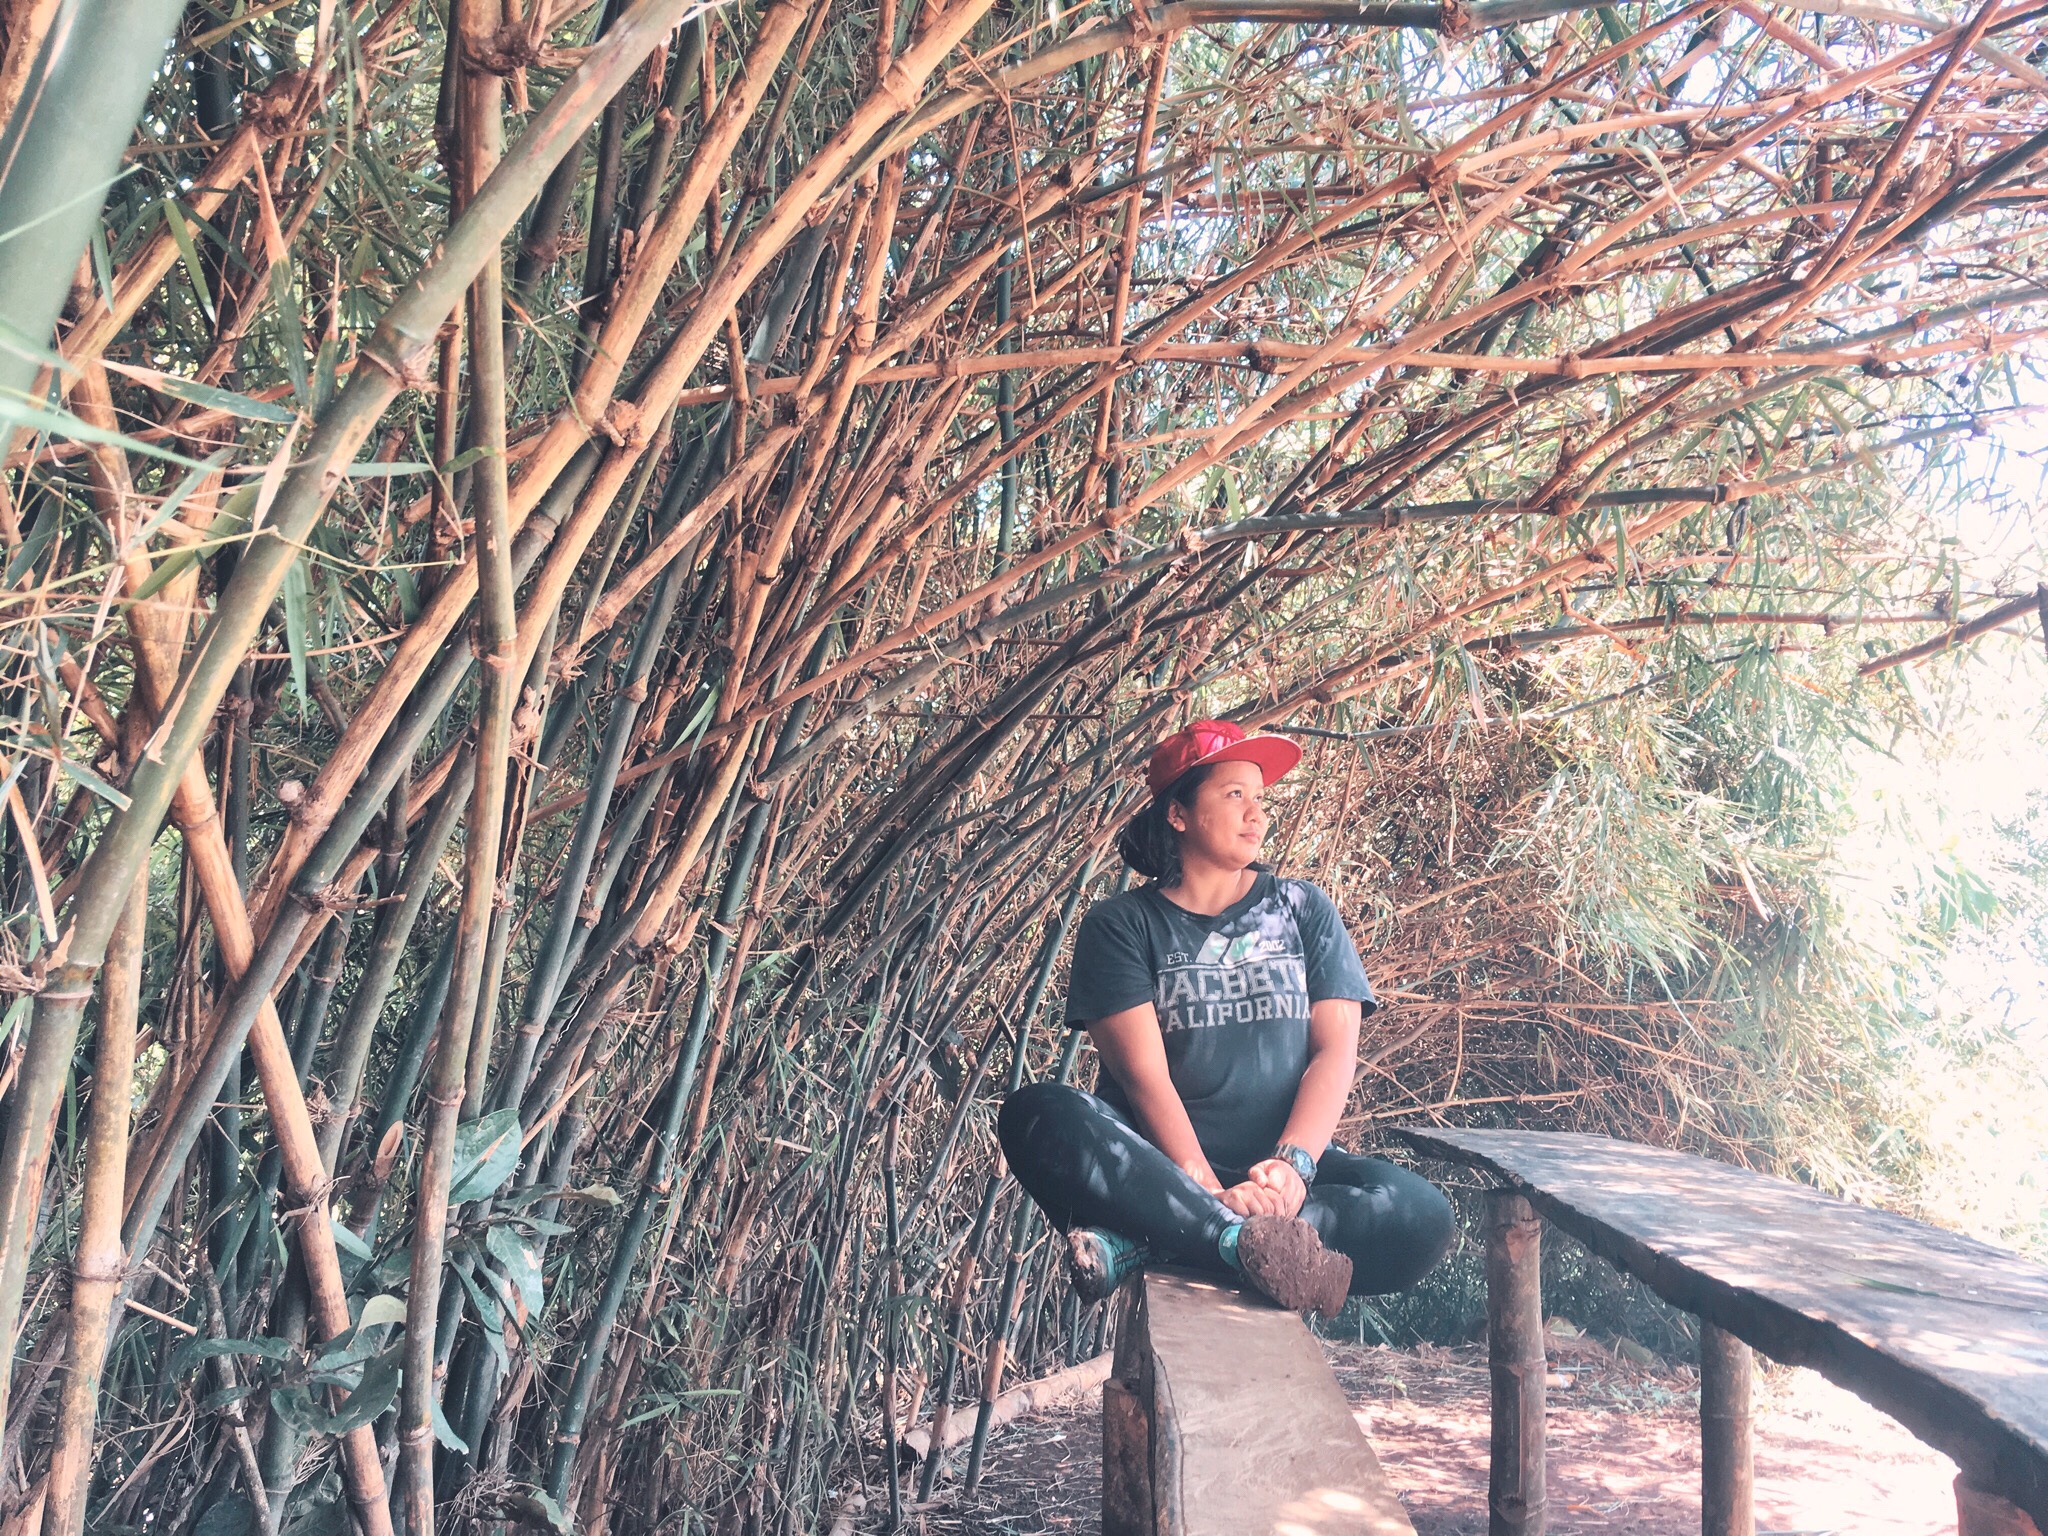
Fifteen minutes after we started the hike to the summit was a resting hut. There we bumped into another group of hikers who were already on their way home. I found that very unusual for it was only a little past 11AM. If we were them, we would have gone to scale another mountain or spend it on the beach. But who knows? Maybe they got something planned. We spent another hour there to eat lunch and have a little chat with the other hikers. We were also in luck since the couple who owned the hut offered that we leave with them our backpacks and to just bring with us our valuables.
A little over the hour of 12NN, off we started the final challenge. While the sun shone brightly in the middle of the sky, its warmth didn’t hurt but instead it was surprisingly soothing. The group decided to take the steepest trail not that I wanted it but I didn’t really have a single choice. My travel buddies were downright crazy and they always take pleasure in seeing me suffer. I am not much of a strong hiker but whenever challenge presents itself, I am more than happy to oblige. Not that I really have a choice especially when I’m with those two.
To reach Mt. Talamitam summit, hikers have three choices. The first trail was the one on the right. Although classified as steep and a little difficult, the ascent is not that straightforward. The second was the trail in the middle which is the steepest and a straightforward assault to the summit. And lastly, the trail on the left which also leads to Mt. Apayang summit and is considered the least difficult of the three. If I had a choice, I would always choose the longer but less difficult route but not that day.
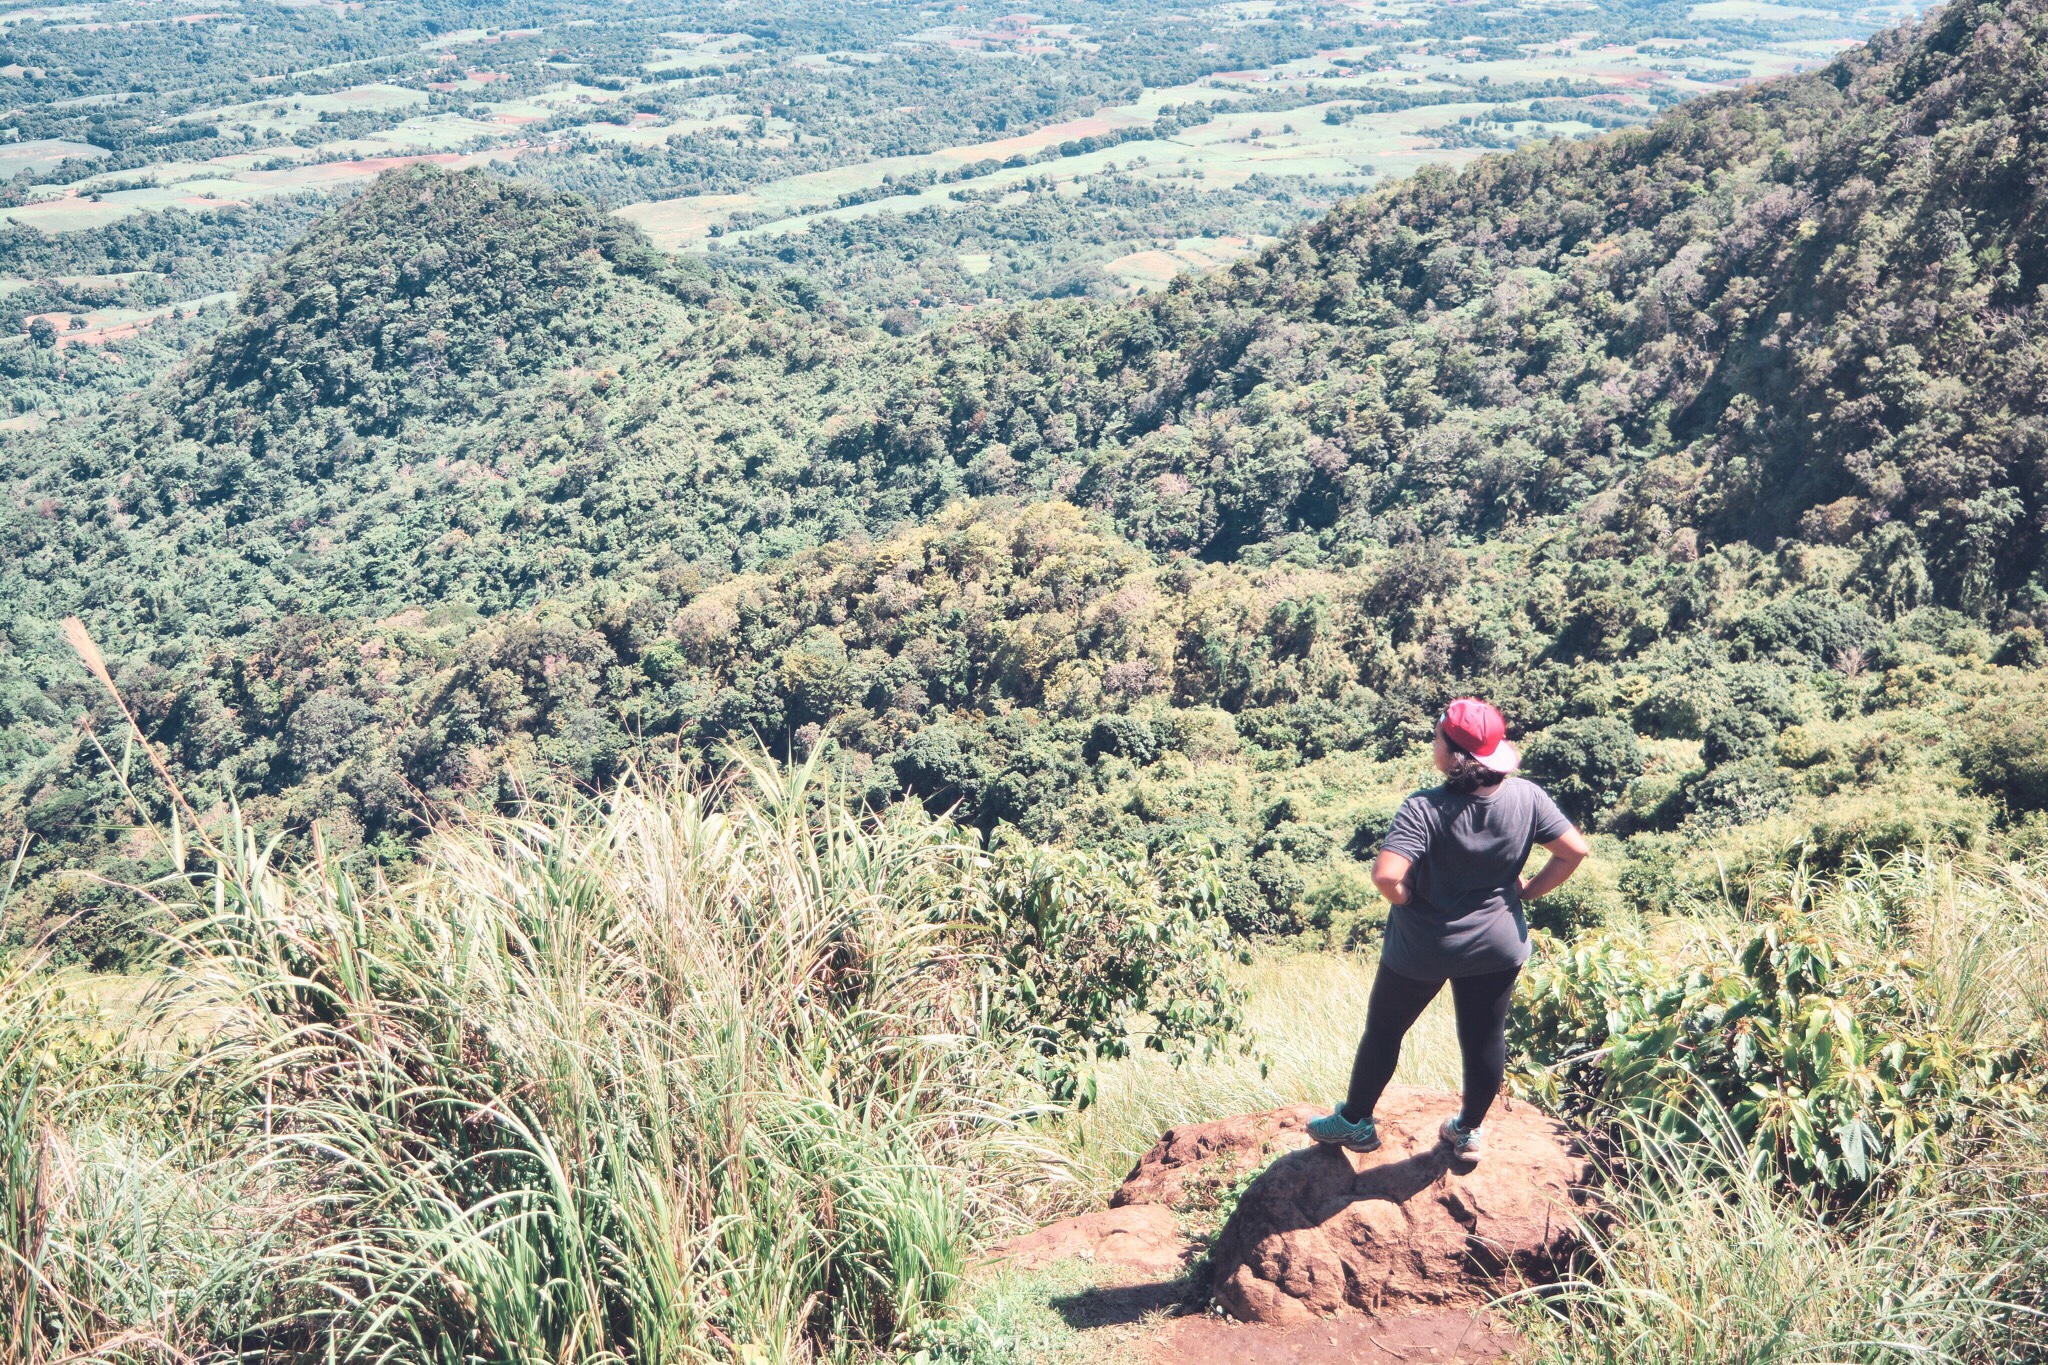
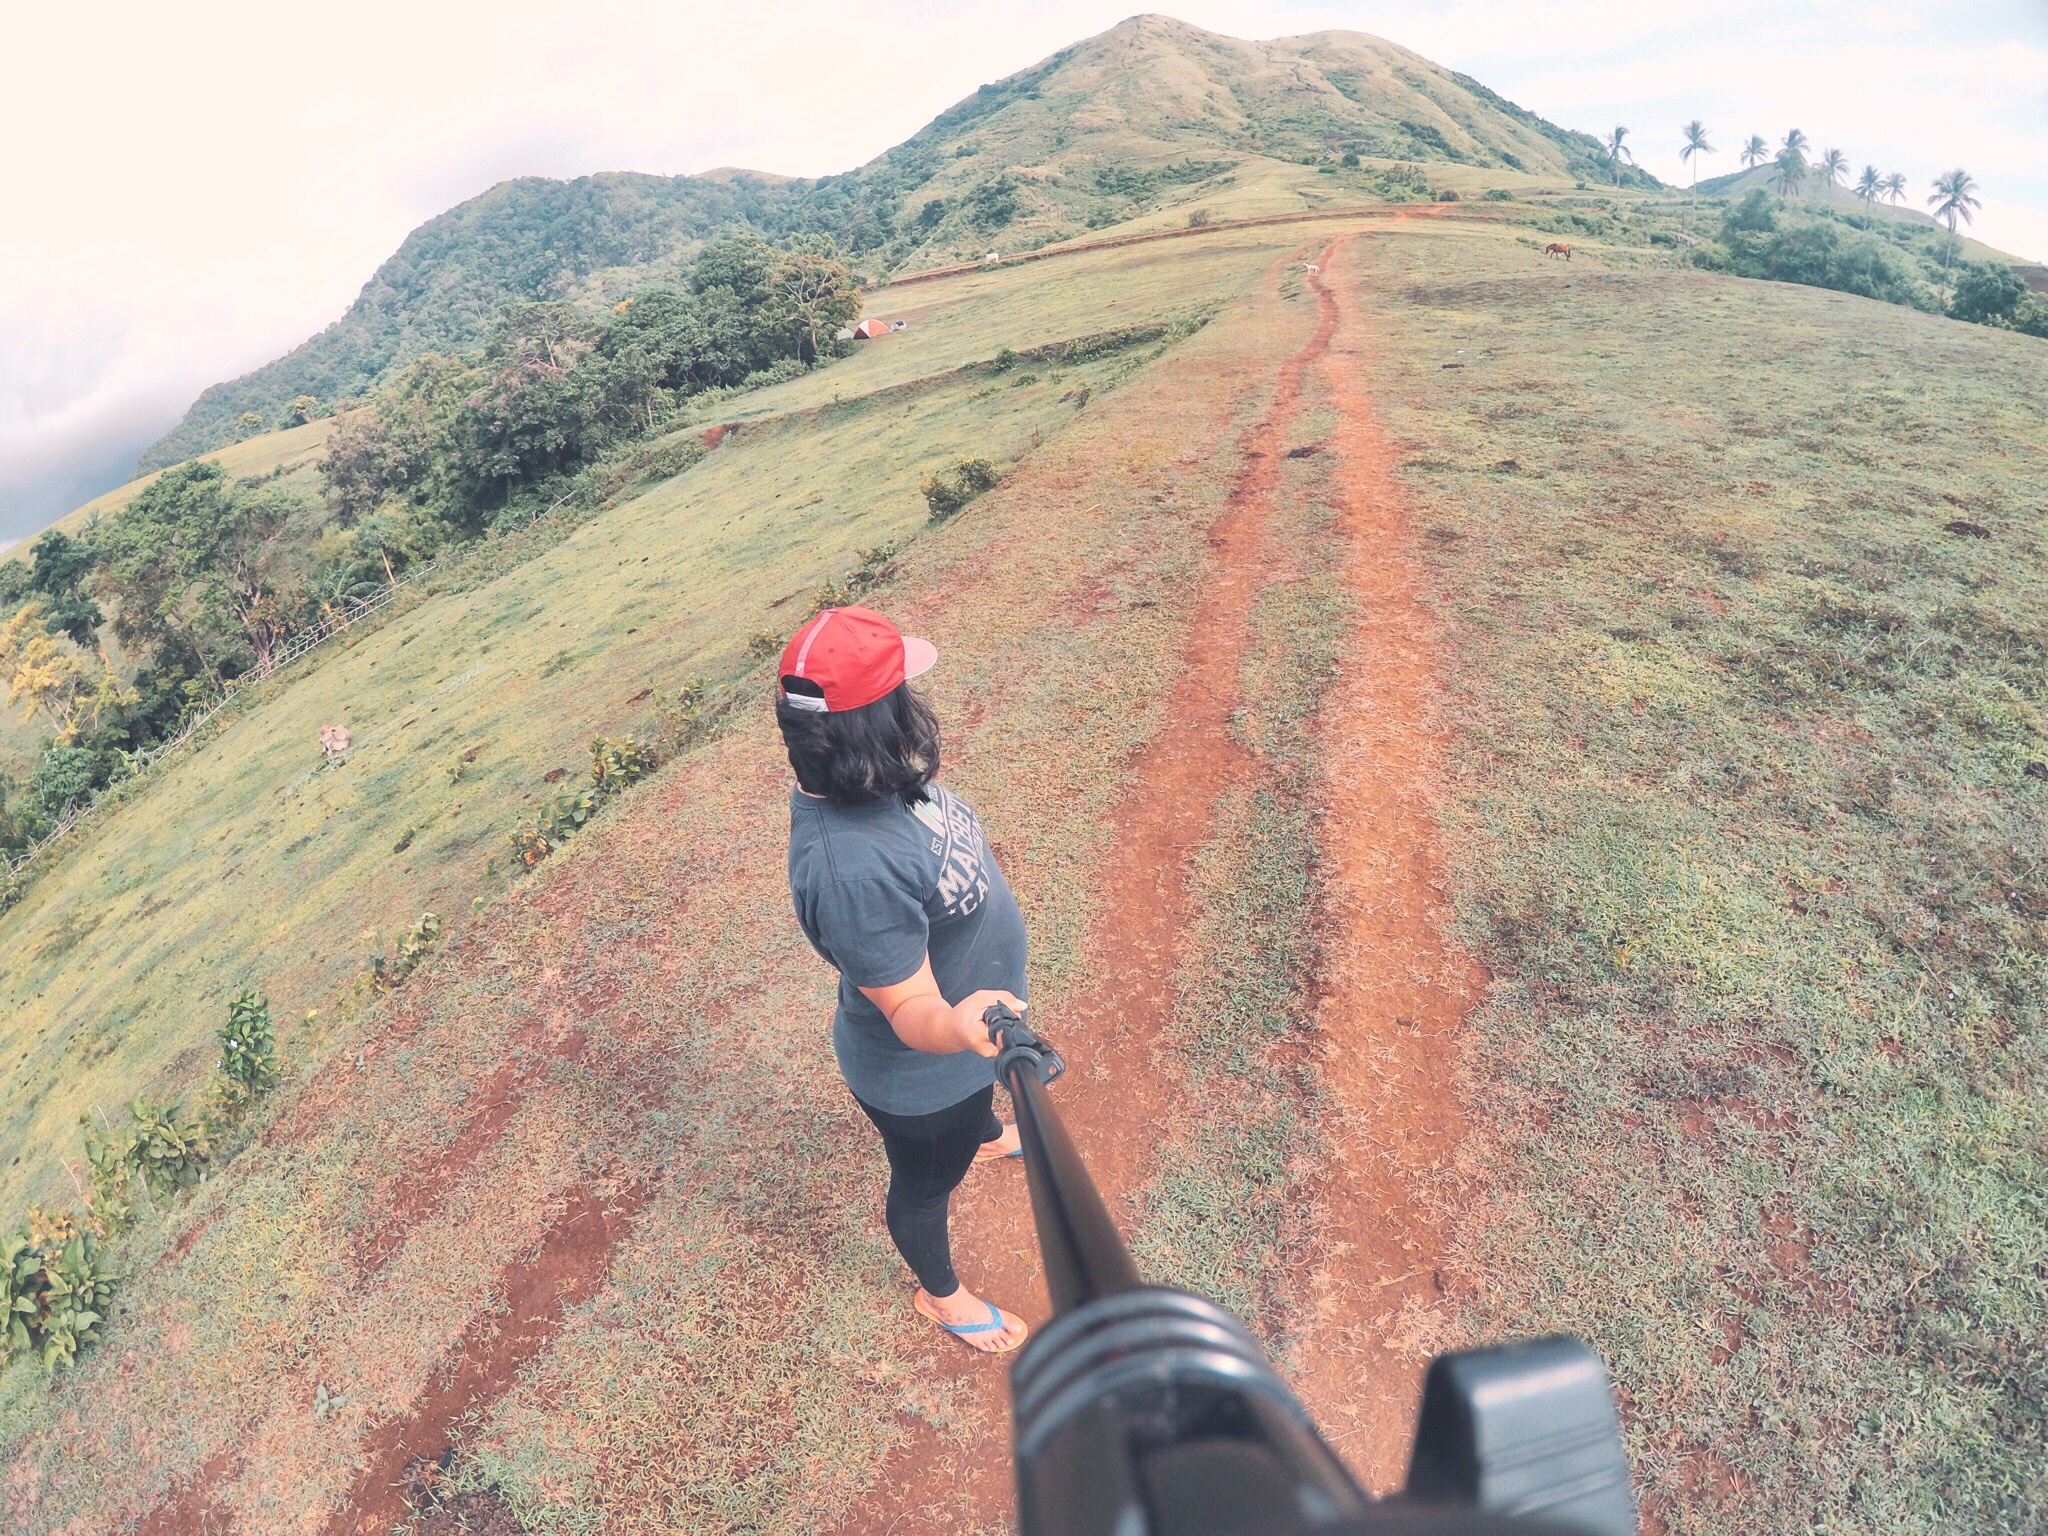
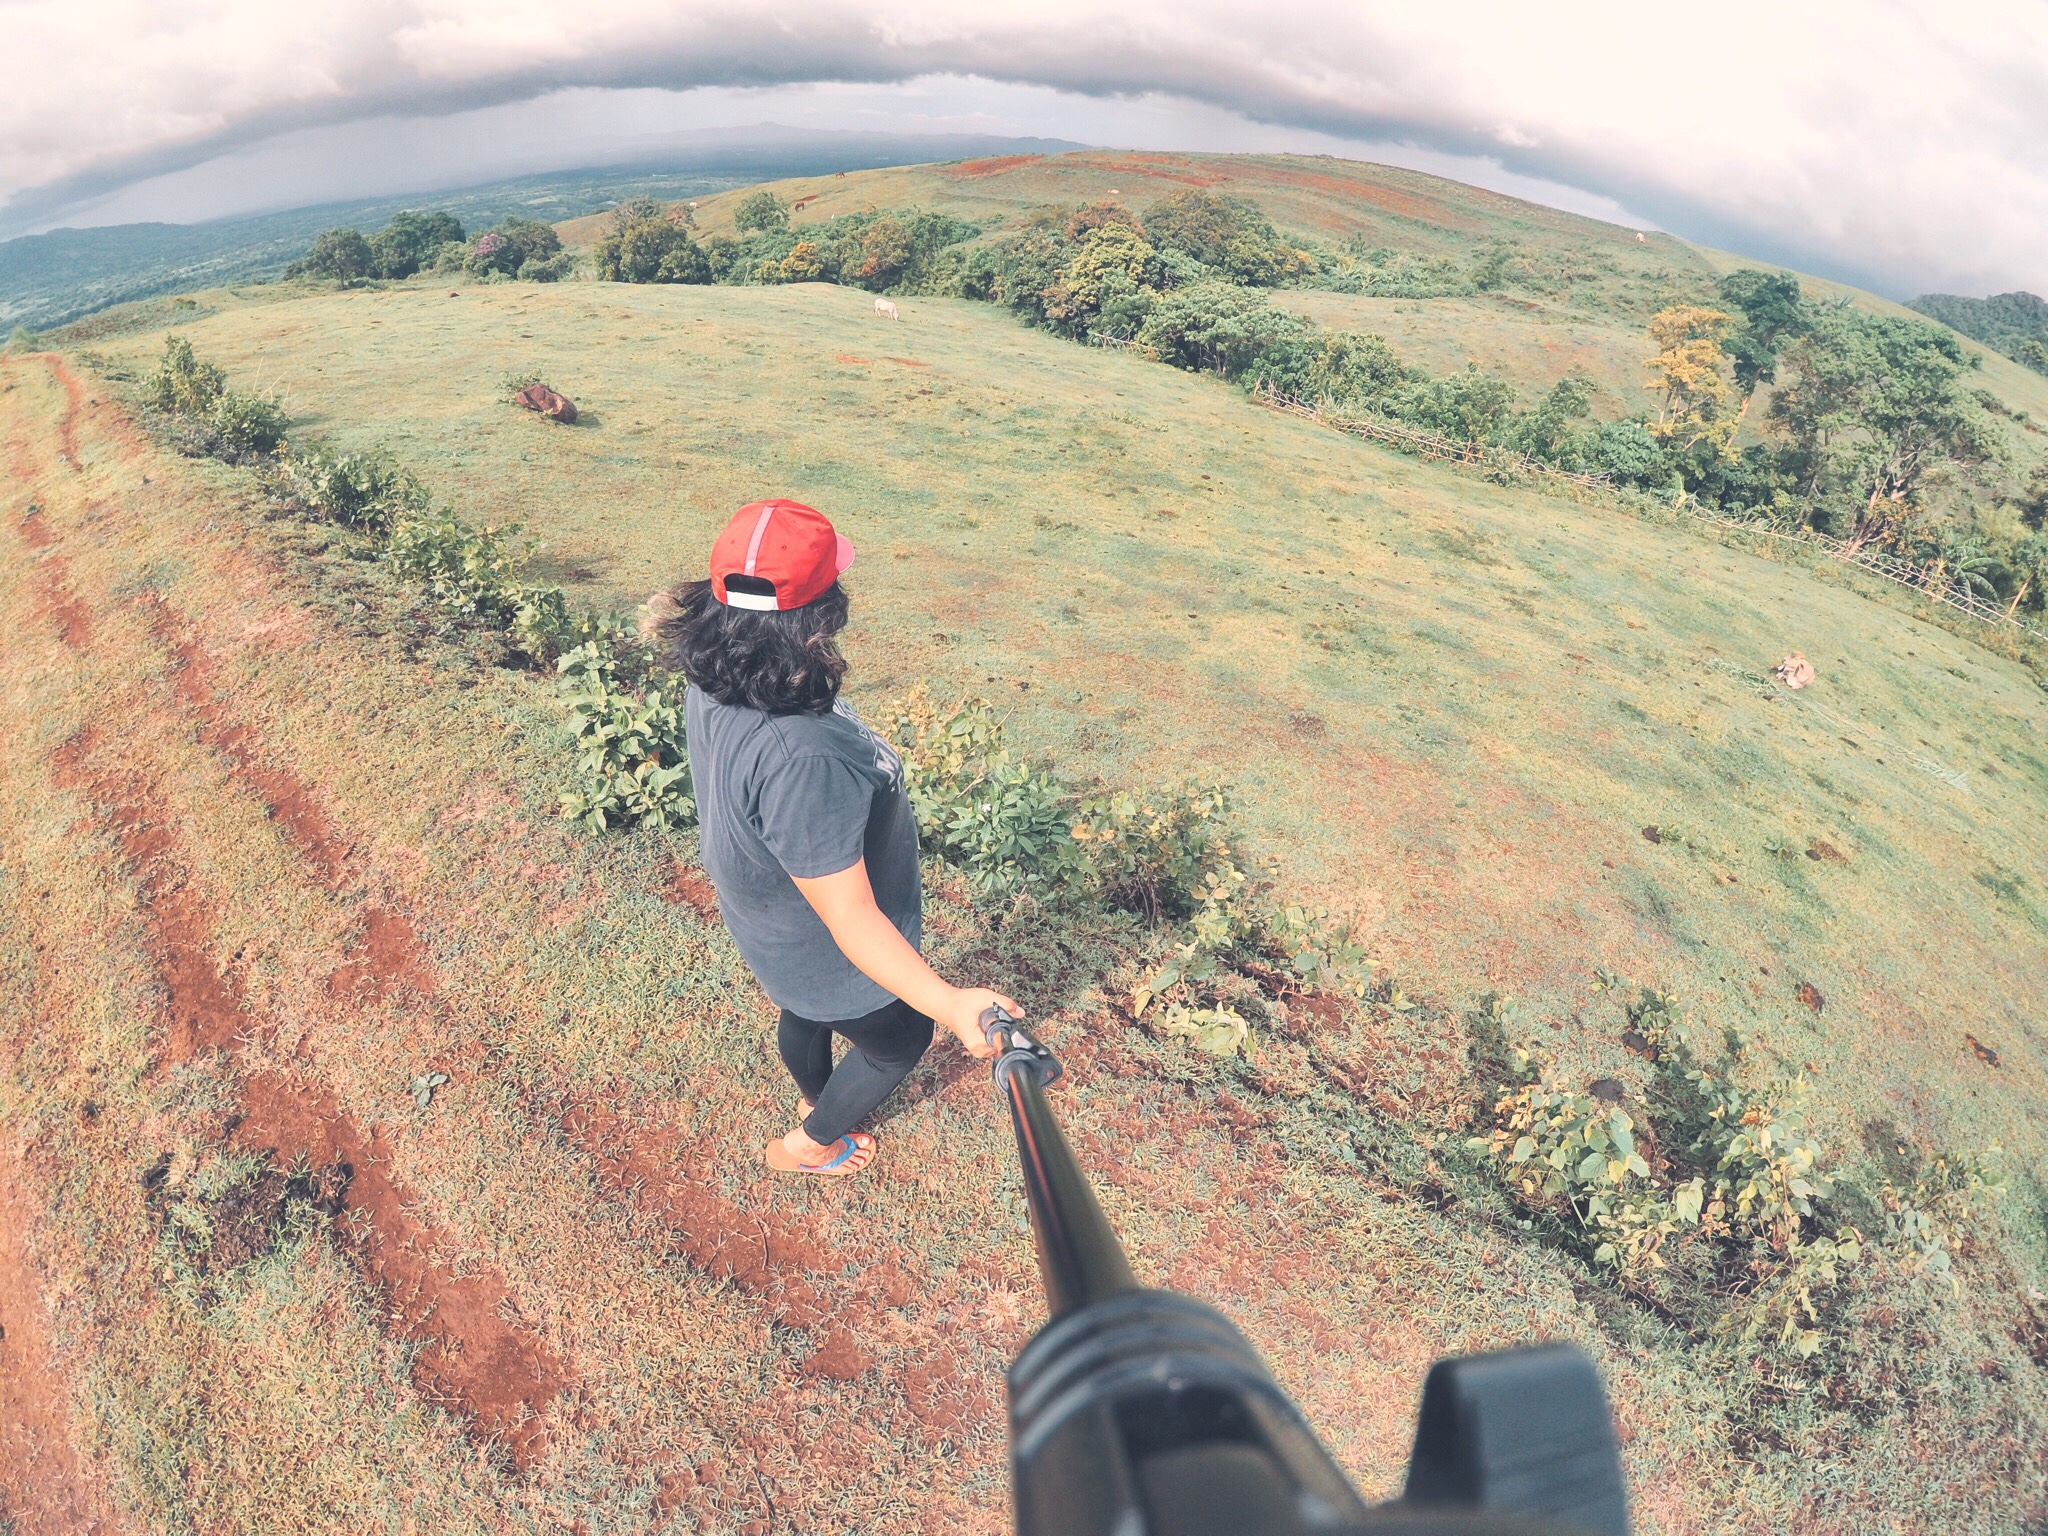
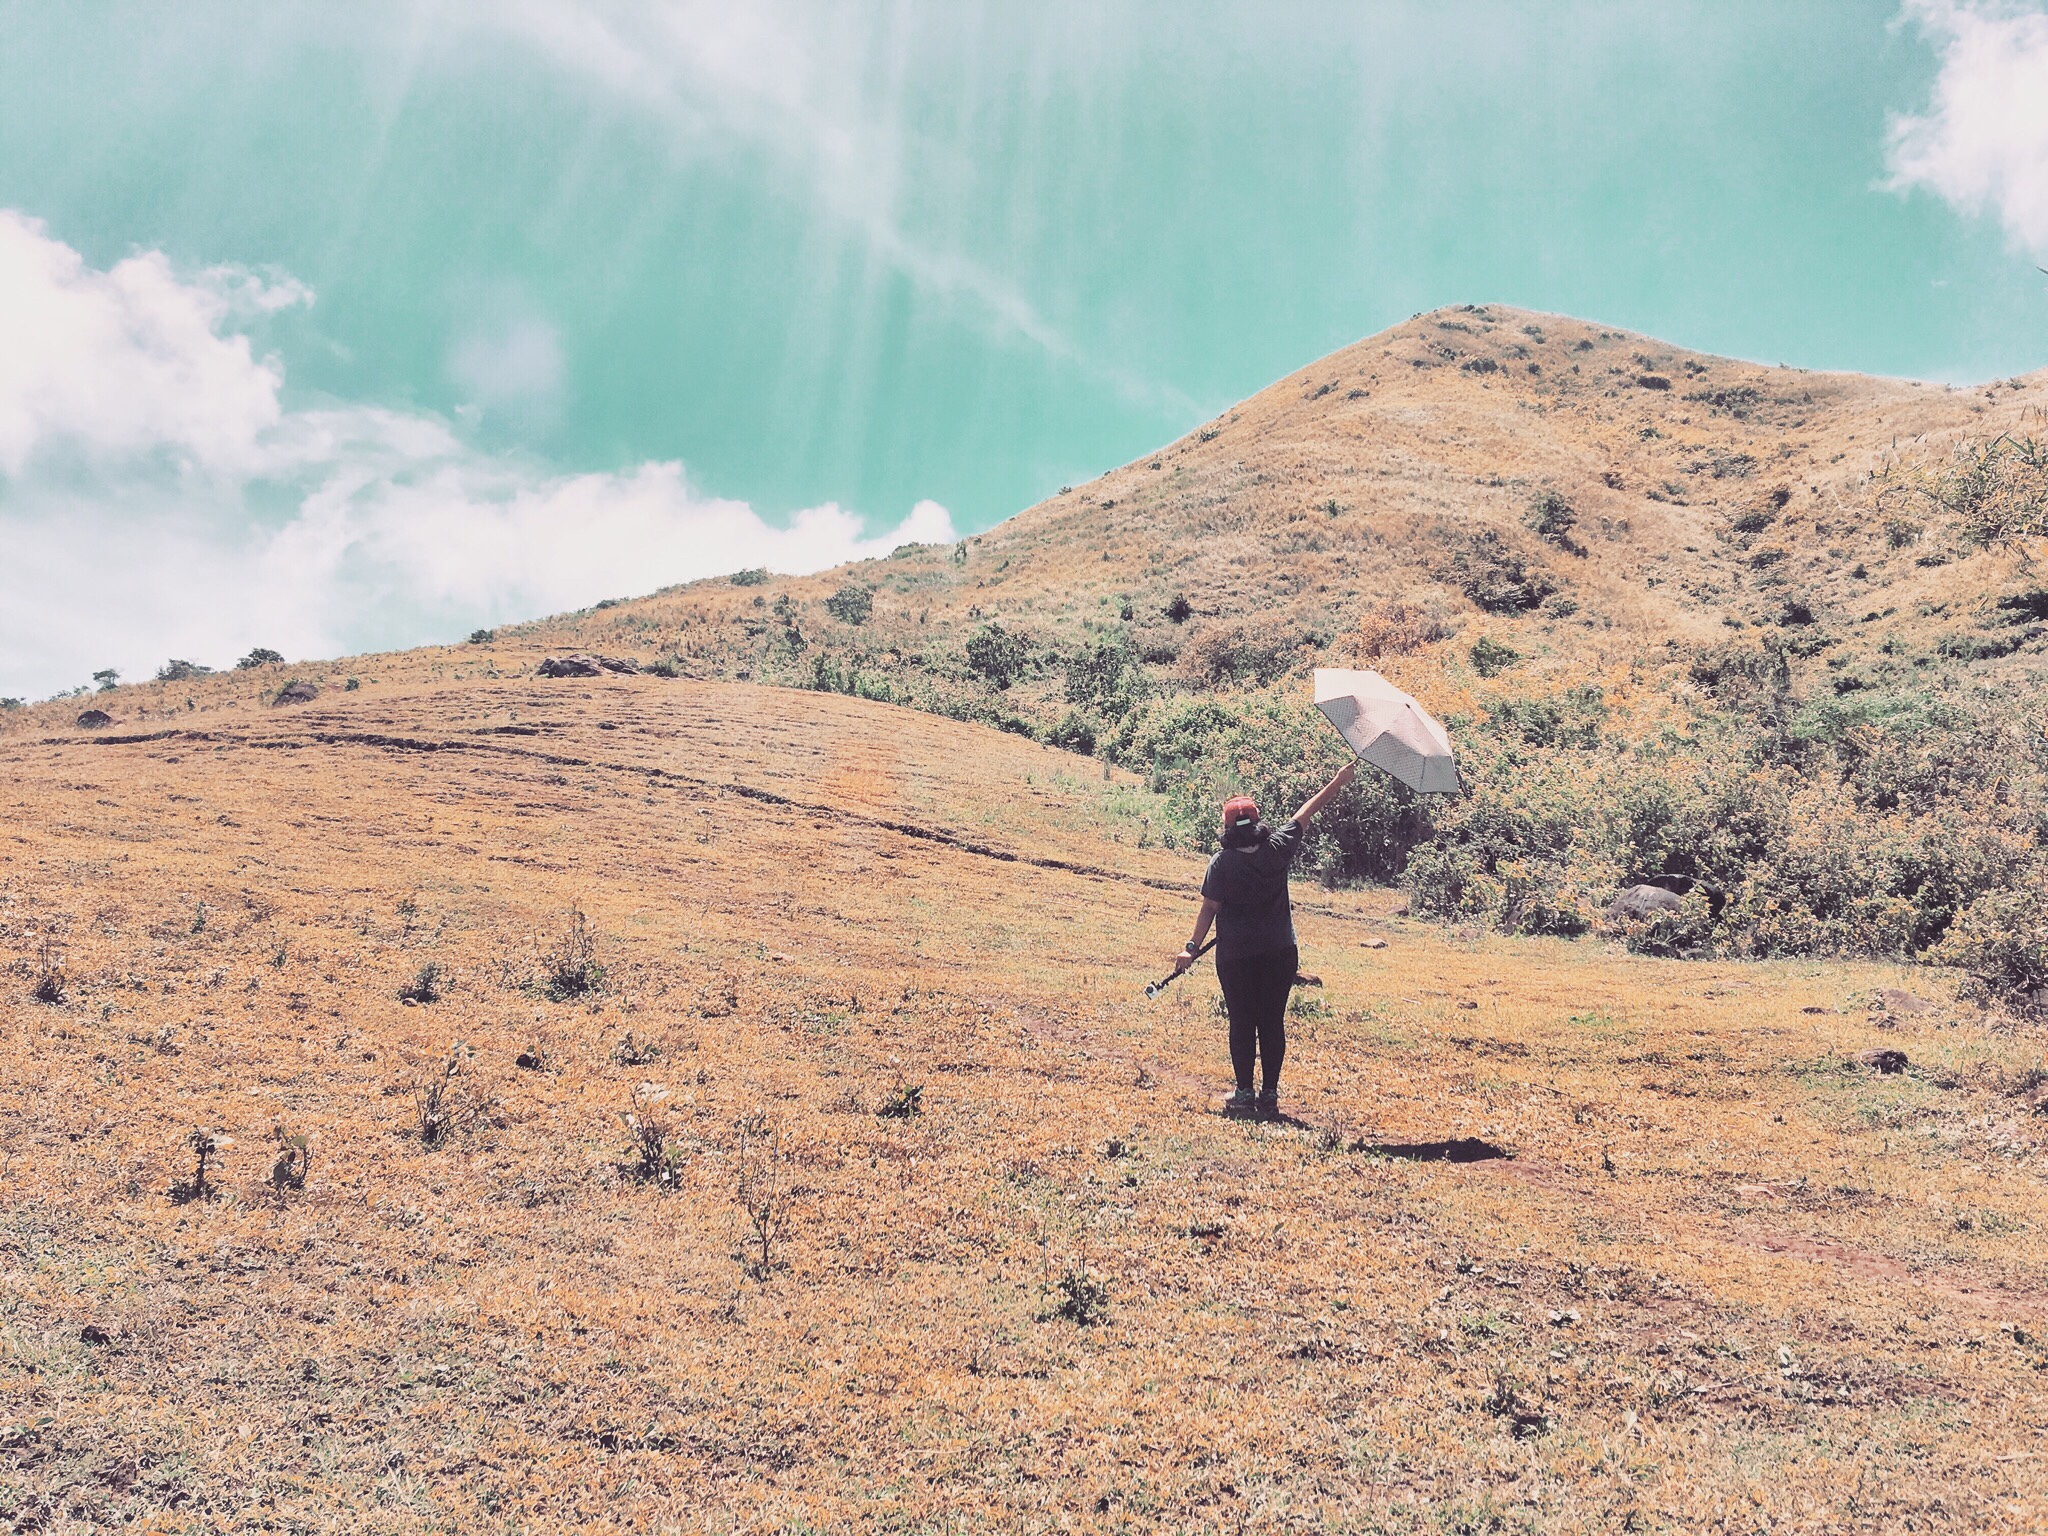
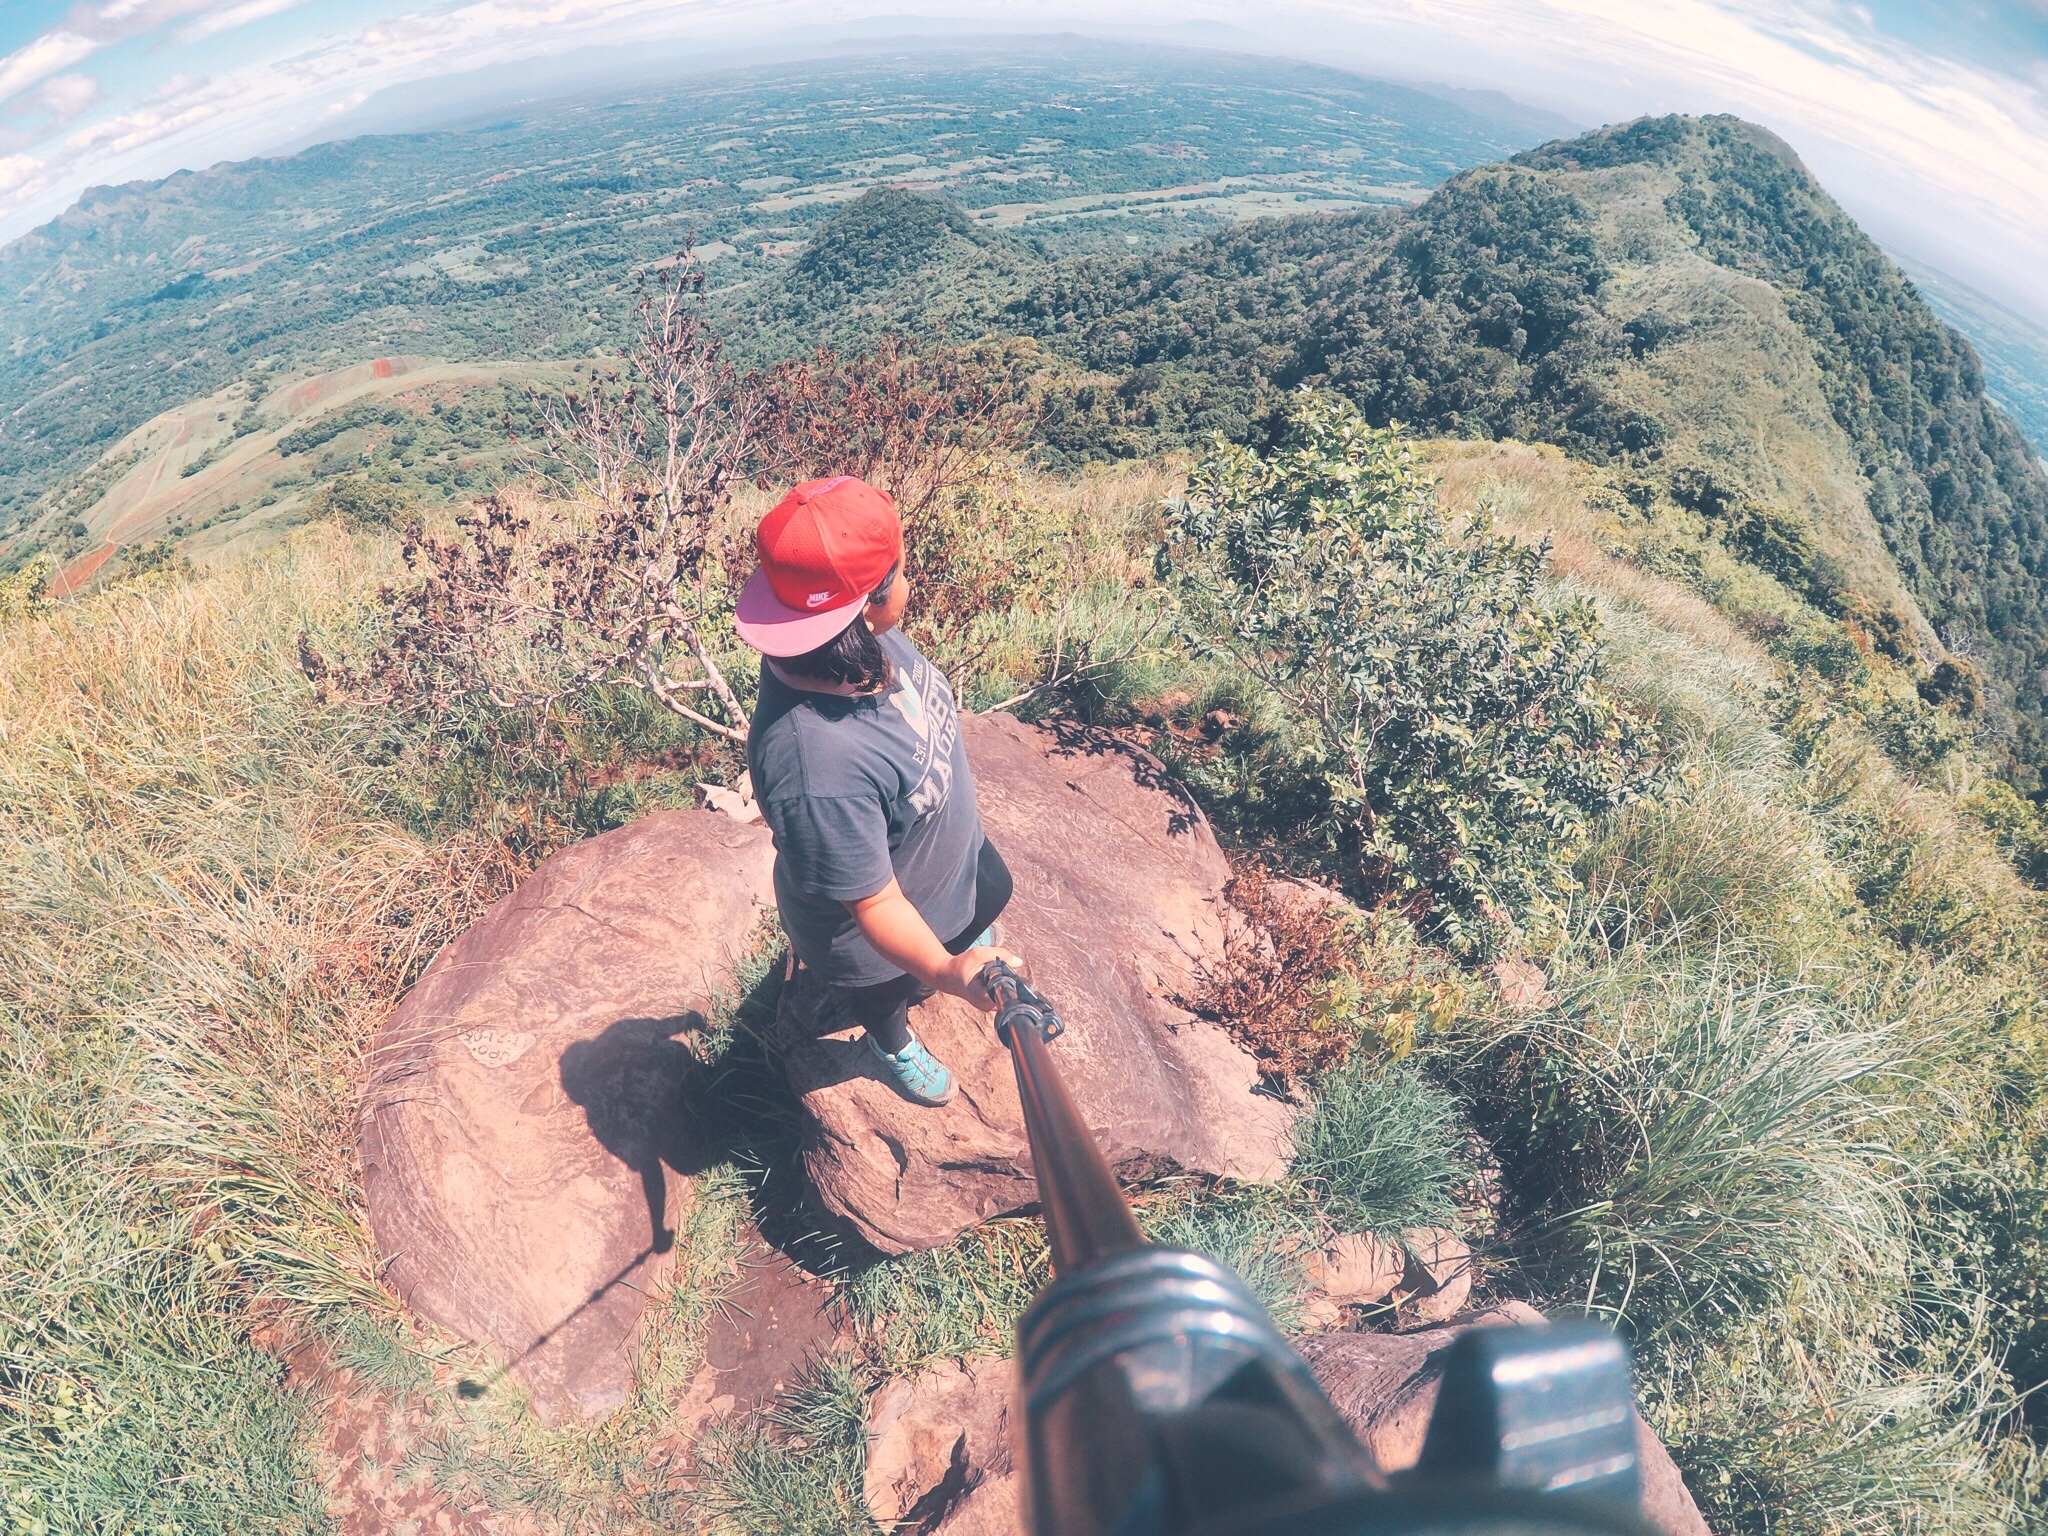
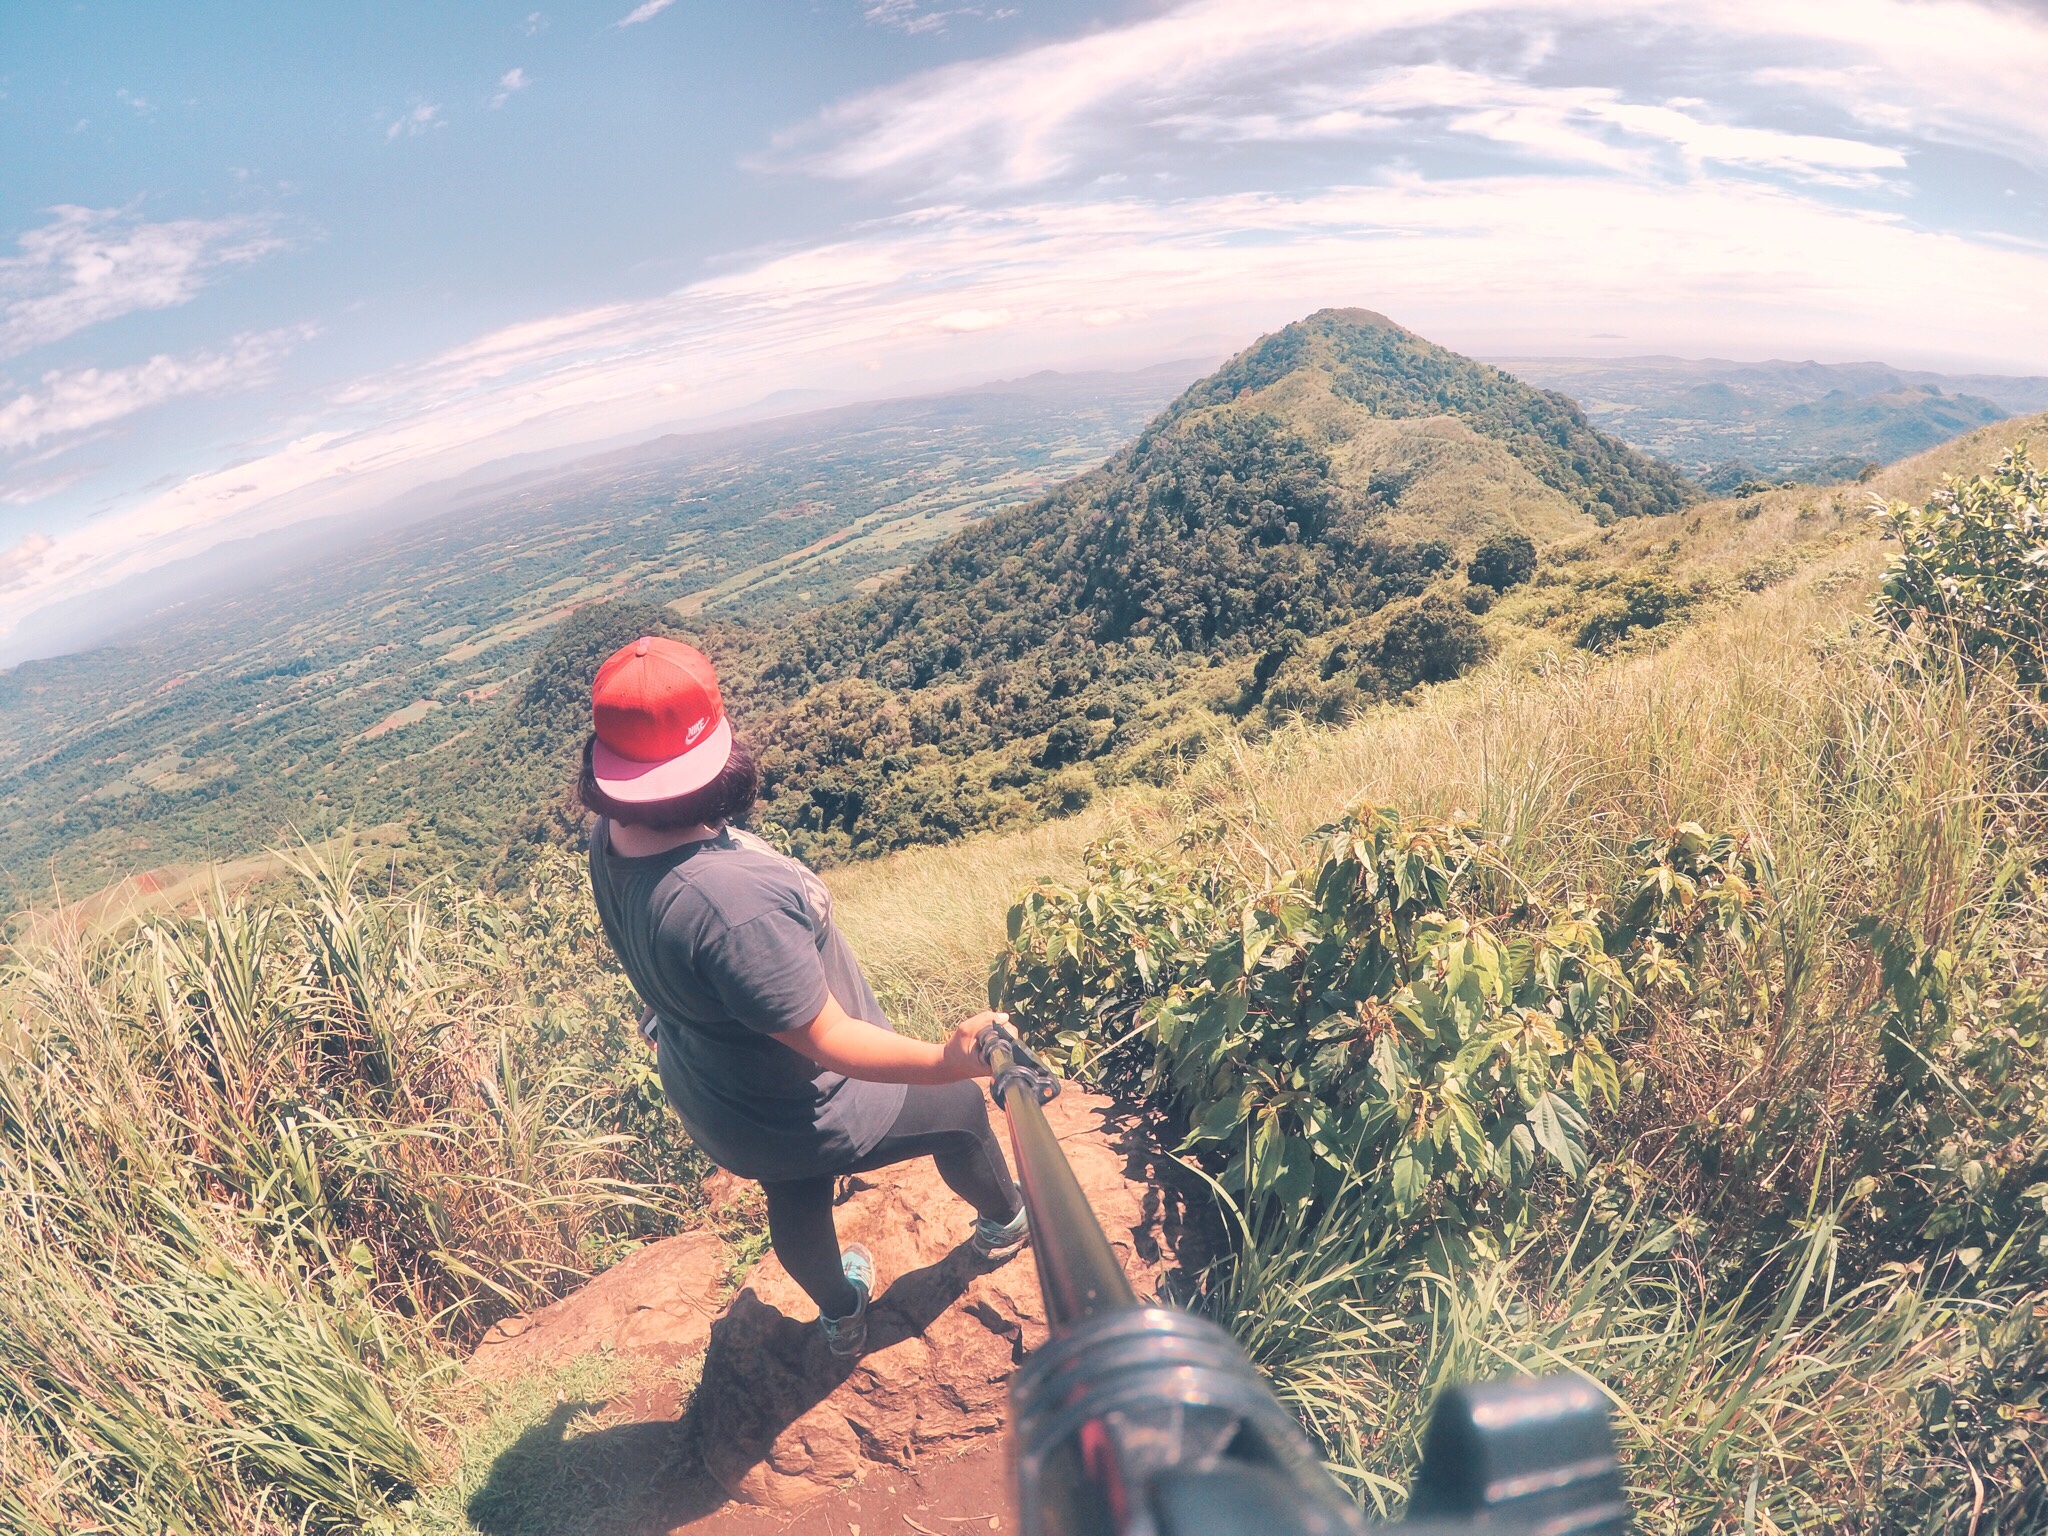
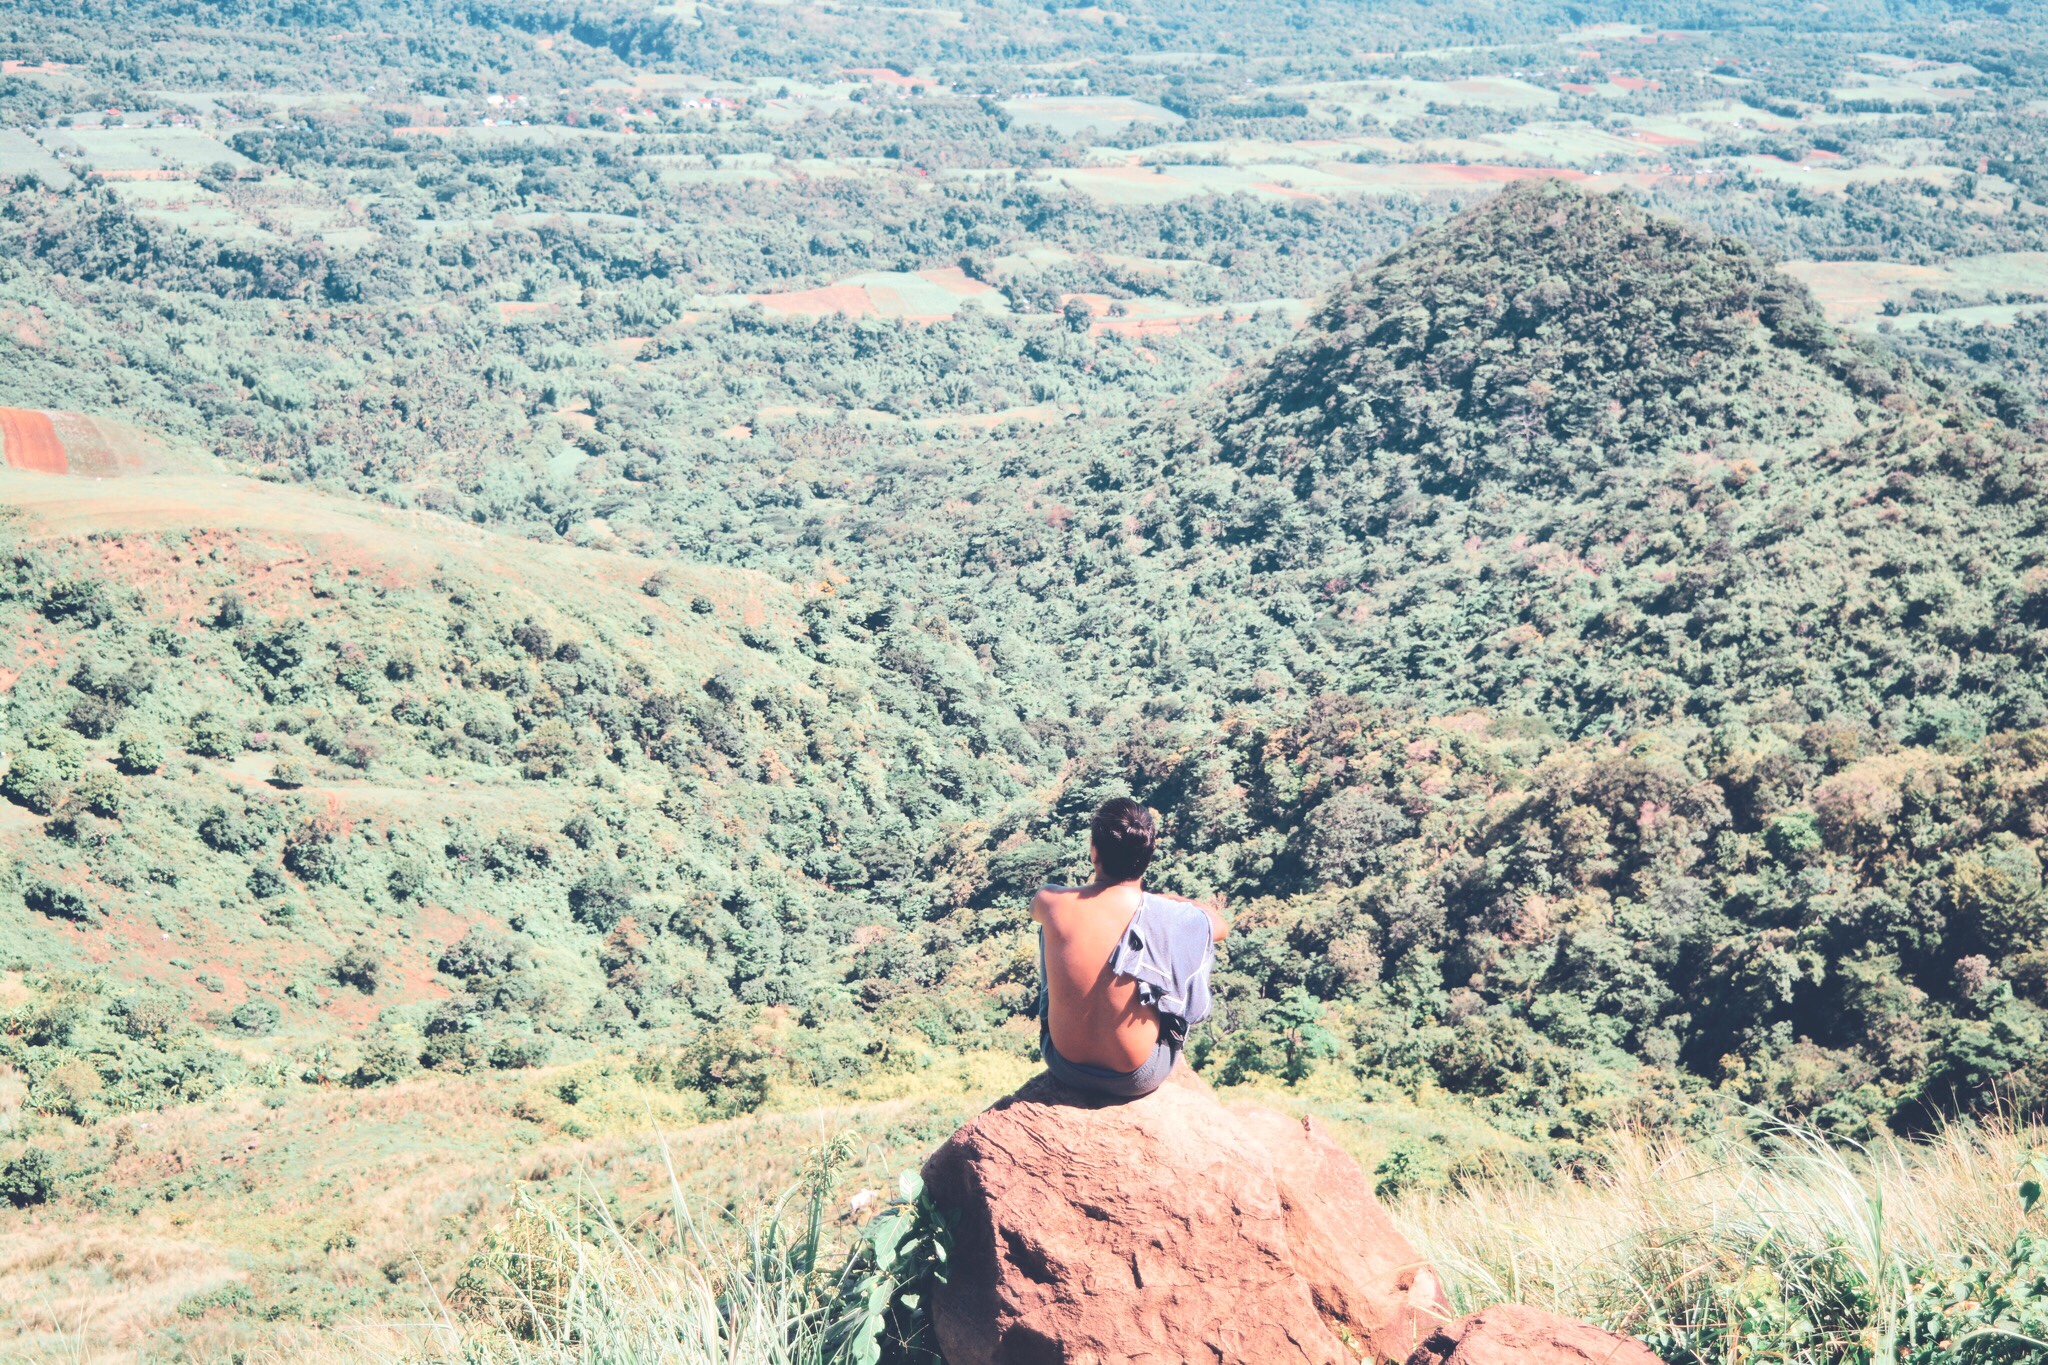
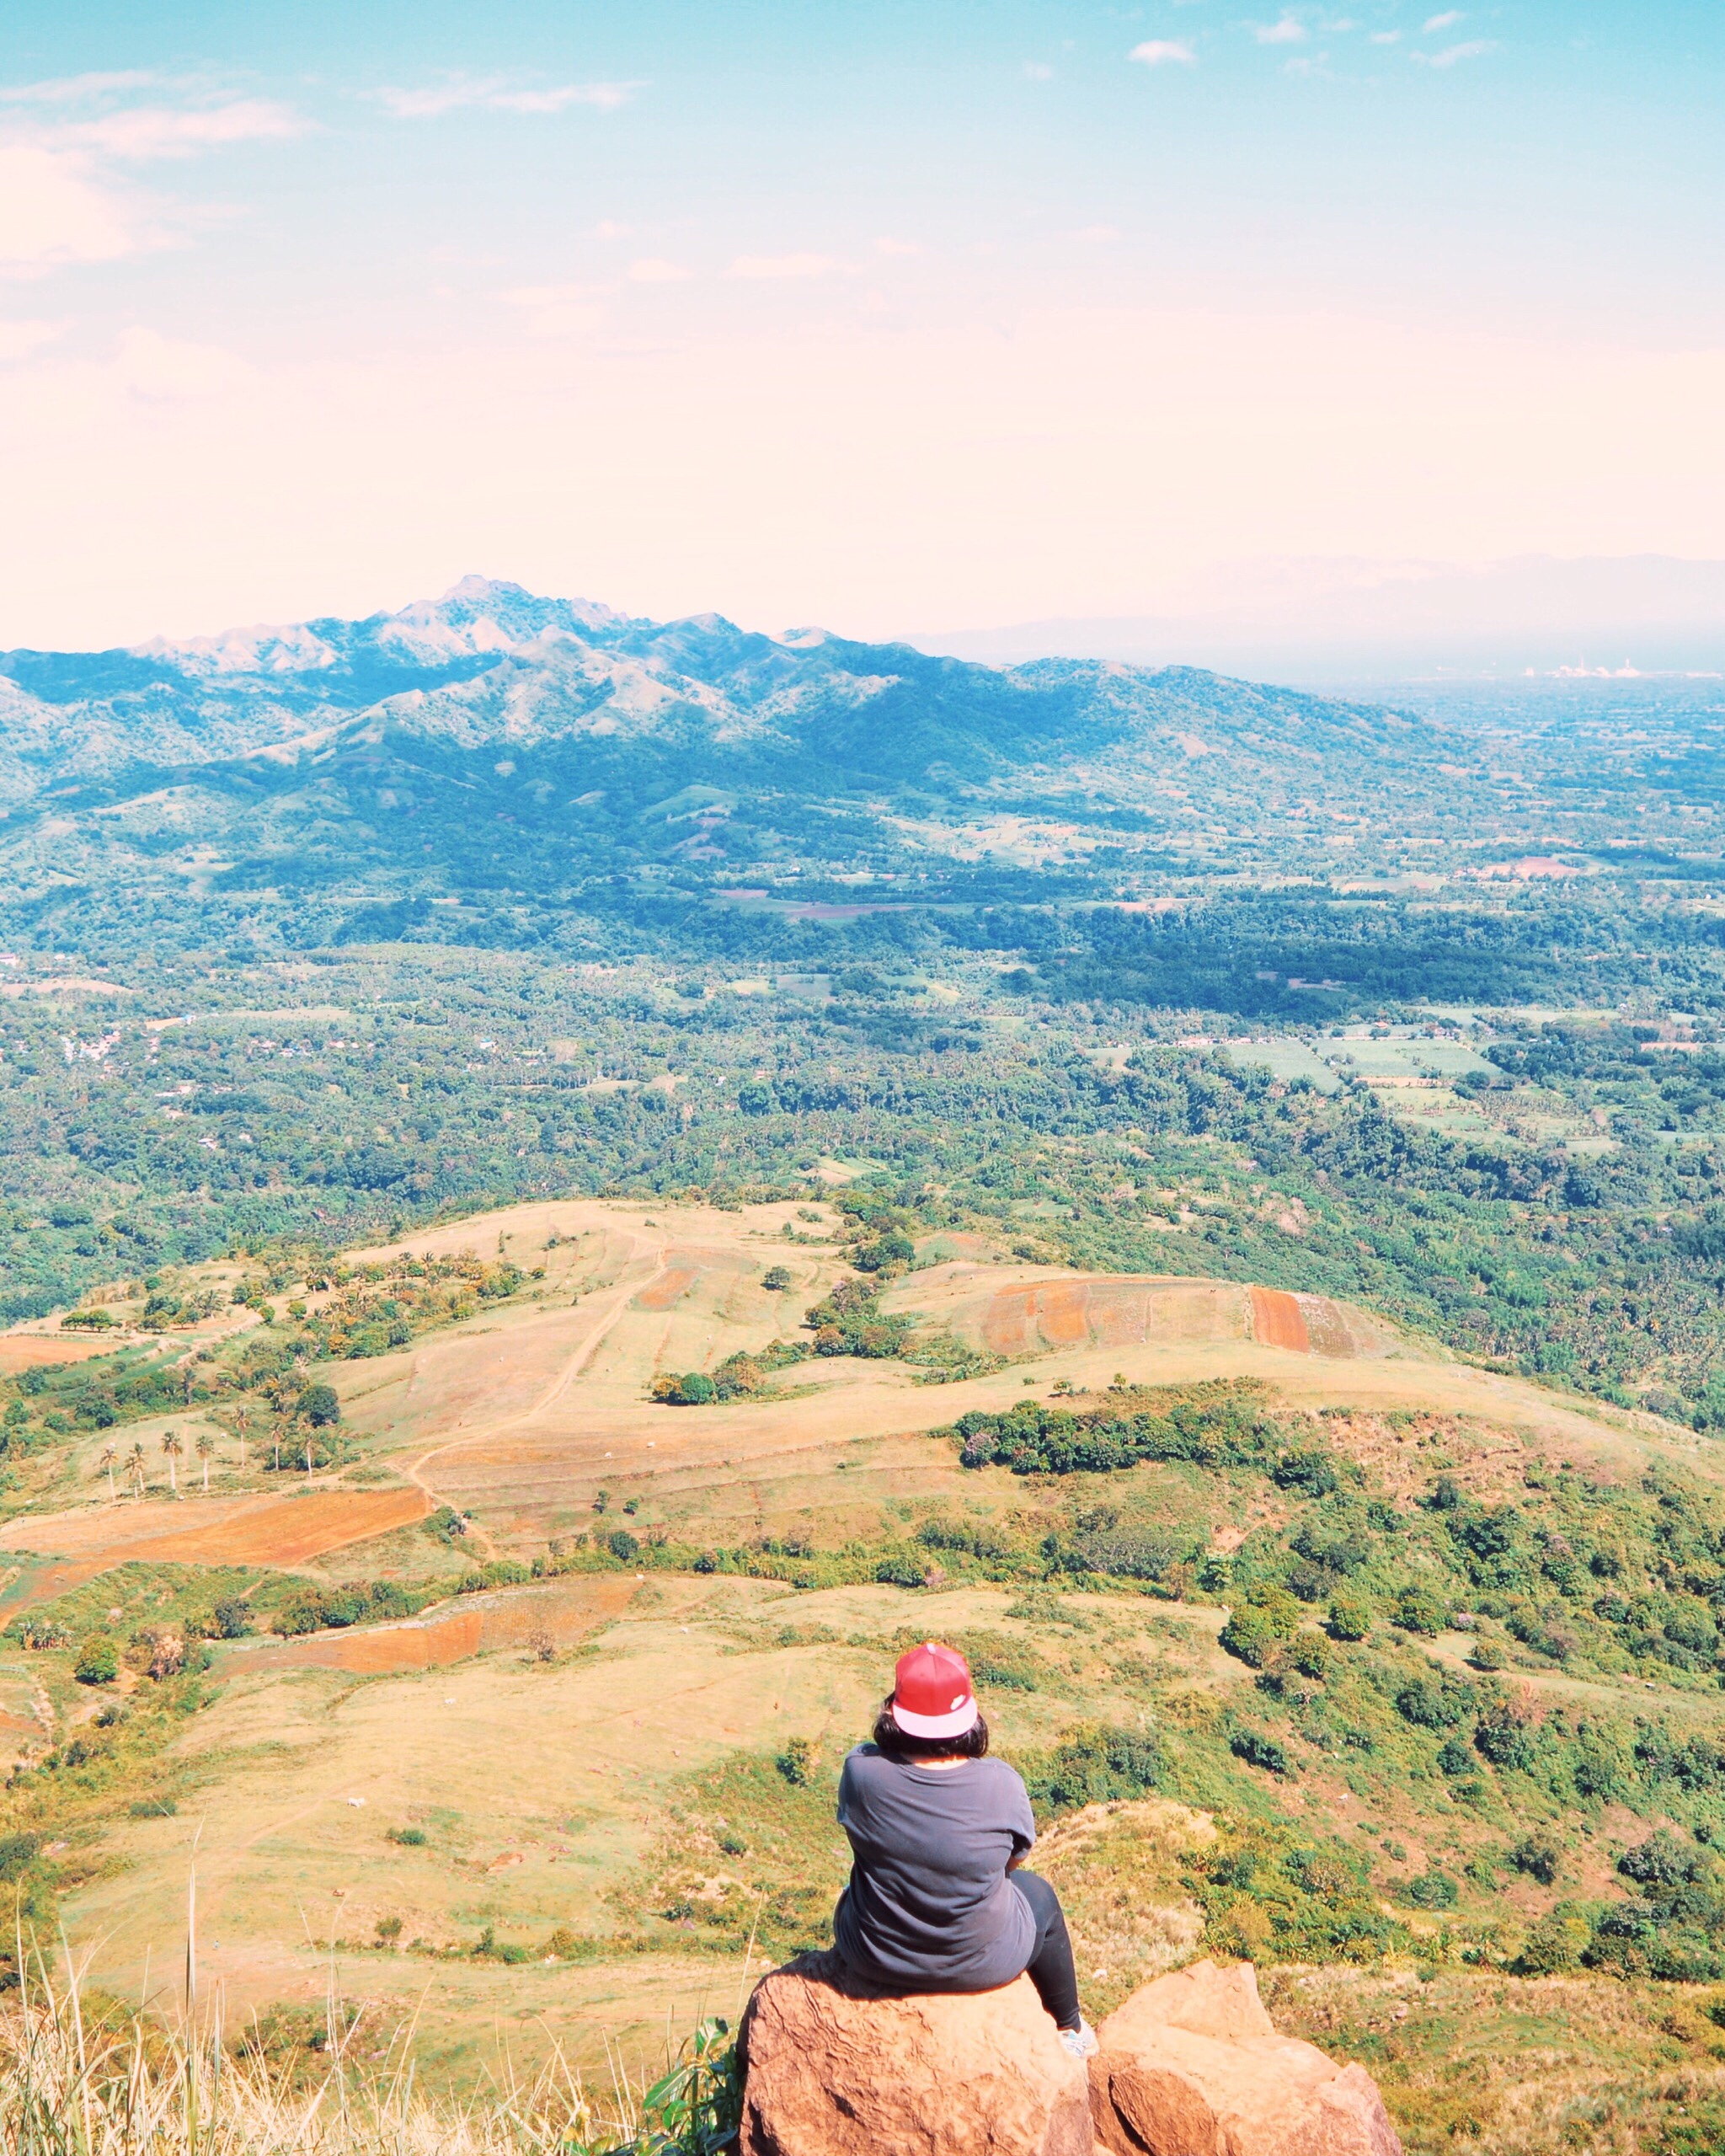
We started the hike to the summit with a walk along moderate slopes. Since we were taking the trail in the middle, our eyes were glued to it while we looked us the start point. We had no guide with us that we were only heeding the directions given to us by the locals earlier. While we were busy trying to find the start point to the assault, our eyes couldn’t help but feast on the scenic view surrounding Mt. Talamitam. It was so dreamy and beautiful with the acres of tall grass swaying as the cold wind blows ever slowly. It reminded me of the simplicity of life I always had in the province. Life there was slow yet simple and honest.
We went hiking further up without taking our eyes off the center trail. We believed that somewhere along the way, we would find the path that will lead us to it. But as we went further, the tall bushes started to obscure the view and all we had left was the narrow trail in front of us. I wanted to go back but something told me to get going. We completely lost the sight of the middle trail once we entered a thick forest. The trail we were taking was definitely not the right trail which will lead us to where we wanted but I strongly felt we were on the right track. We went on further, taking on some steep uphills before the trail broke into two.
As soon as we reached the junction revealed Mt. Apayang. We knew full well that any trail other than the one on the right won’t lead us to the summit hence our feet started to trace it basically out of instinct. This time we encountered more steep uphills and the side of the trail has started to shift from towering trees to tall and thick bushes which assured me of the qualities of Mt. Talamitam. The sun has started to hurt a bit and it didn’t help that we left our water bottles in the resting hut. I was getting too thirsty that although I knew the trail was nothing I could not overcome, it started to feel as if it was never-ending. We took a few breathers every so often. My mouth was starting to dry and I had started to feel that unwillingness to keep going. Just when I was about to give up and trace my way back came the summit.
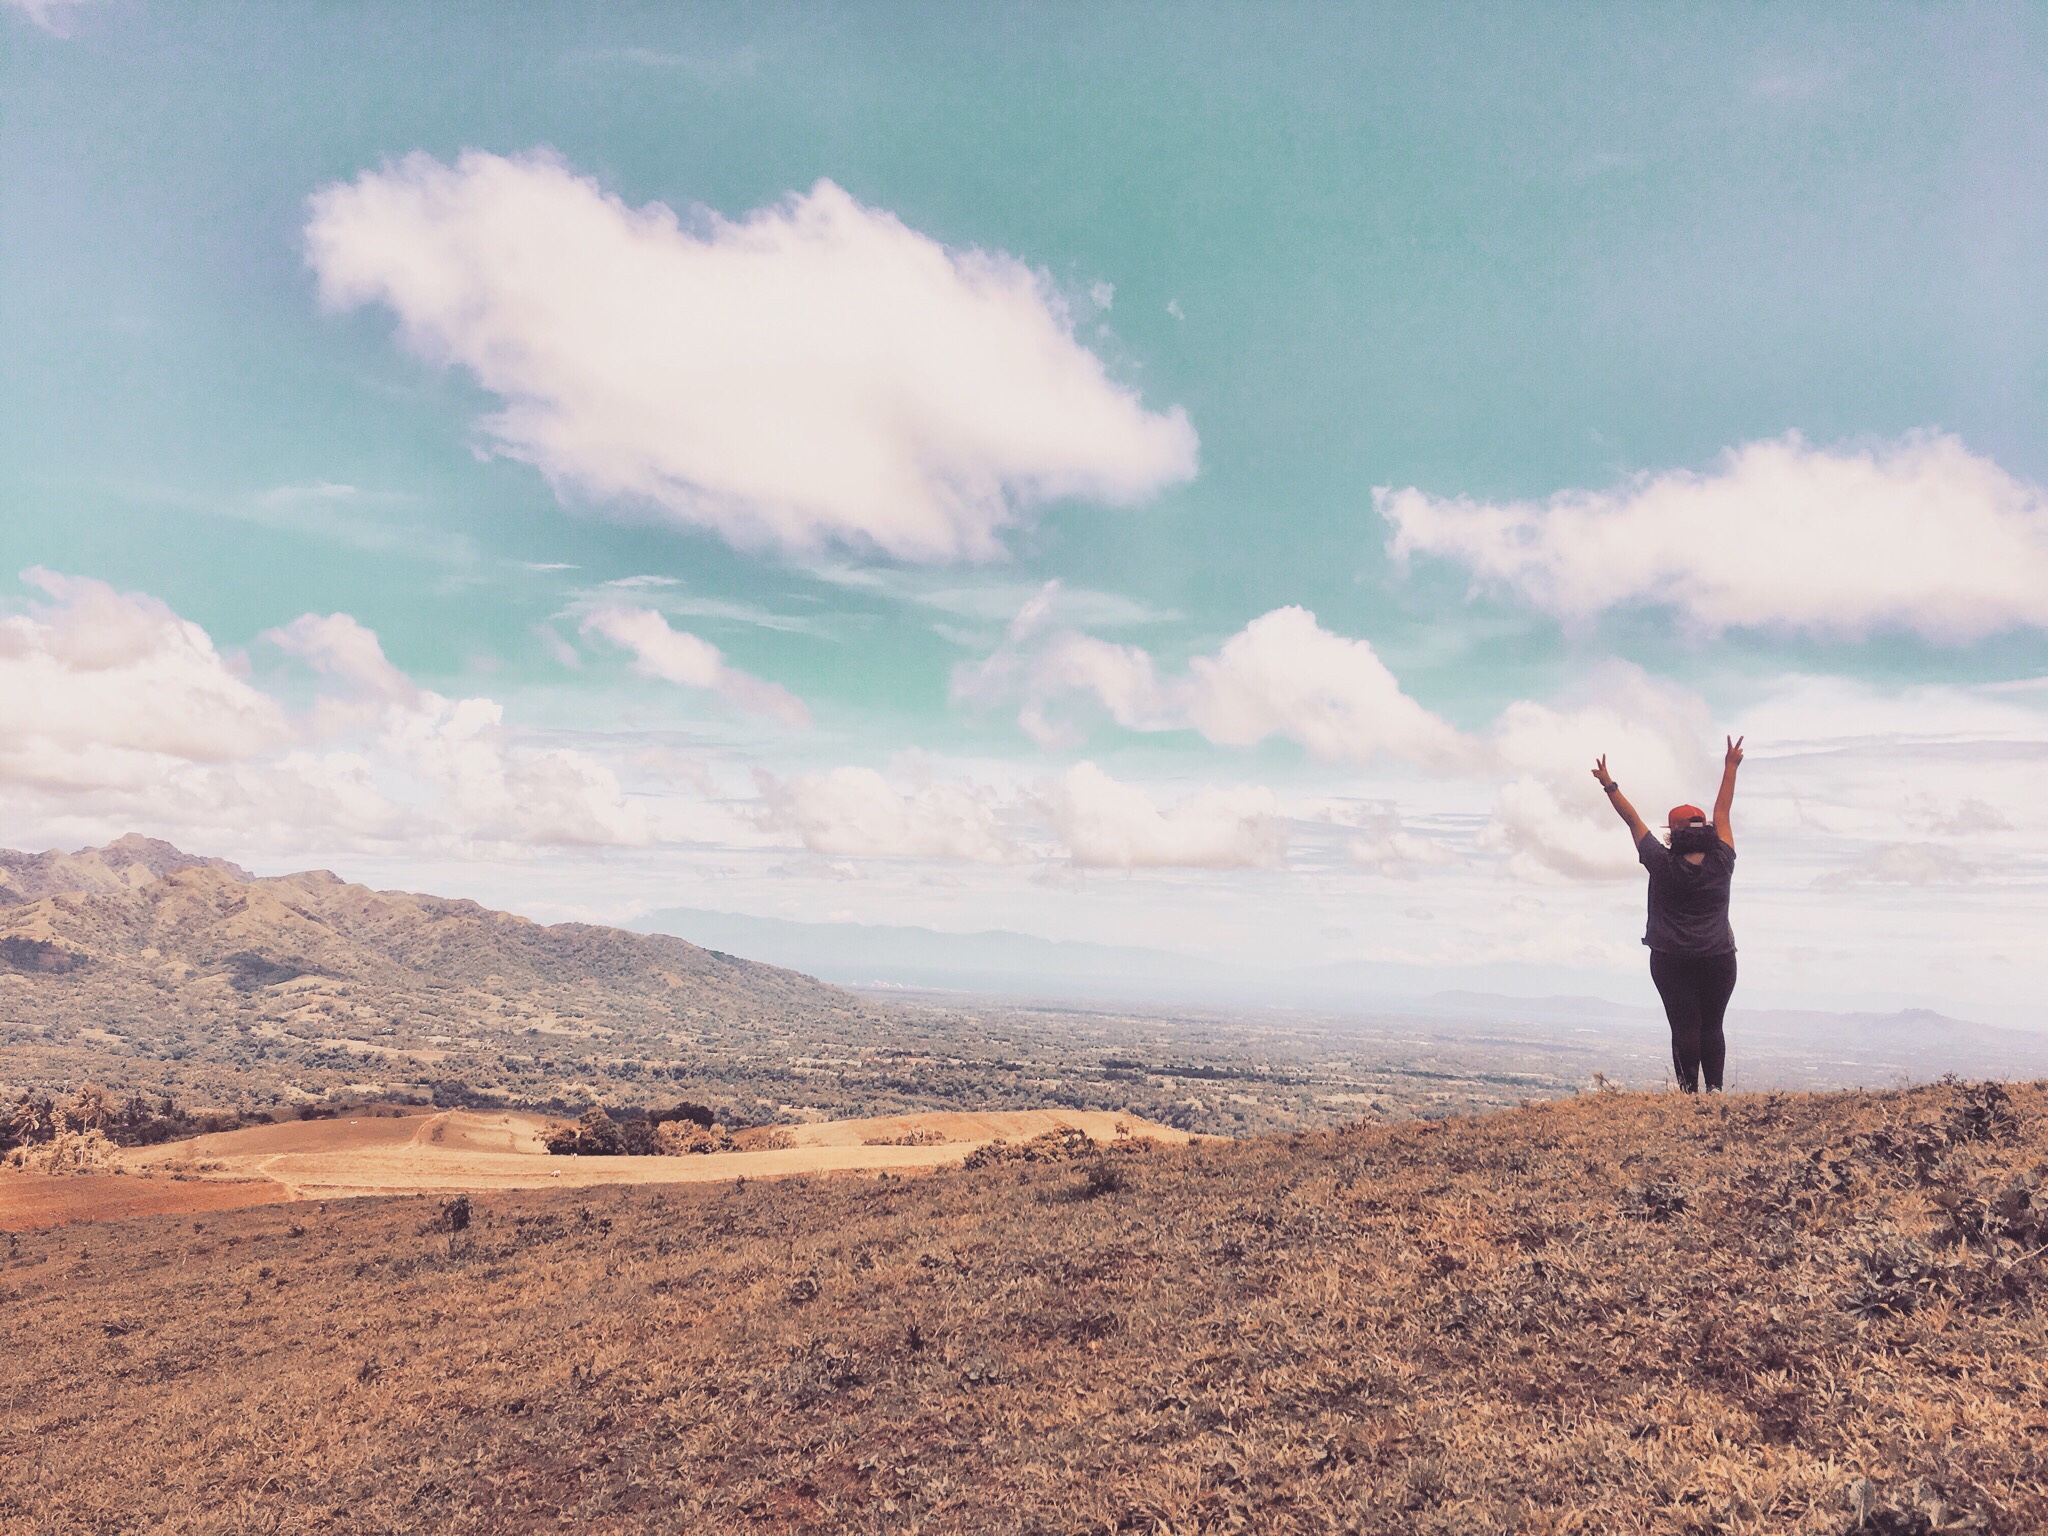
We reached the summit less than an hour after we left the resting hut. I hurriedly ran to look me a store so a I can chug down some cold water or buko juice but to my disappointment, the only store there was already closed. I took me some minutes to cool down while looking at the magnificent view in front of us with Mt. Batulao besting the rest. The gorgeous view got me into asking why this mountain have always come in second when it has every right to be first. And then it hit me that mountains holds no competition among themselves and they are all beautiful in their unique way and that it only us humans who tend to make the comparison.
I felt finally rested after retreating to my reverie for a moment and was ready to join my buddies in collecting more memories in Mt. Talamitam. When we had enough photos, off we started with the descent using the trail in the right. It was exactly 2PM our time and after 30 minutes, back we were in the resting hut. The local couple was already done for the day with their things packed and store closed. They were obviously just waiting for us to arrive. That’s when it felt how bizarre the events were. At barely 3PM, the entire mountain felt like a ghost town. It was so quiet with only the chirping of the birds filling the air that was as cold as the air at dusk. It kinda felt eerie to me.
The couple went ahead while we rested one last time in their resting hut. They left with us their pet dog who will guard the hut for the night. We spent several minutes throwing banters before deciding it was time we go down. The descent was surprisingly easy and swift taking us only 30 minutes while we thought it was gonna take us longer. We quickly dropped by the green lagoon and saw many locals enjoying a dip. We then headed back to Kuya Paul’s. While he prepared the Bulalo we ordered, we took turn in taking a refreshing shower. Once done and dinner was all consumed, home we went and called it a day.
HOW TO GO TO MT. TALAMITAM
TIPS AND USEFUL INFO IN HIKING MT. TALAMITAM
- Mt. Talamitam’s trail is relatively easy. It will start with an easy walk with mildly steep downhills from the jumpoff until the two bridges followed by a steep uphill which may take less than an hour to cover. Then it will be followed by moderate to easy slopes until the assault to the summit. The ascent to the summit is pretty much the same as the first assault but the difference is the trail to the summit is exposed to the sun.
- Day hike is possible with the hike to and from the summit lasting 4 hours at most. Night treks are also allowed and is more recommended.
- For those camping overnight, there’s a designated camp space at the foot of the summit but since Mt. Talamitam is pretty spacious, you can actually set up camp pretty much everywhere as long as you camp in stable areas and take care of your trash.
- Guide is not required because the trail is established and is relatively easy. Reservation and advanced booking are not also required.
- Bring enough water and start the hike early since Mt. Talamitam is dominated by open trails and would really be difficult to hike once the sun is up.
- As always, observe LNT (Leave No Trace). Bring rubbish bag with you and take your trash all the way home. To minimize your trash, bring reusable water bottles and enough water supplies. Also bring home cooked meals placed in reusable containers to avoid buying fastfood takeaways and water.
BUDGET, ITINERARY & OTHER ESSENTIALS
| SUMMARY OF EXPENSES | 2-Way Bus - P258 Entrance Fee - P50 Food - P300 Shower - 20 Total - P628 |
| SAMPLE ITINERARY | DAY HIKE 0400 Meet Up 0500 ETD Mt. Talamitam Jump Off 0600 ETA Mt. Talamitam Jump Off. Register. Breakfast 0700 Start Hike 0800 1st Resting Hut 0830 2nd Resting Hut 0930 Summit. Photo Ops. 1030 Start Descent 1200 Kuya Paul. Lunch. 1300 Waterfalls. River. Or Green Lagoon Sidetrip 1500 Wash Up 1600 ETD Home OVERNIGHT HIKE Day 1 1200 Meet Up Lunch 1300 ETD Mt. Talamitam Jump Off 1600 ETA Mt. Talamitam Jump Off. Register. 1630 Start Hike 1730 ETA Campsite. Sunset Viewing 1800 Set Up Camp. Dinner. 1900 Socials 2200 Lights Out Day 2 0600 Wake Up. Breakfast. 0700 Break Camp. 0730 Start Assault 0900 Summit. Photos Ops. 1000 Start Descent 1100 Waterfall. River Or Green Lagoon Sidetrip 1200 Lunch 1300 Wash Up 1400 ETD Home |
| THINGS TO BRING | 2L Drinking Water Trail Snacks Food Change Clothes Toiletries Headlamps Flashlight Tent (overnight) Garbage Bag |
| WHAT ARE THE FEES TO PAY | Guide (Not Required) - P500/10pax Entrance Fee - P50/pax (Mt. Talamitam) + P30 (Mt. Apayang) |
There you have it lovelies! For questions, suggestions and violent reactions, please leave them on the comments below. If you found it useful or helped you out in anyway, show me some love on the comments or better yet share this to your friends. Until next time. Ciao!


20 Comments
Good Day to all
You can ask me if you have questions about Mt Talamitam Or Mt Batulao Hike? Message or call me here Globe : 09672963538 smart-09301206603 Local Tour guide Here!
Hi I just want to confirm. According to your blog, no need na fo tour guide for this hike pero nung kinontak ko na yung pinrovide mong contact number 800 pesos dw na guide fee. Ipush po ba nmin yun or dun na mismo kmi mginquire pag nsa area na kmi ng talamitam? Thank you po 😊
Hi. Try to negotiate the rate. I don’t suggest going directly to the site since based on the update, reservation is required. Prepandemic, the guide was not required. The policy has changed.
hi, Just want to ask kung natuloy kayo? Mandatory guide ba? How much? please share naman ng active contact. tried to contact the numbers given but walang nag reply sakin. – Thanks.
Do you have a contact person for the hike?
Hello. Sorry I don’t have.
Hello po,
May tent po ba na pwede i-rent doon kung overnight pero walang dala na tent? Thank you!
Hi Macy. I doubt na meron po. Better to bring your own tent.
Hi. Required na ba ang guide tulad sa batulao? And nagkano na po yung registration sa brgy aga bayabasan pa din ang trail
Hi Paw,
Di po required ang guide. p50/head na bayad sa reg. Dun pdin sa dati ang trail.
Hi! Kaya ba ng walang guide? 😊
Yes. Wala kmi guide nung ahon namen
Yunnn, matshalams po ate 🙂
Hi!
Even on that open field part of the hike, is the trail still that relatively easy?, are there directions or such?
Sorryyyyy, Just making sure lang po kabado e hahahaha
This blog is a delight btw 🙂
Hi Jj. Yes it’s easy. The parts are the start before reaching the open field and the assault to the summit.
Wala nman directions pero madali lang nman tumbukin kasi visible nman yung trail.
may parking space po ba s base na safe?
Hi Arlie. Yes meron nman. Note na bago na yung registration point. Makikita nyo yun along the way kasi may sign.
Wow! Your blog is exactly what I have been looking for! Thank you so much for such a detailed explanation of your diy hikes. I’ve hiked solo all over the world but found info on hiking without a guide in the Philippines very difficult to find. So thankful to have found this post!
You’re welcome Amanda. 😊