

I don’t know if it’s just me but Bulacan just doesn’t ring a bell whenever we speak of beautiful mountains to hike near Metro Manila. Surprisingly though, here I found one of the most stunning and easy mountains I have ever hiked, Mt Manalmon. Within the heart of a natural reserve lies this stunner that is both alluring and a tease. Alluring in the sense that it is surrounded by numerous caves, lush forest, colorful flora and a pristine river that are sure to feed your eyes with so much wonder. A tease because while it only stands at 196 MASL, an elevation shorter than most of the mountains nearby, it actually has a straightforward trail which is the perfect recipe for that fun yet challenging hike.
THE JOURNEY TO MT. MANALMON
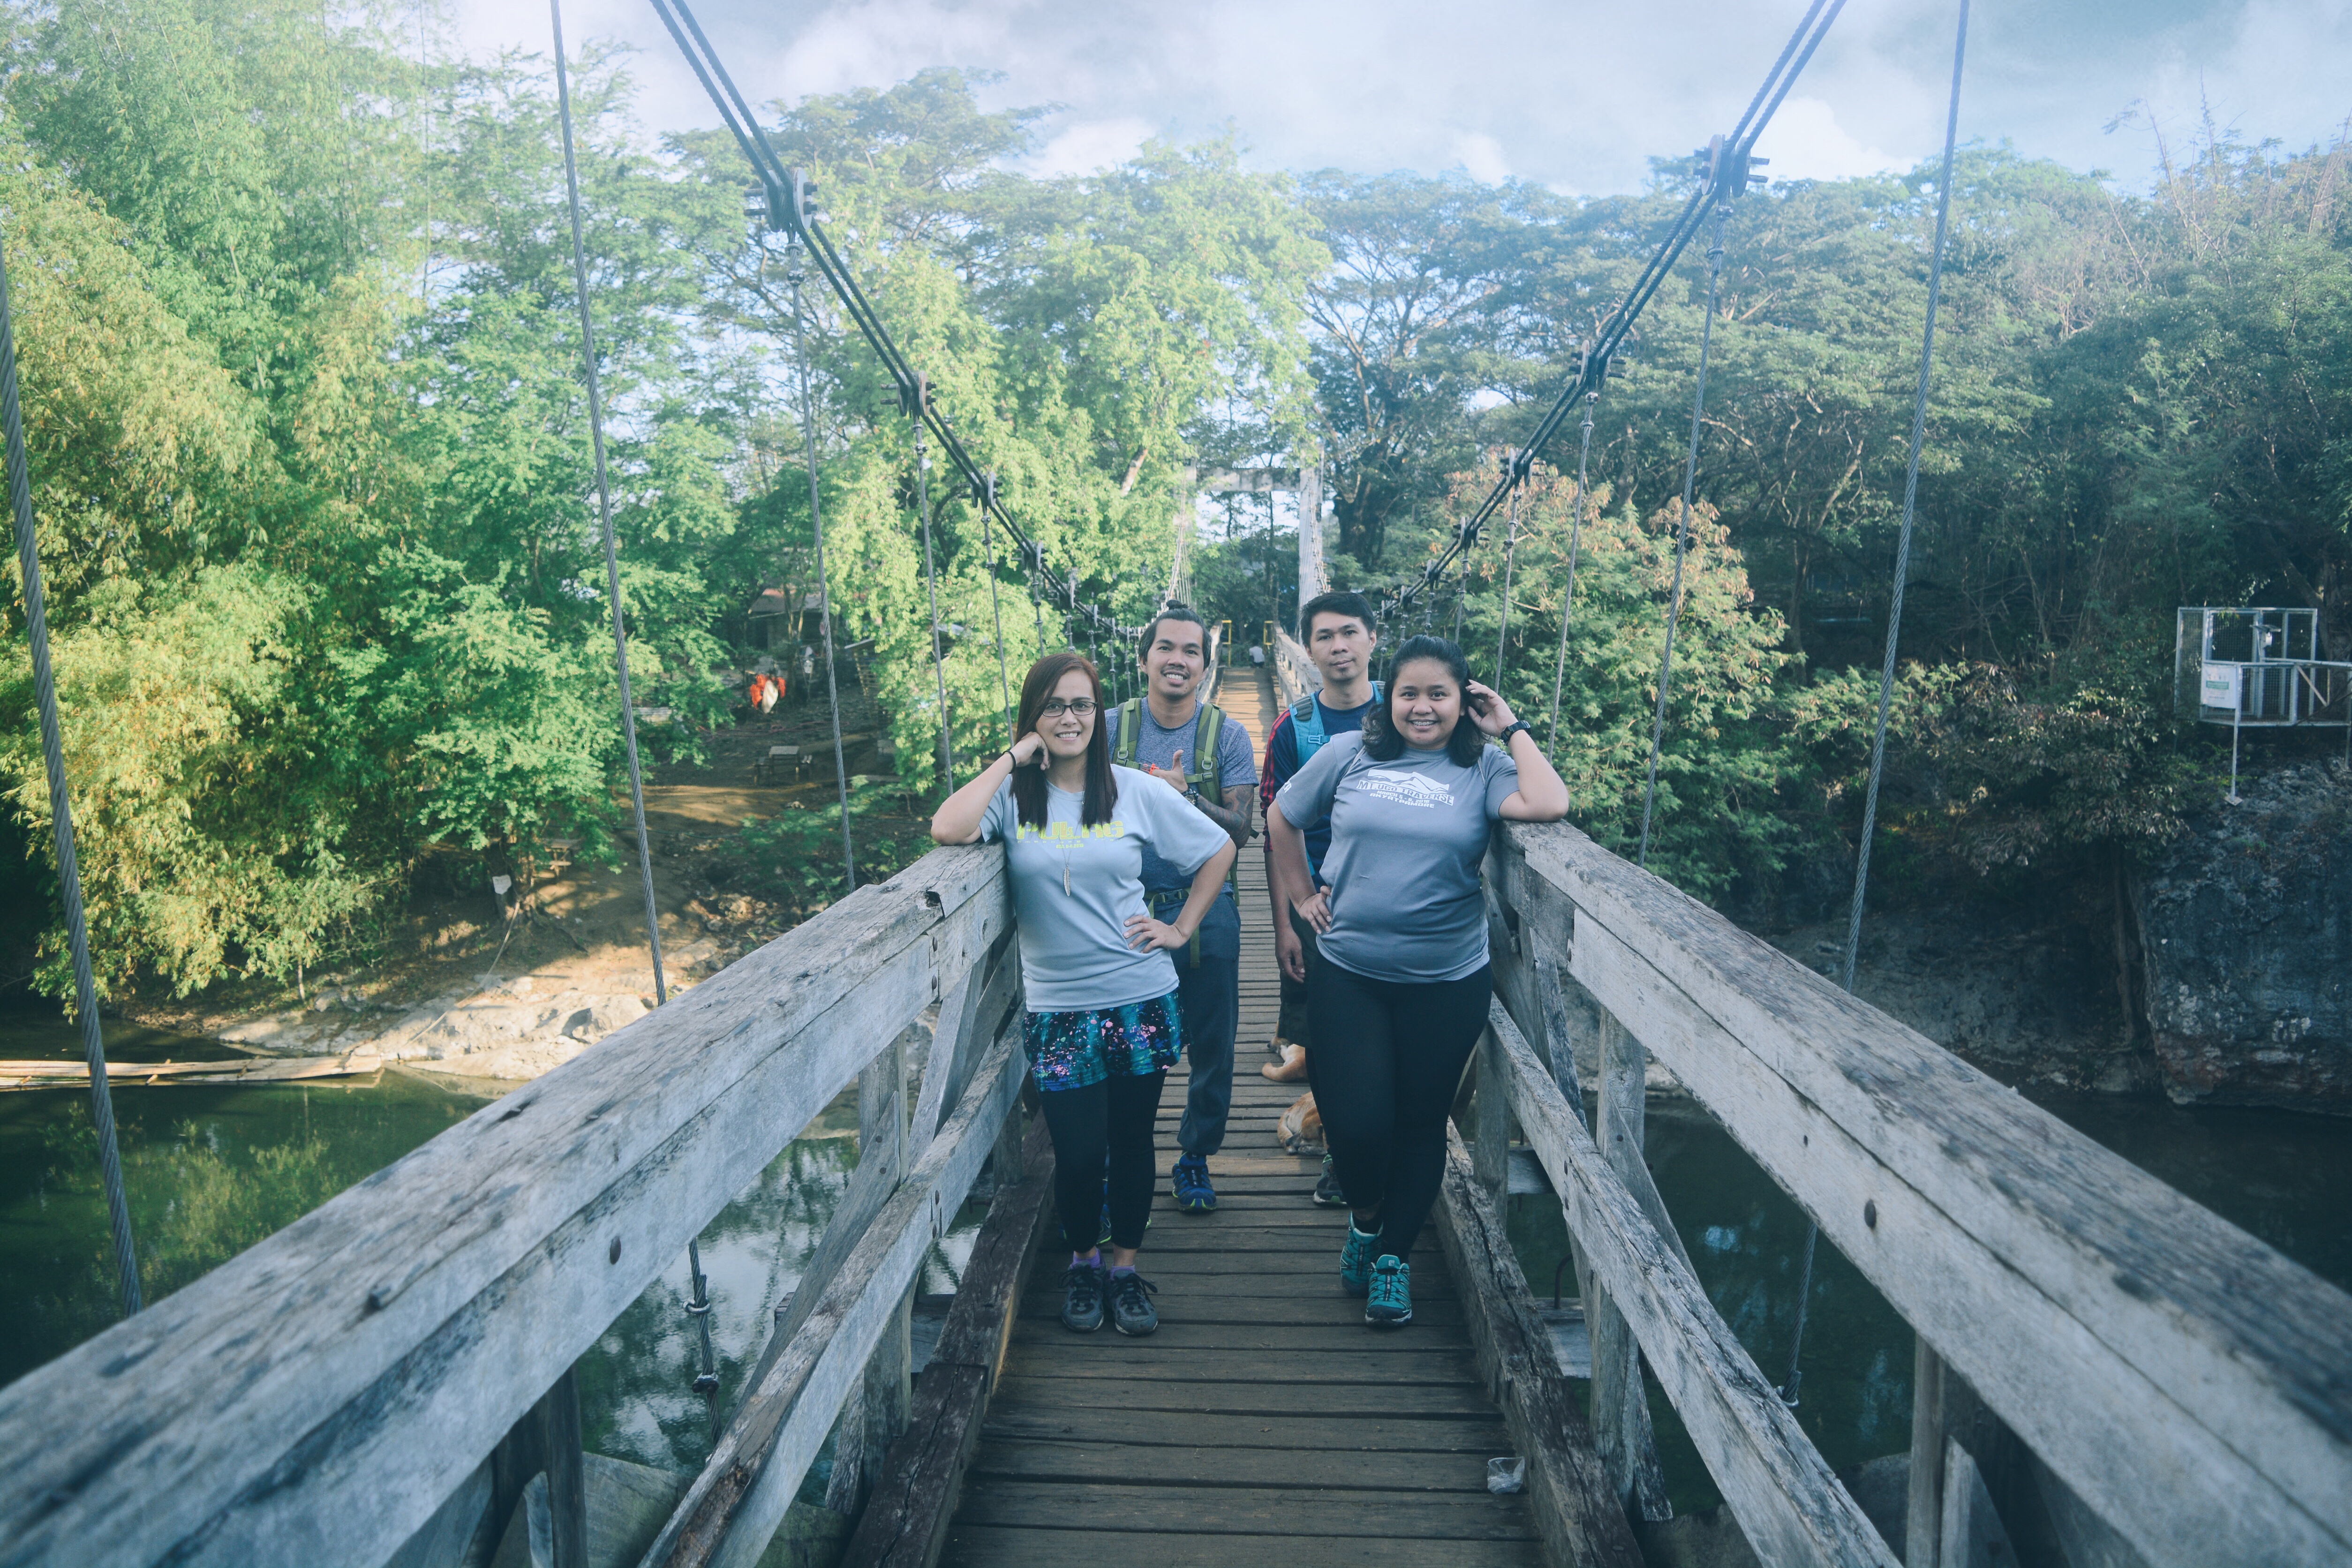
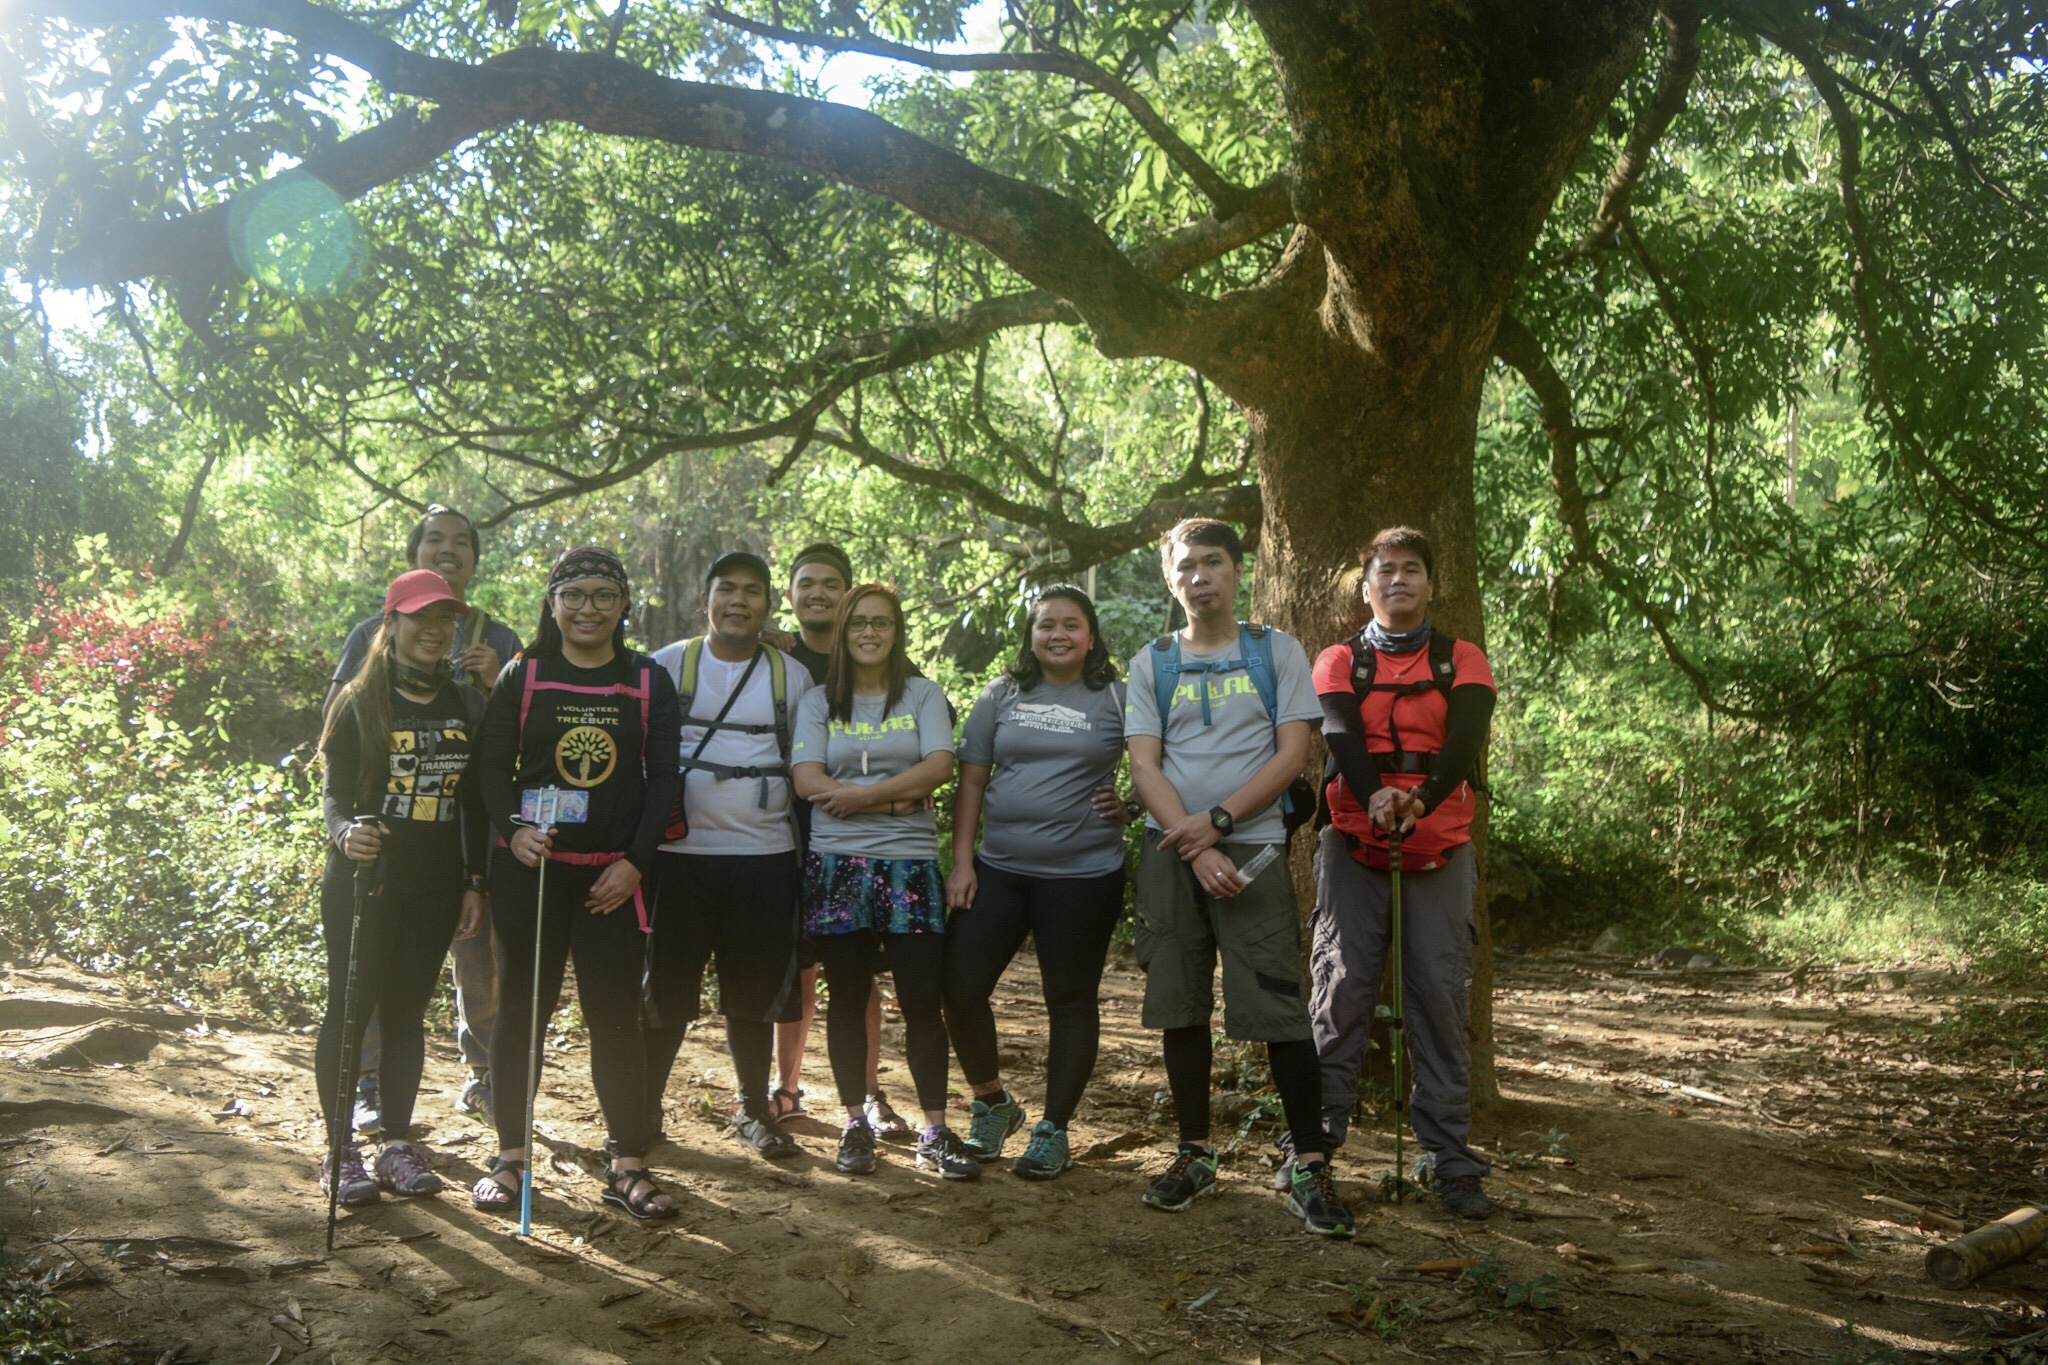
2018 is a very promising year and this time I wanna make true to my promise of hiking at least one mountain in a month. On this goal, I have with me Ian, my boyfie/moody-travel-buddy and our friends Julius and Poleng. First stop for this year was Mt. Manalmon, a not so distant mountain in Bulacan which has caught our attention for quite a long time. Although Bulacan is relatively near the metro, I’m actually not very familiar with this province that it got me excited to learn what else is there to discover.
2AM on a Sunday while most people were in bed, our group was on a bus heading to our destination. With the many years I have been traveling, it still surprises me how one destination could lead to the other. The bus we boarded was bound for Nueva Ecija and if I would really think about it, it doesn’t seem to be anywhere near Bulacan. I maybe wrong. Also I’m used to journeying the North via NLEX that to travel passing along small towns near Manila is something new to me. I couldn’t help but be a bit curious. It made me wonder about the many treasures hidden in those off the path destinations and what sort of charm they behold.
The bus ride was surprisingly quick that we arrived at the junction at 4AM, an hour earlier than expected. There, several tric drivers rushed towards us offering a ride to the reserve. I got a little disappointed about them taking advantage of us. The tric could obviously fit five people but they refused to ride any more than three insisting that we hire two trics when one would already suffice. I thought I didn’t have the patience to deal with their selfishness that I decided we grab a bite first and wait for other hikers to arrive whom we could possibly share the expenses with.
We settled at an eatery adjacent to the tric terminal and secured a spot where we can still see arriving hikers. I was just glad that we arrived a little too early as it gave us ample time to enjoy breakfast. Thirty minutes past five and just after we finished our meal, we saw five other hikers jumped off the bus. Our eyes followed them closely and noticed that they too had the same frustrating experience as we had. When they finally settled in a corner at the side of the street with frown in their faces, we thought it was time for us to approach them and propose a plan that could be mutually beneficial for our groups.
We quickly agreed to share the cost. We got us three trics distributing three members of the group to each. Soon we were on the road. The first part of the ride was through a smooth concrete road but a few minutes after we turned left into another long winded road began the unpaved, shaky and butt-numbing ride. I could barely remember how long that bumpy ride lasted but for what I could make out of that day, it comprised the most part of that 45-minute drive until we reached the barangay outpost where we got off to pay a fee. After that we continued the ride and endured another ten minutes until the tric could no longer go any further. We covered the remaining distance to the reserve on foot which I thought was better than riding the tric.

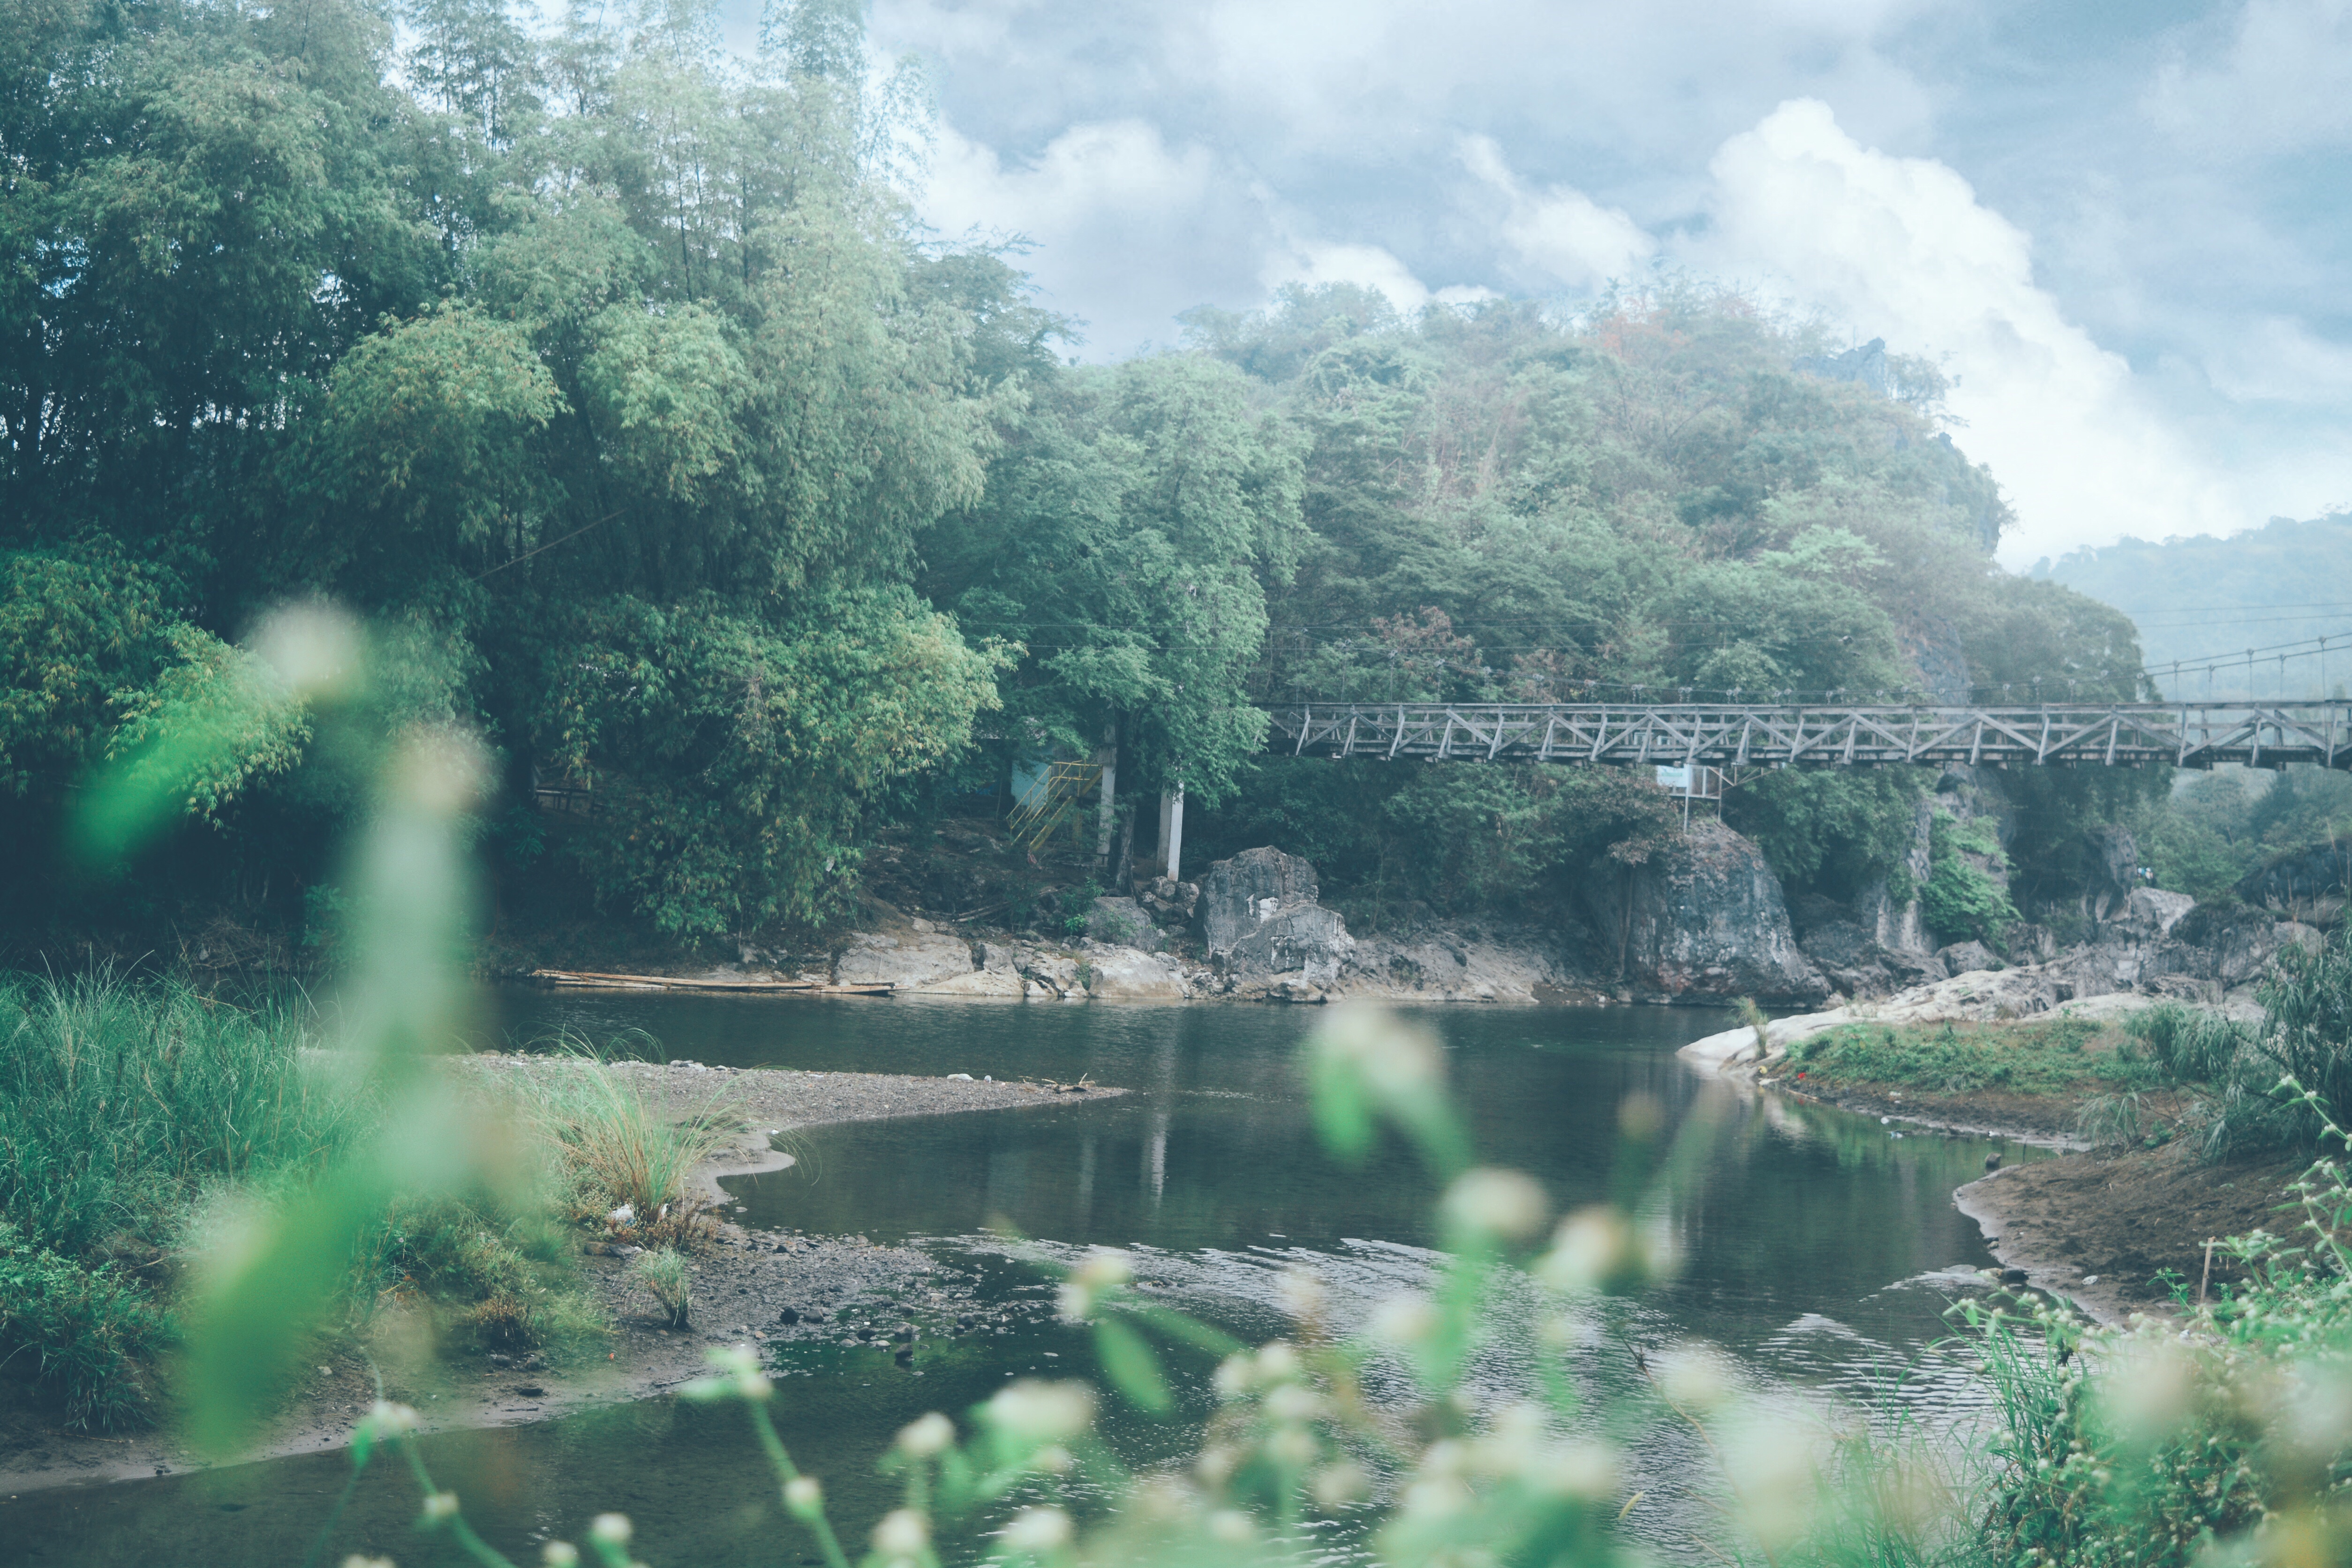
Upon arriving at the reserve, we quickly took care of our personal necessities then crossed the bridge to the registration office. The registration was quick and soon we began the hike.
THE CLIMB
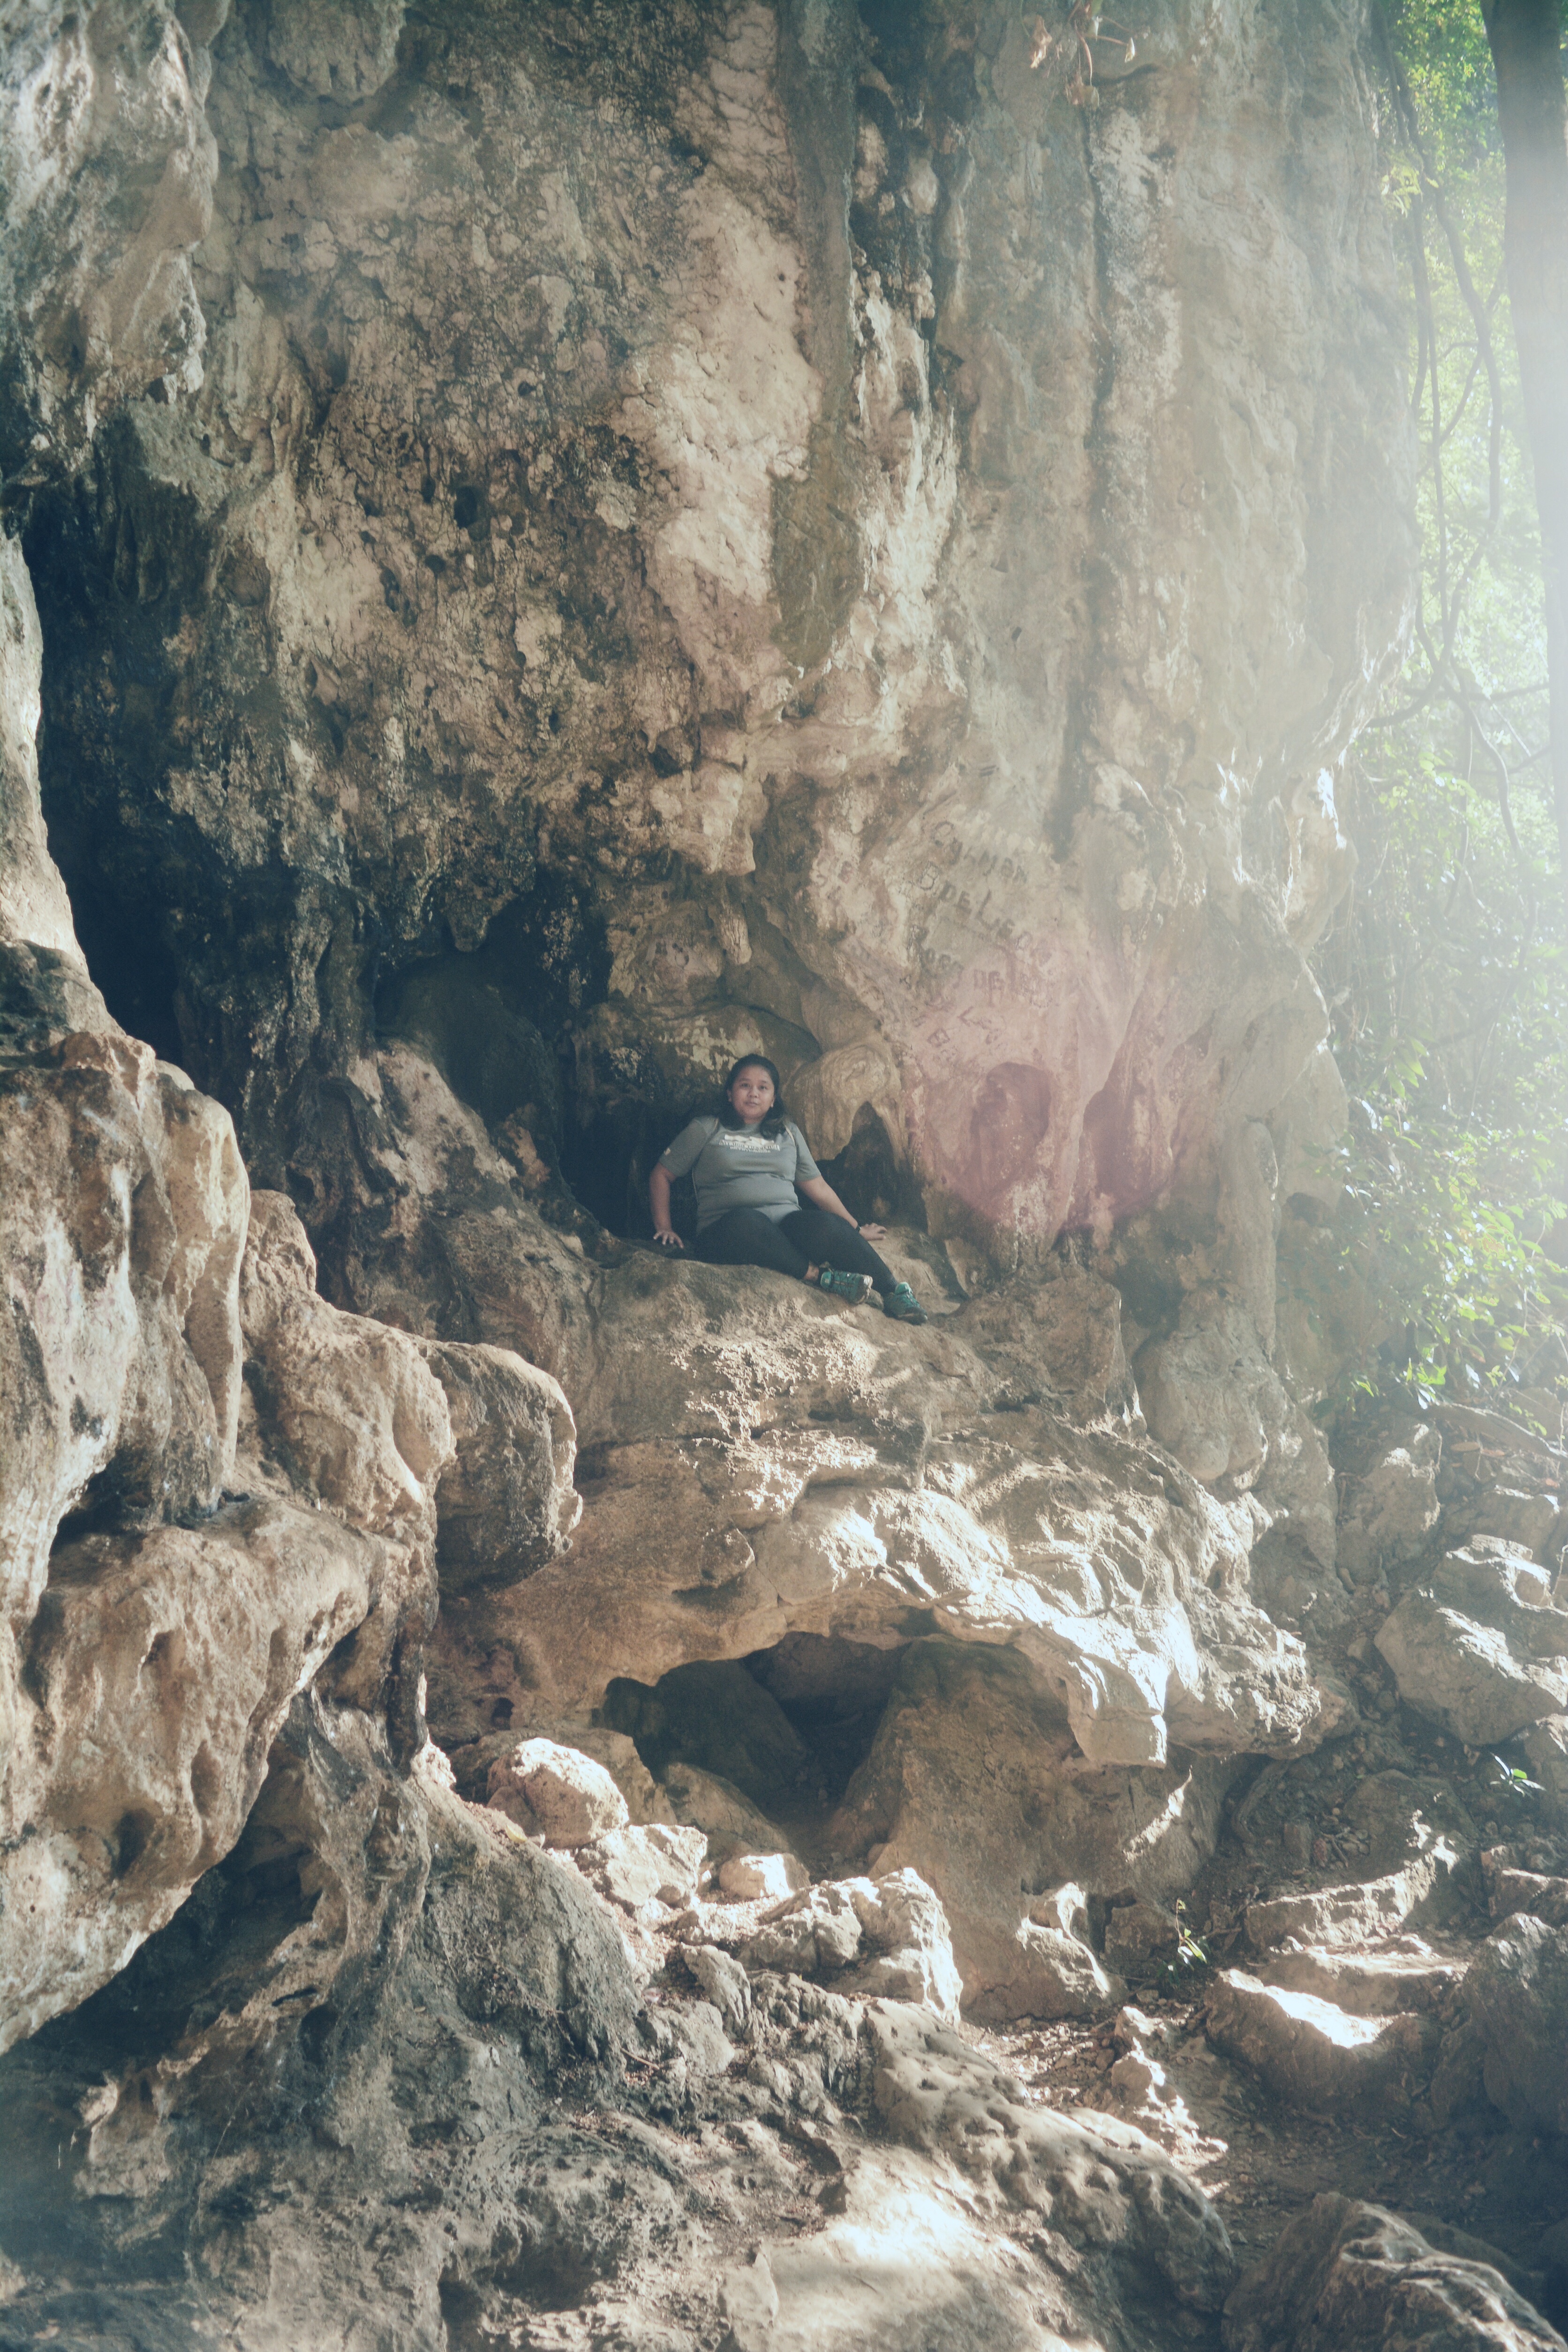
The hike began with an ascent on a 30-step concrete ladder that led to a passage to the inside of Madlum cave. The cave passage was narrow and was consist of craggy limestones. It lead into a space inside a cave where you can marvel at some beautiful stalactites. The space then leads to two different places. One is to the inner portion of the cave and the other is to the exit going to the river. We took the exit and continued the hike to Mt. Manalmon.
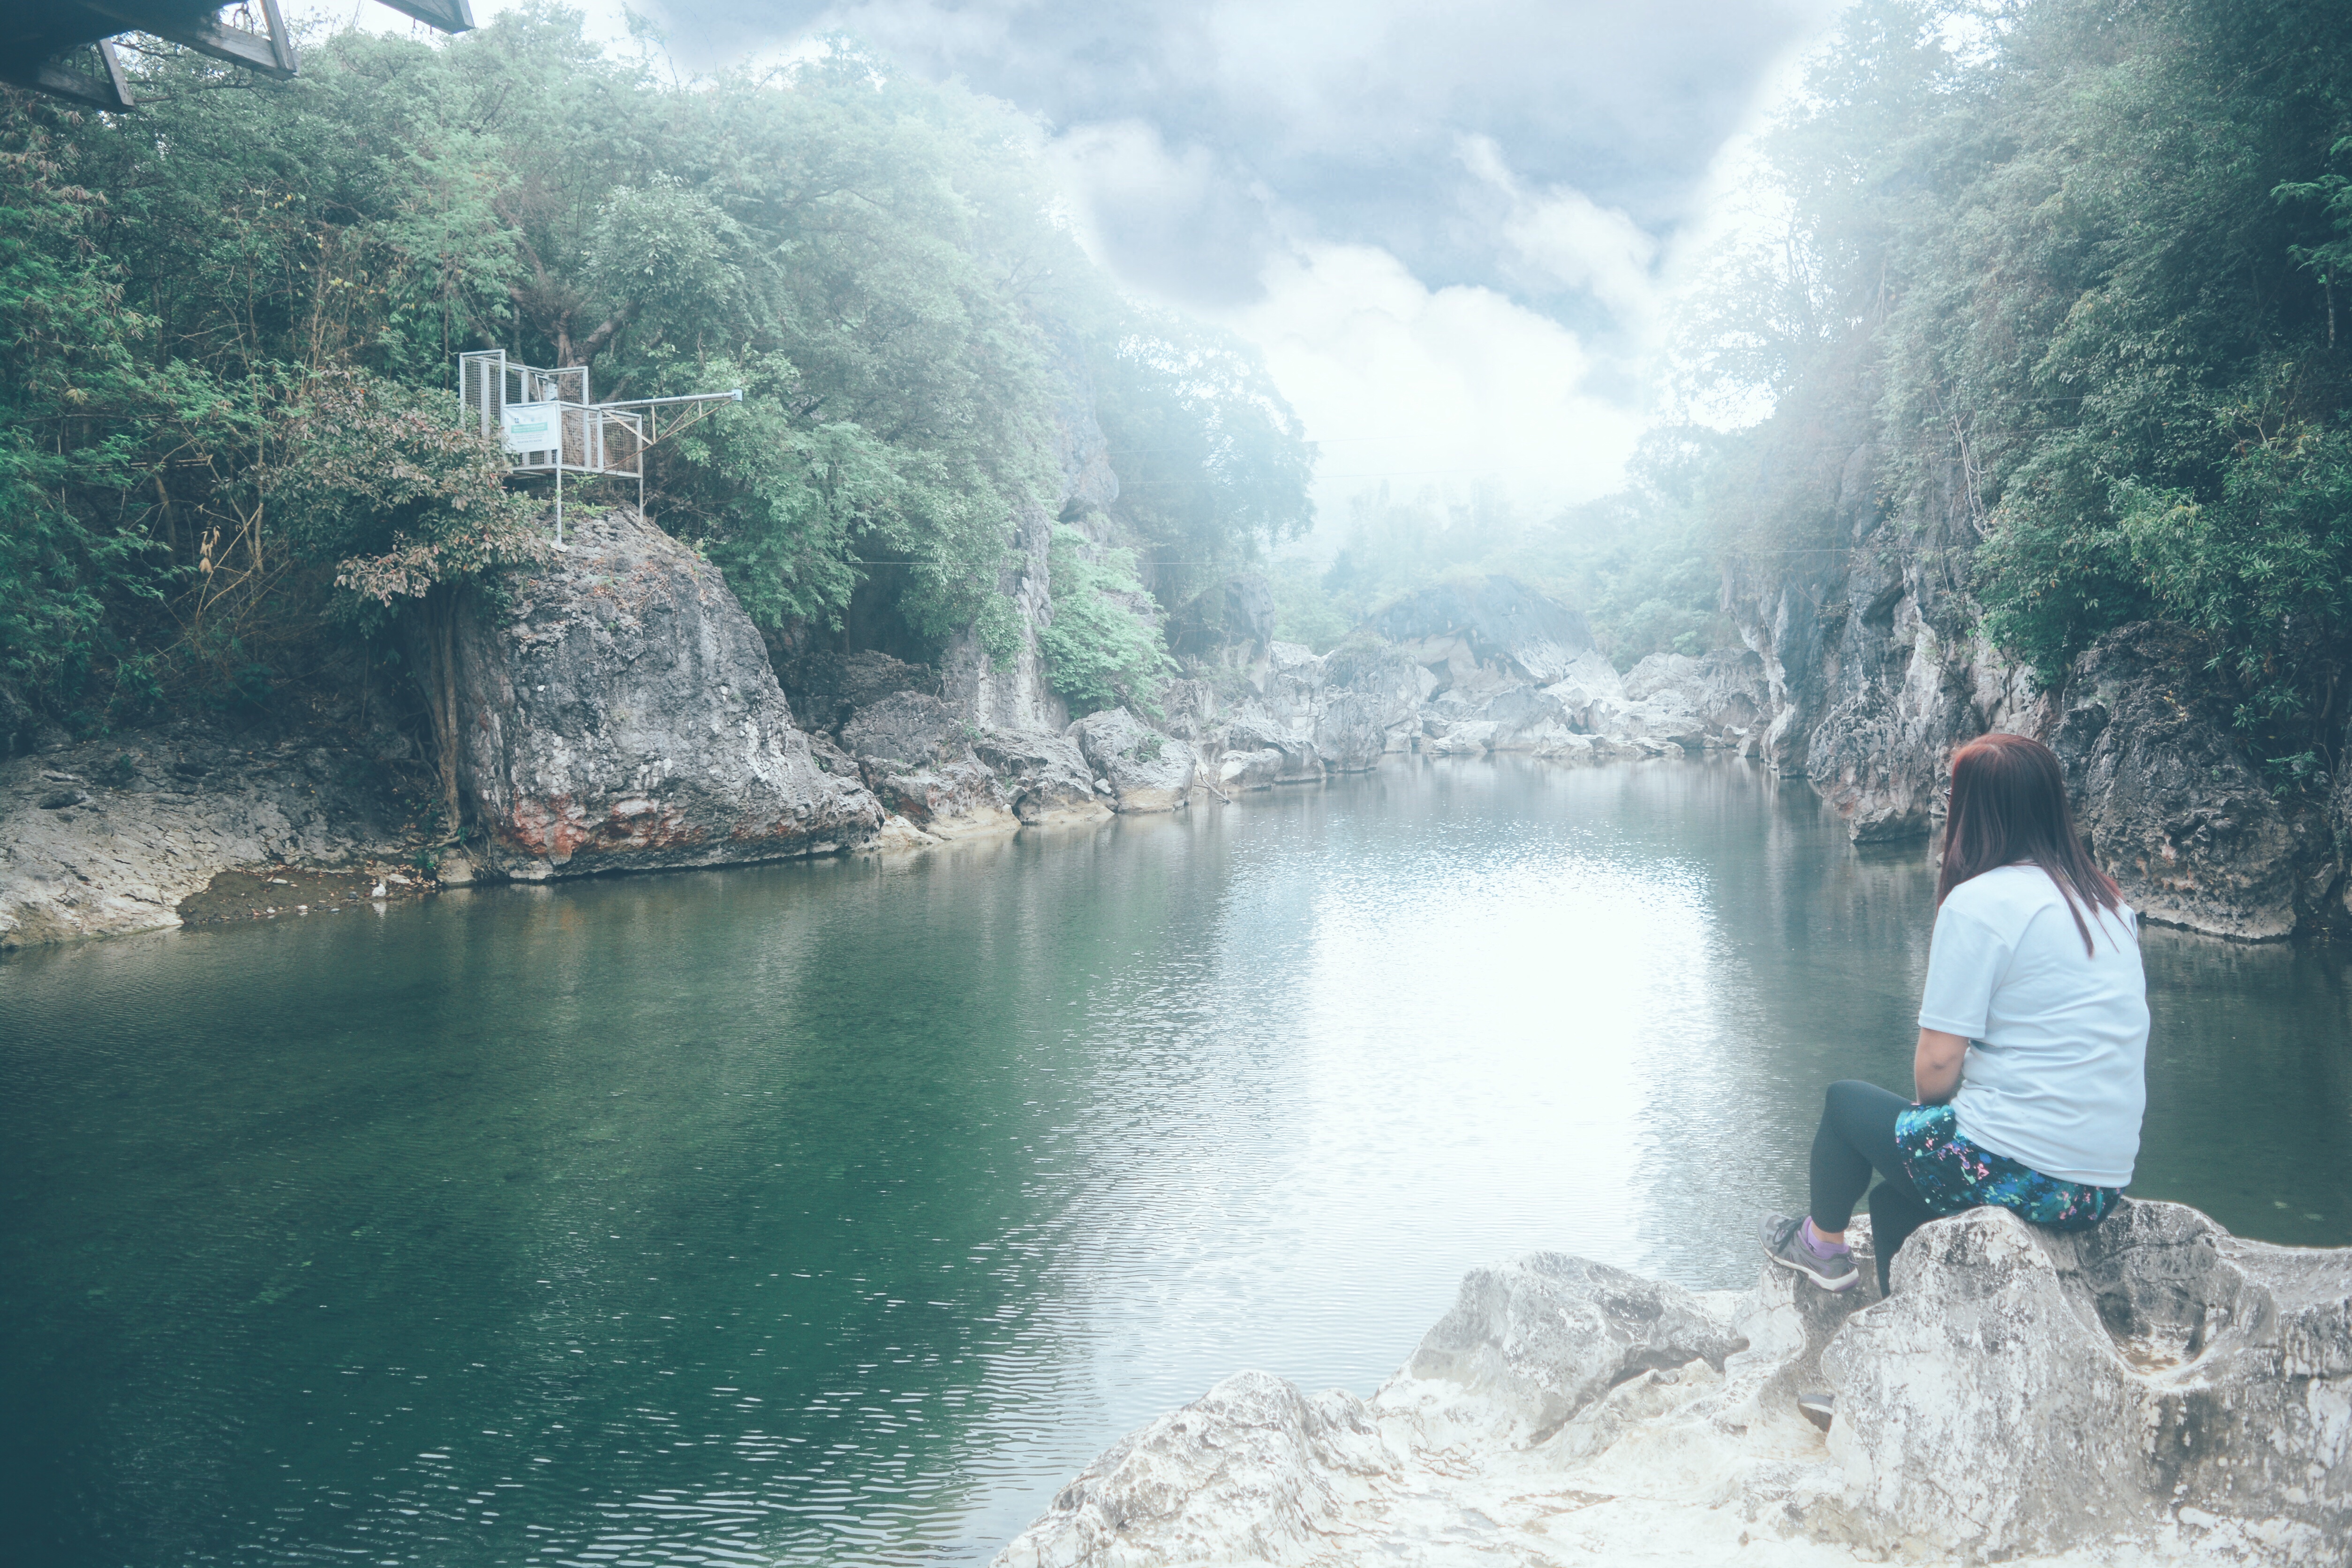
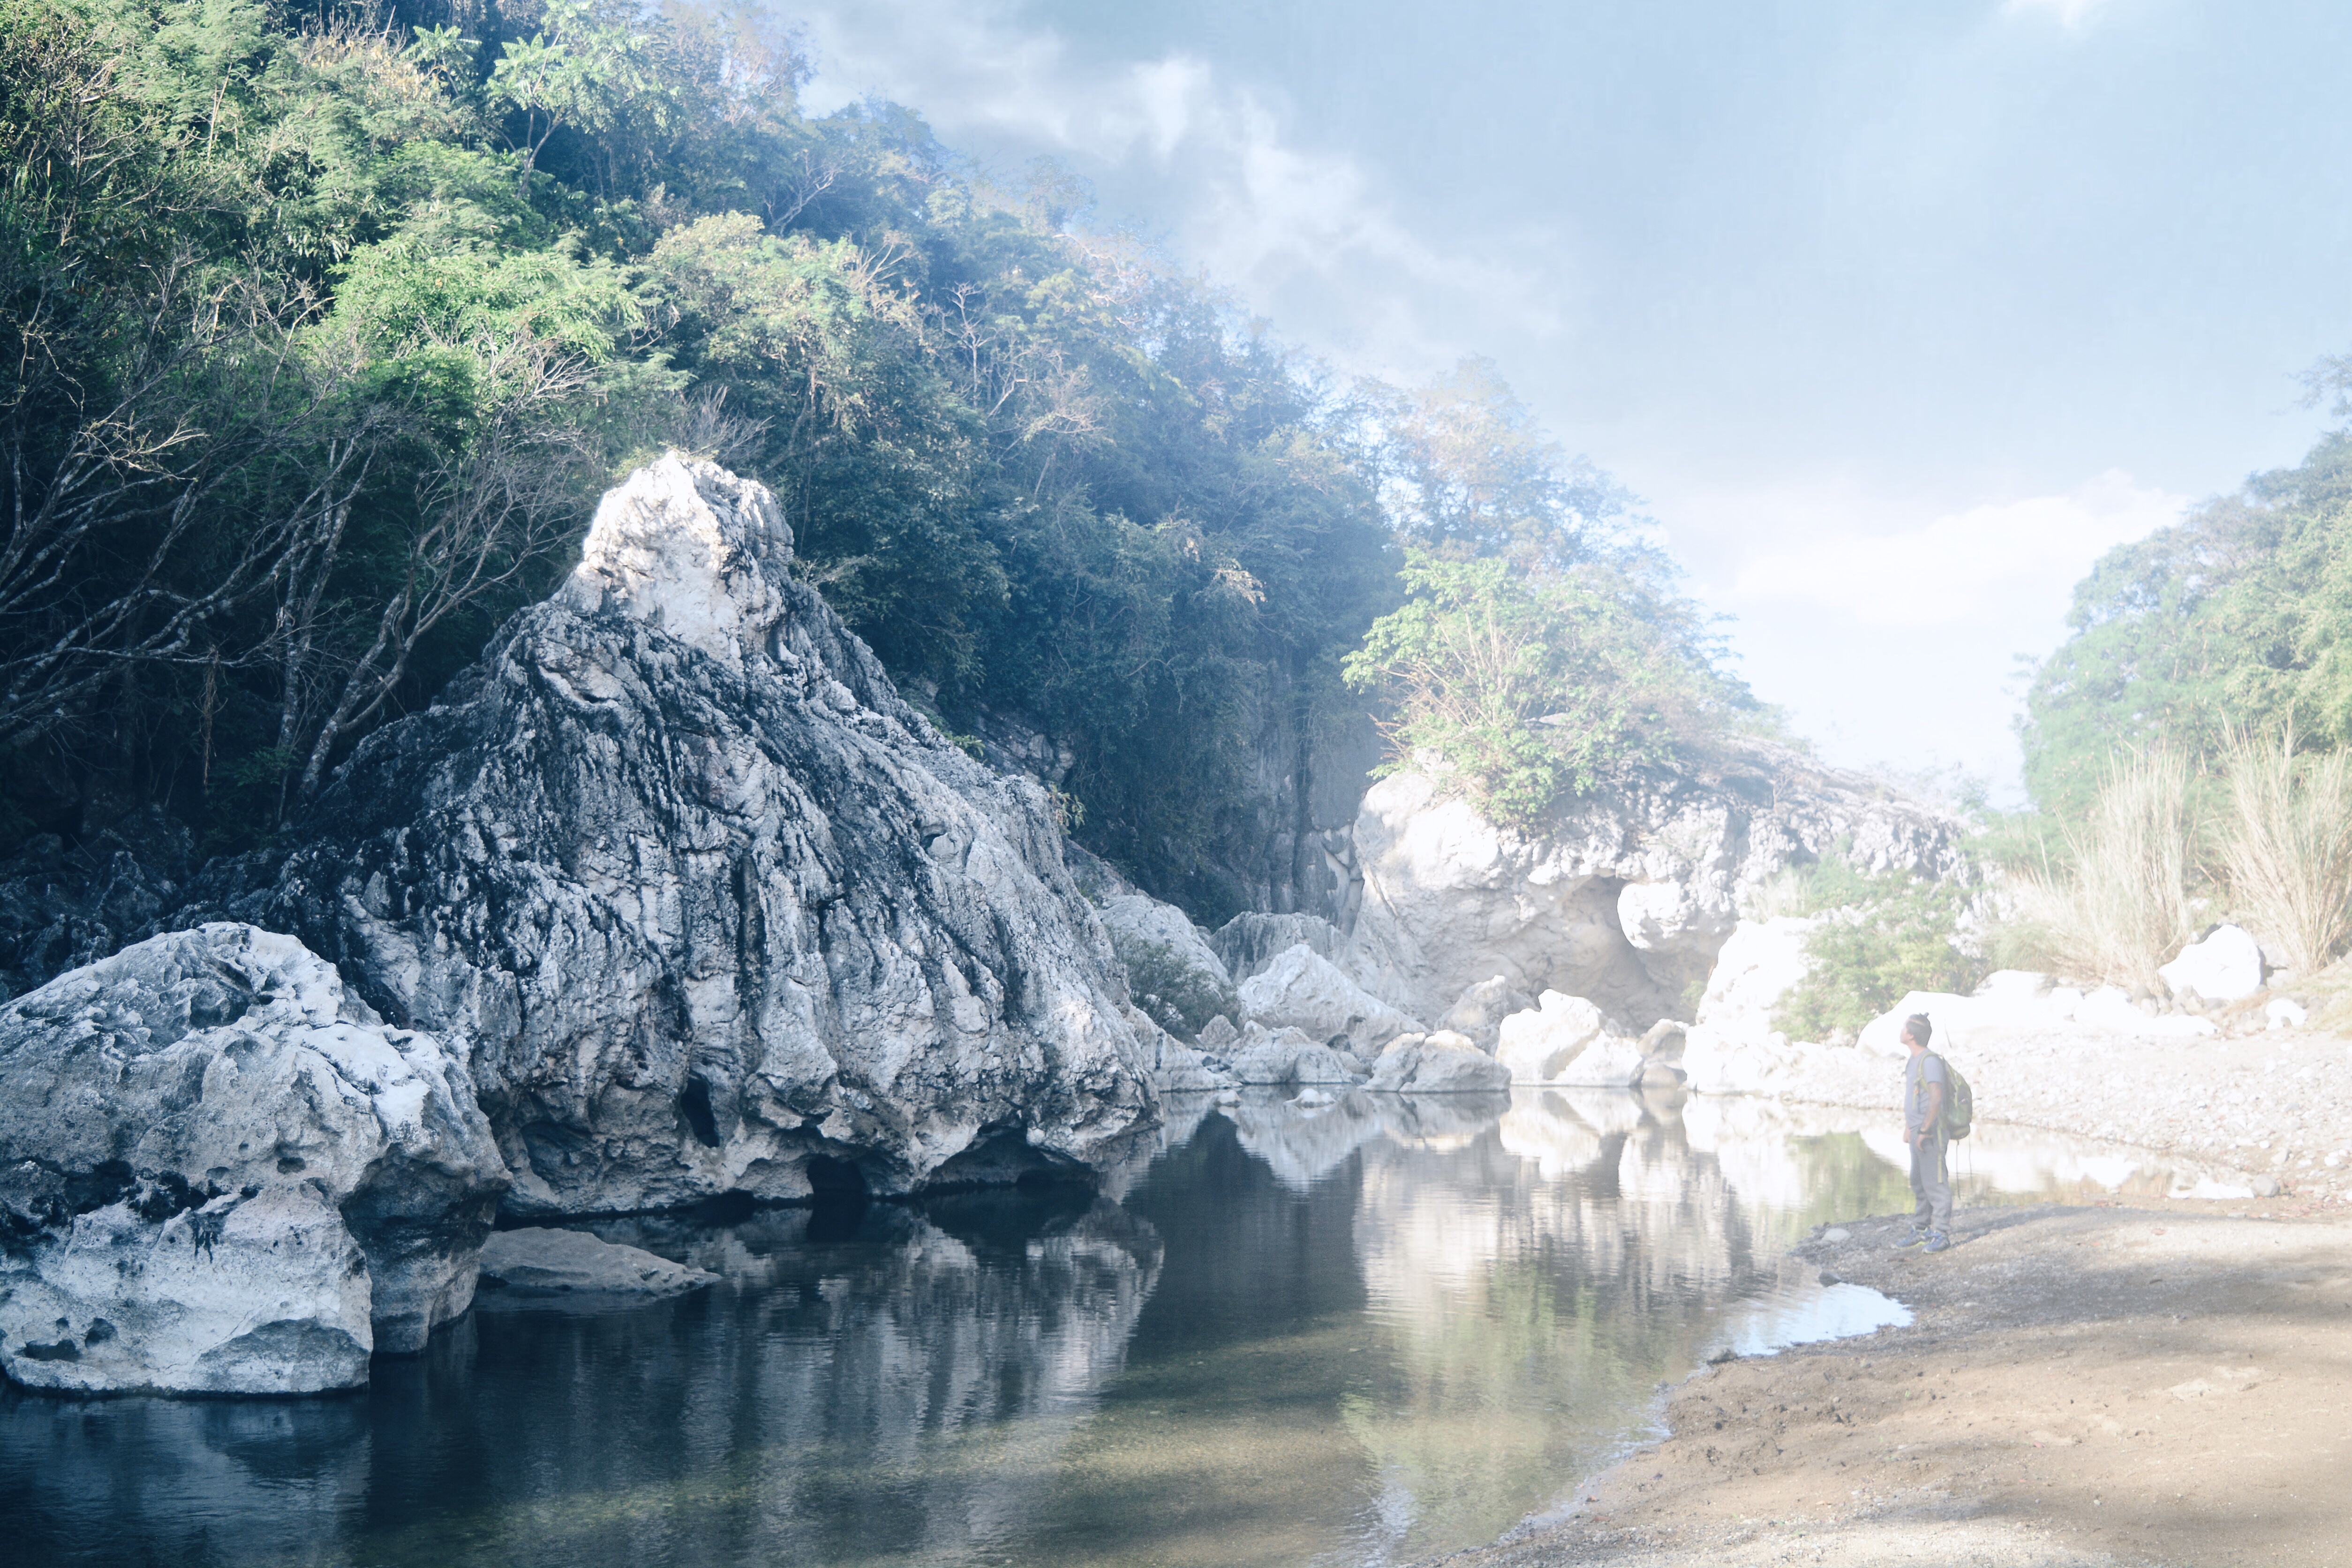
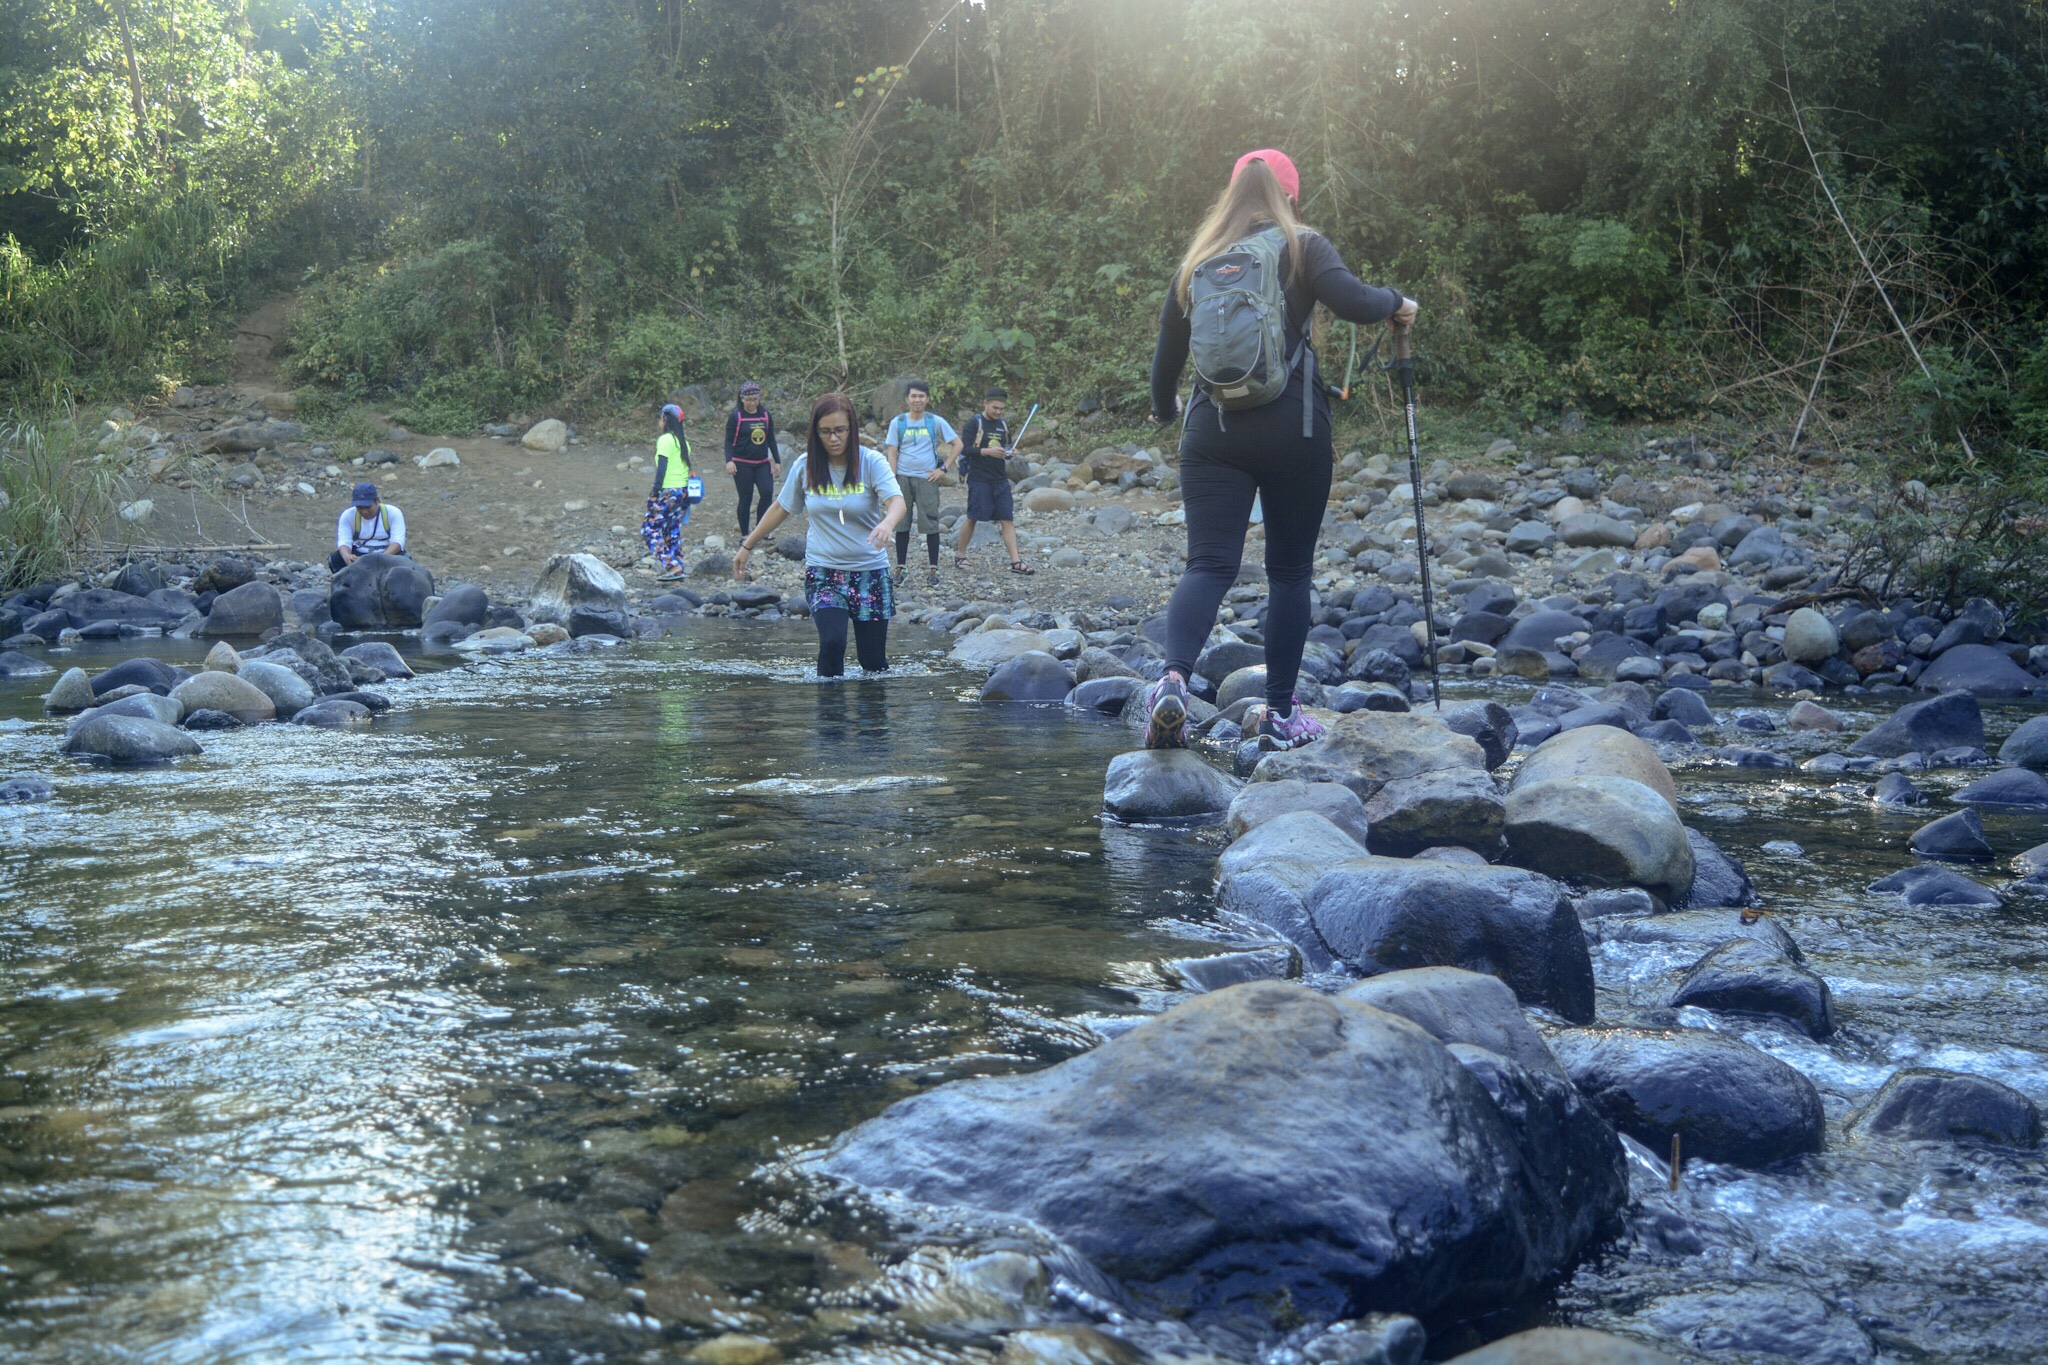
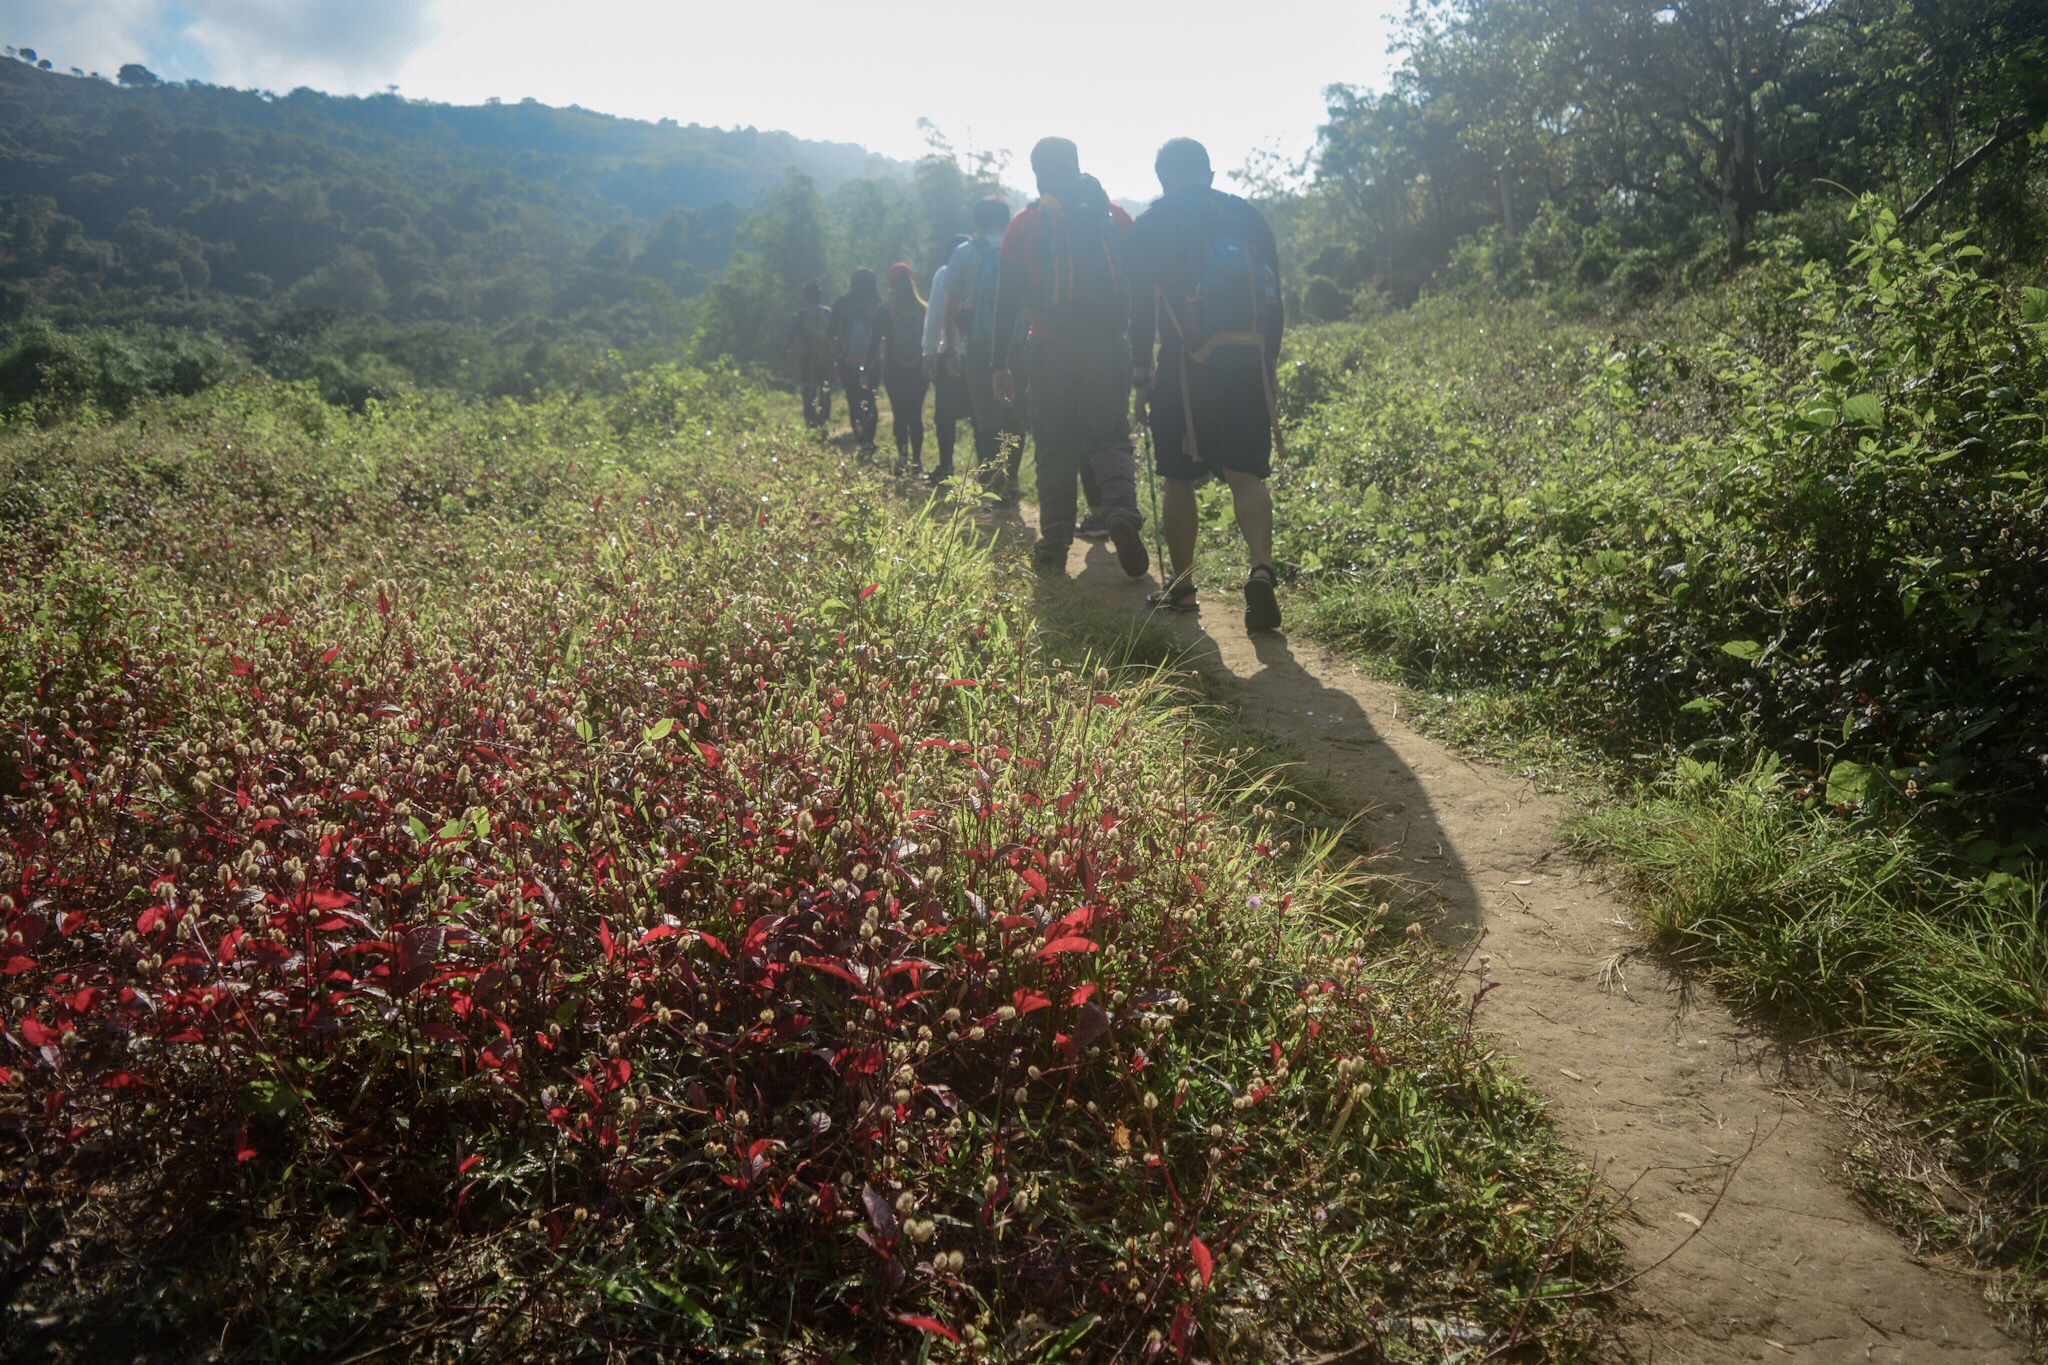
Upon exiting the cave, we descended on a steep rock formation that stretched to about 6-feet. It lead to a flat surface which continued to the riverbank. The river was 20-30 feet wide and to cross it, we made use of the stone path. Upon crossing, we headed for a steep ascent that stretched for another 10 feet or so and end up into a short shaded trail. There we took breathers under the comforting shades of trees. Once rested, we continued the hike into an open field where the sun was unbearably excruciating.
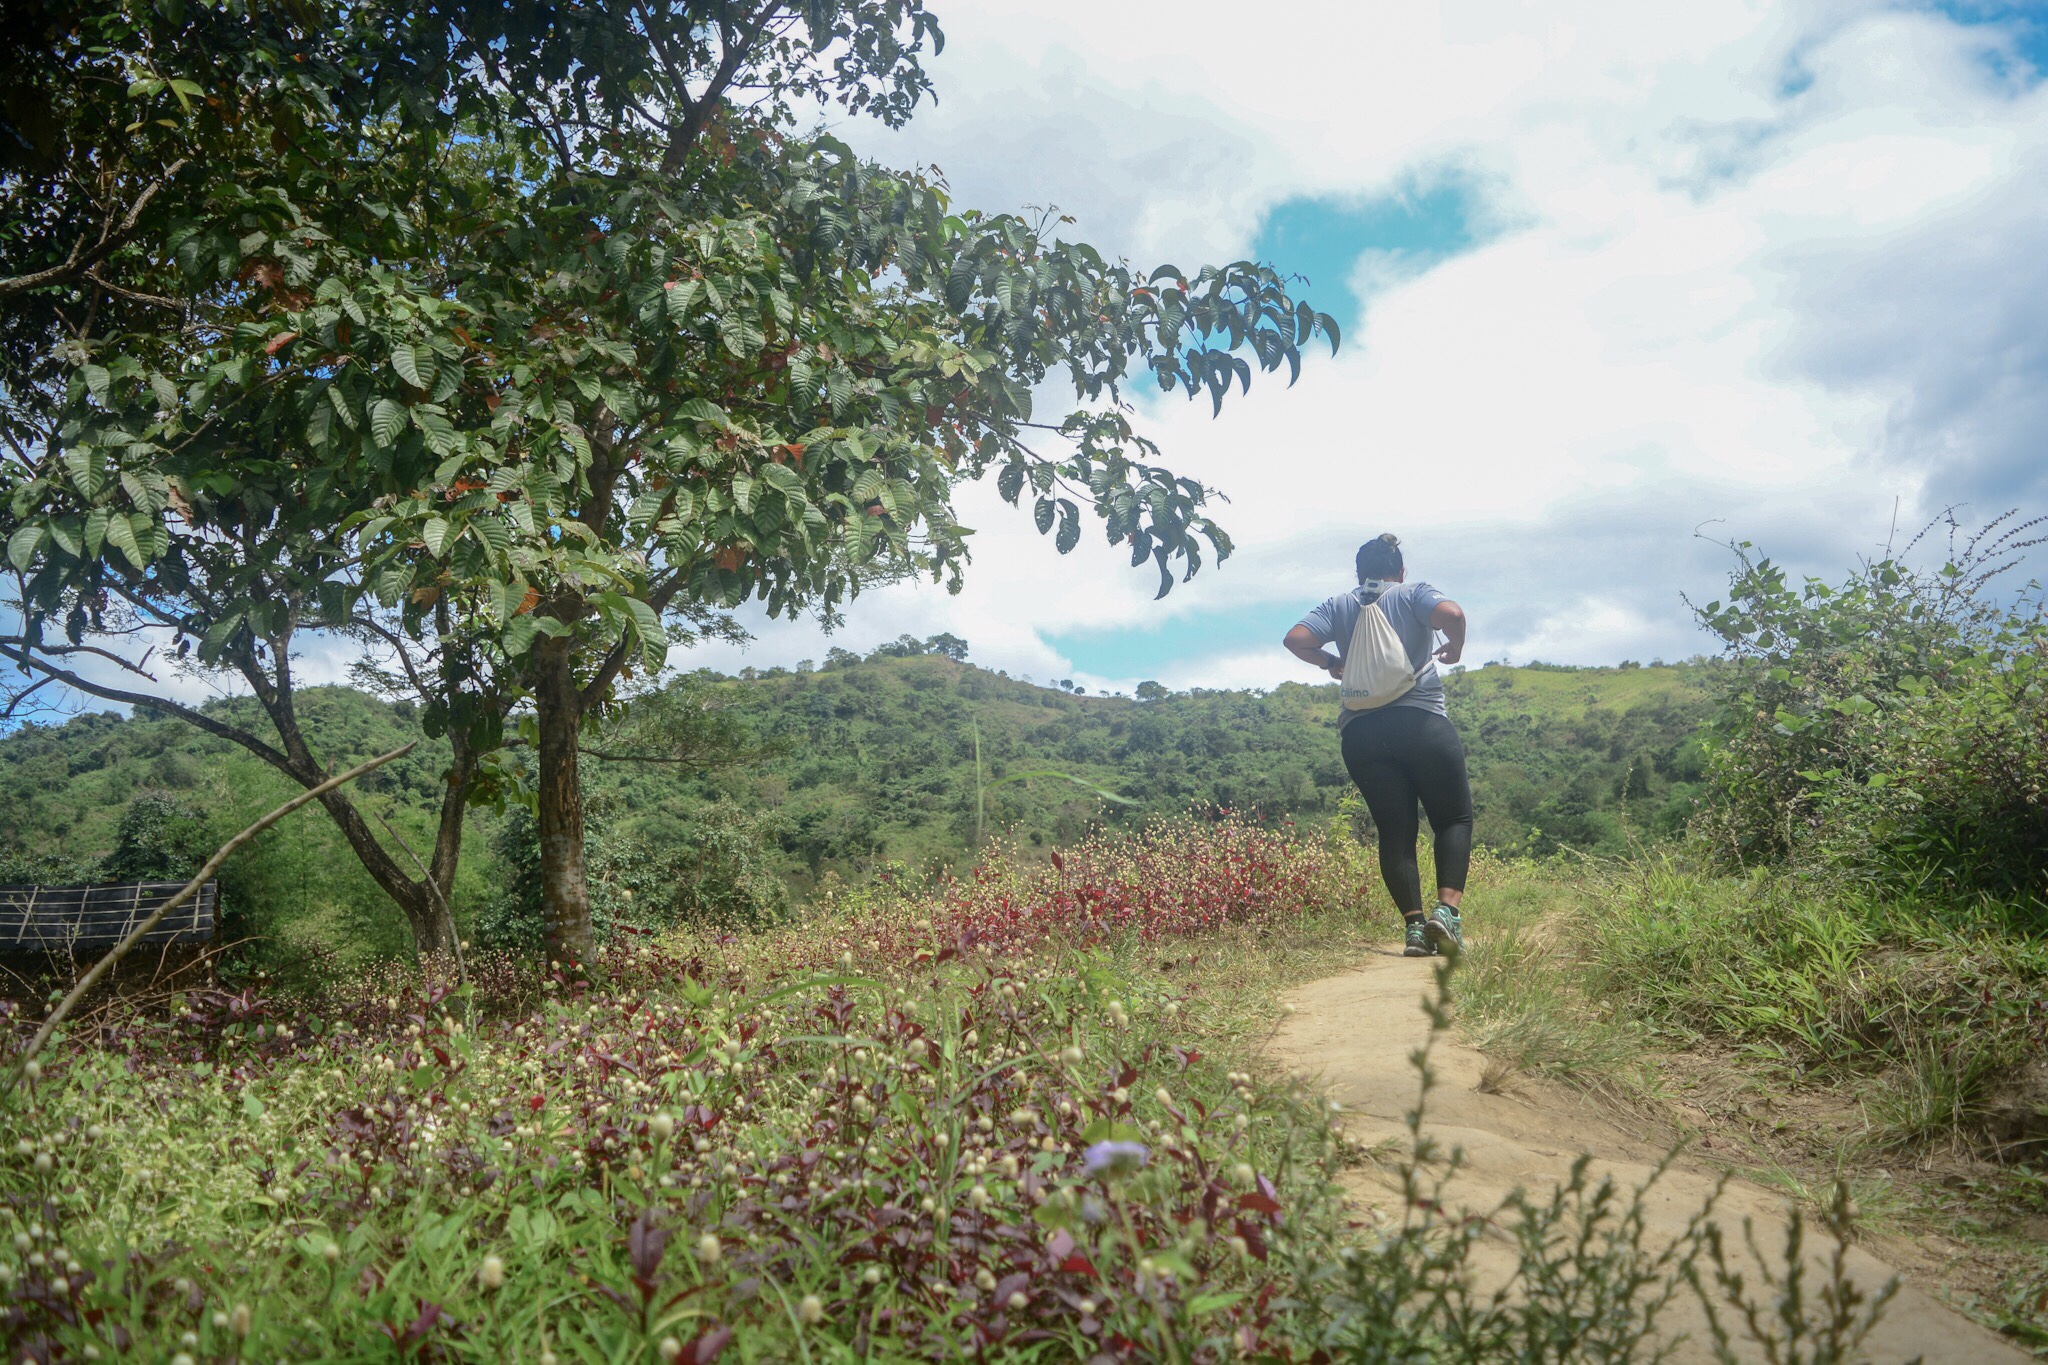
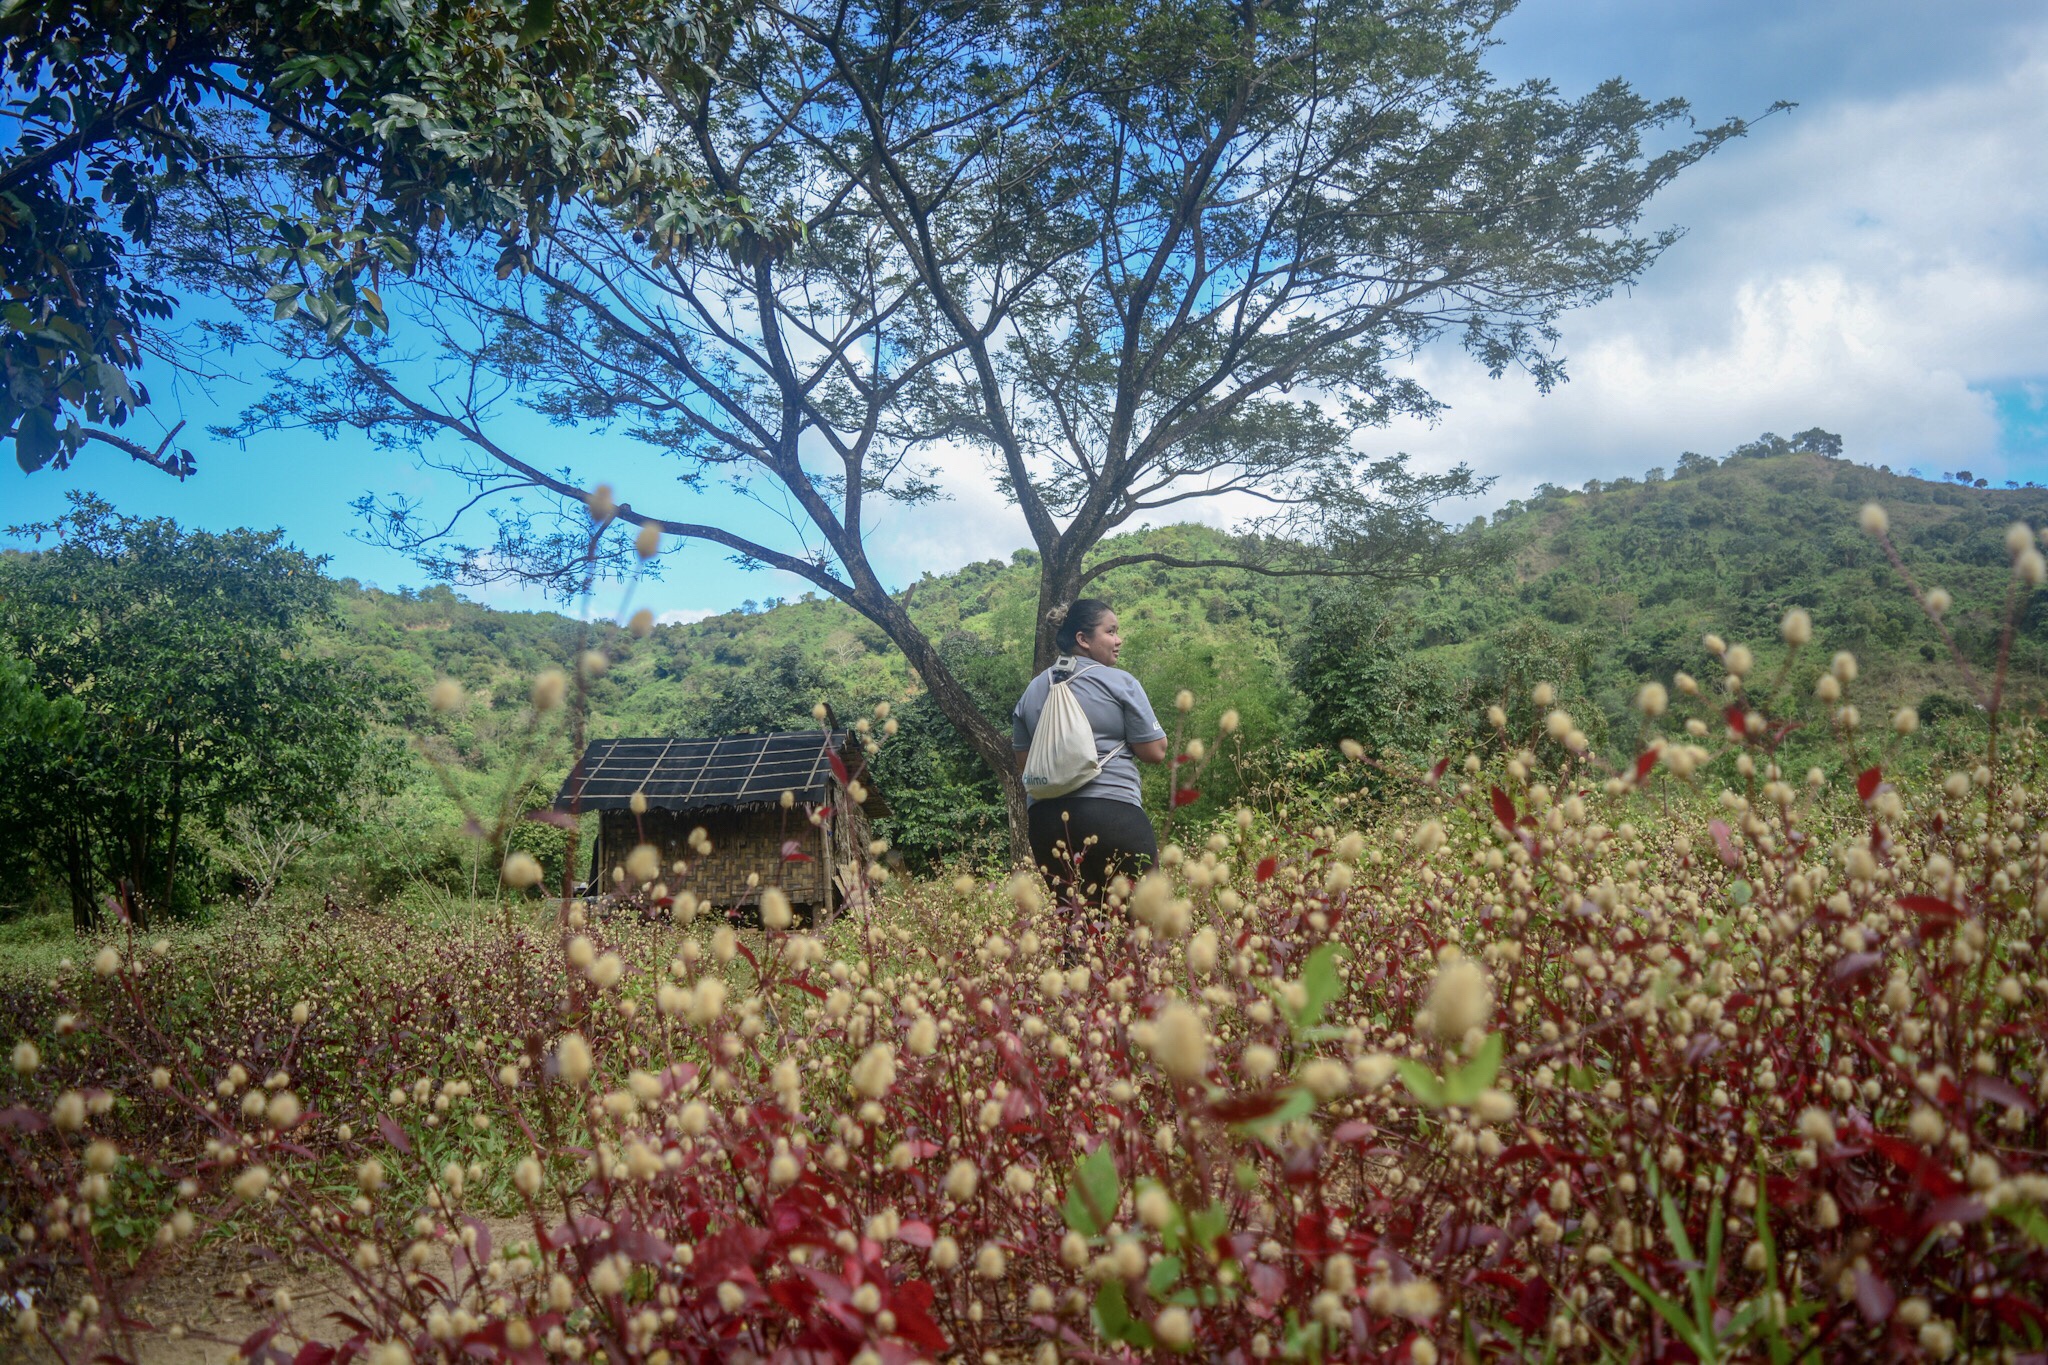
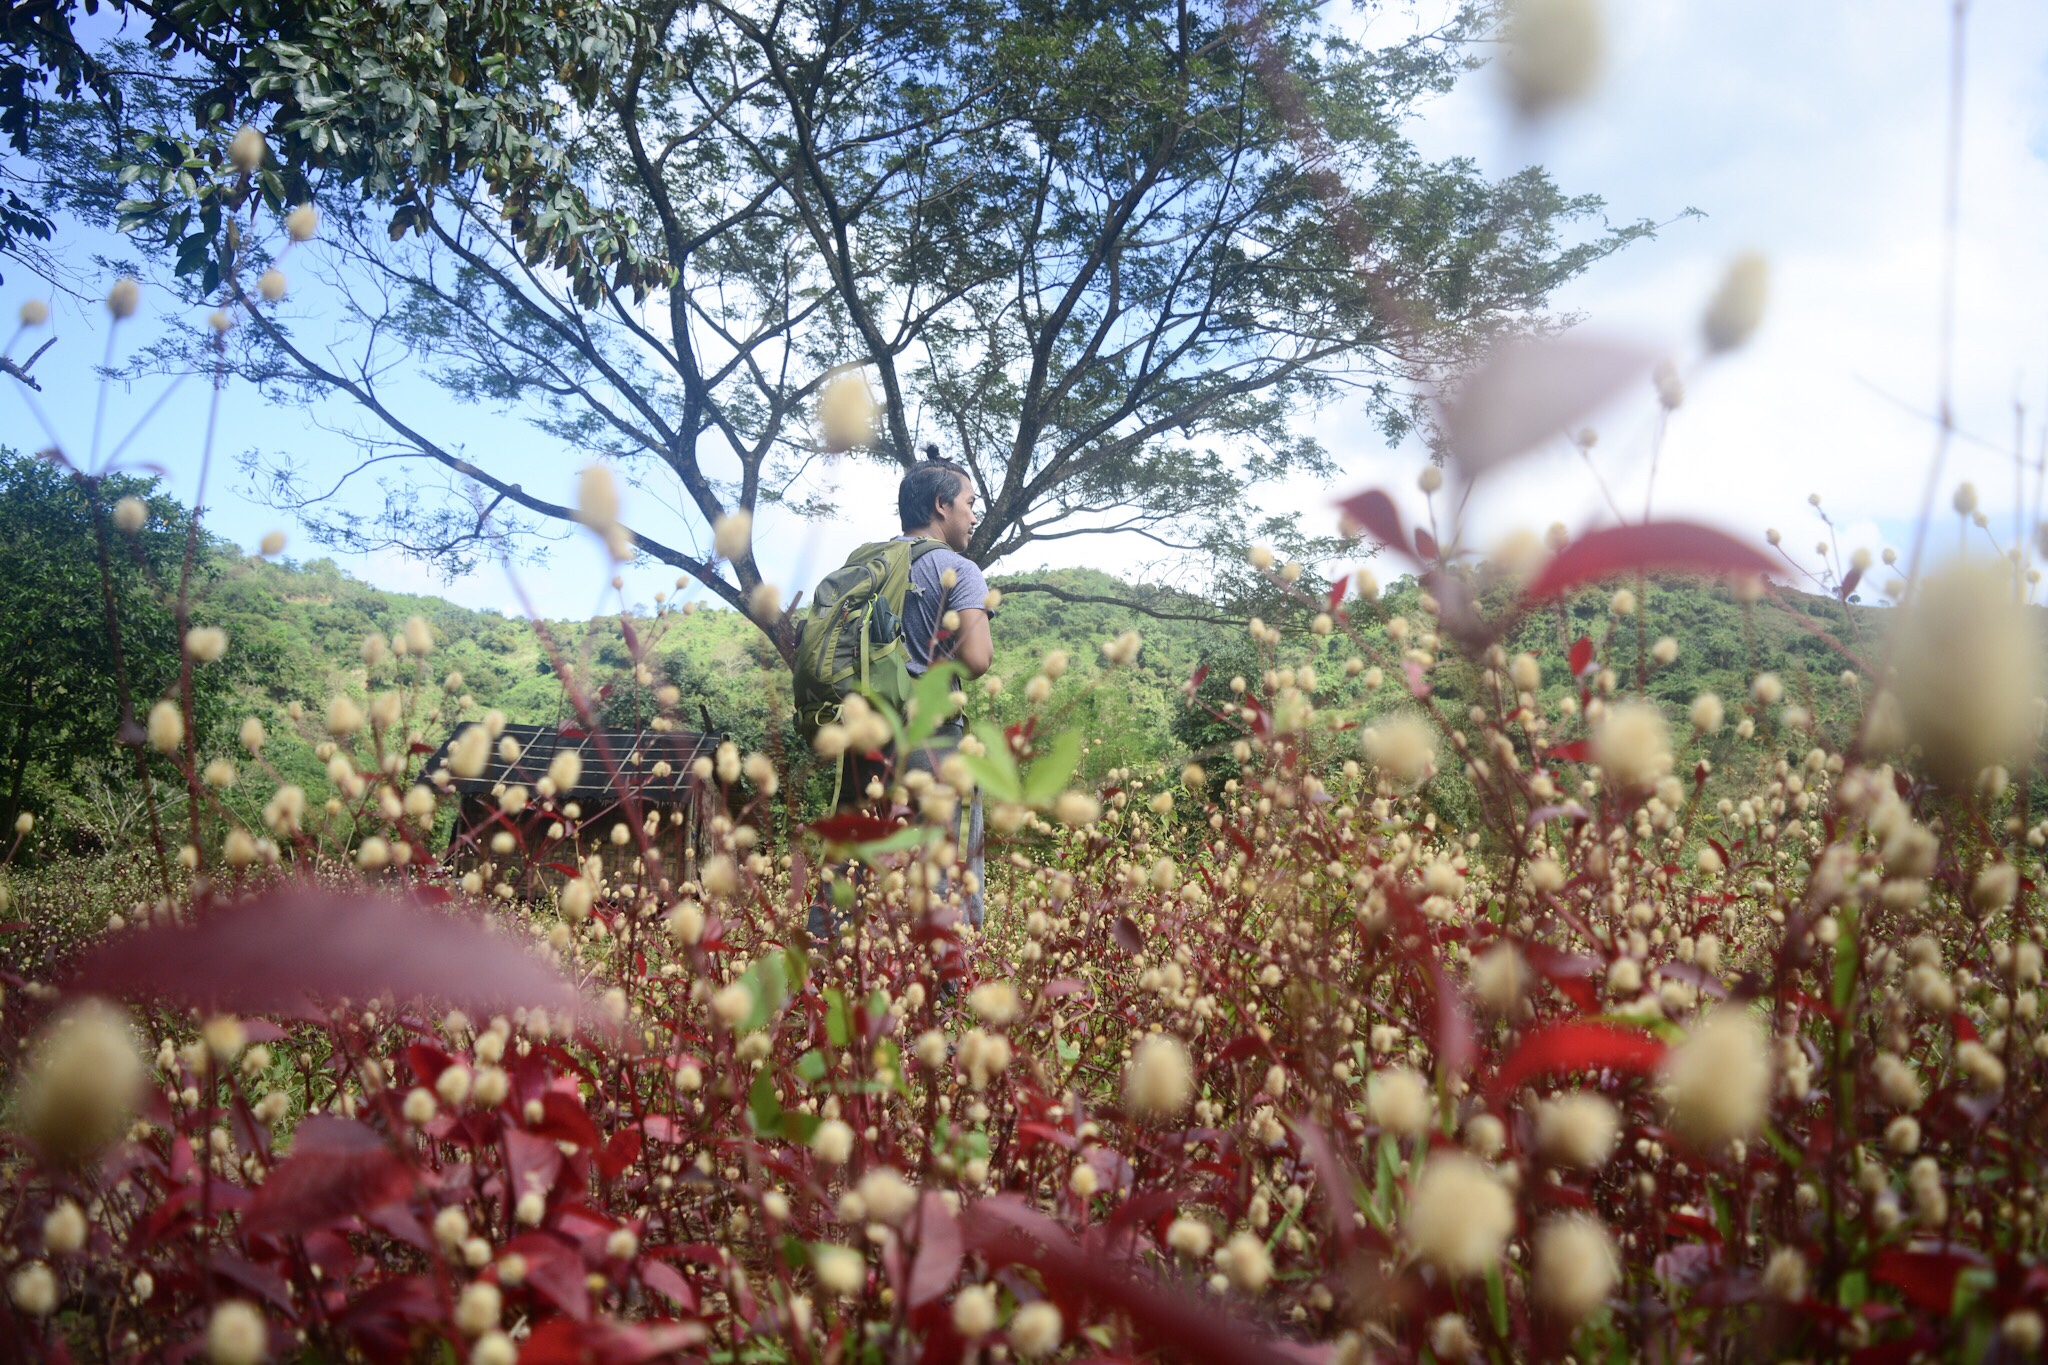
It was a few minutes past 8AM yet the sun against my skin was already painful. There were only two things comforting me from the heat of the sun. First, the colorful flowers along the trail. Second was the stunning view of the surrounding peaks and luscious forest enveloping the mountain which were clearly visible from where we were in the grassy field.
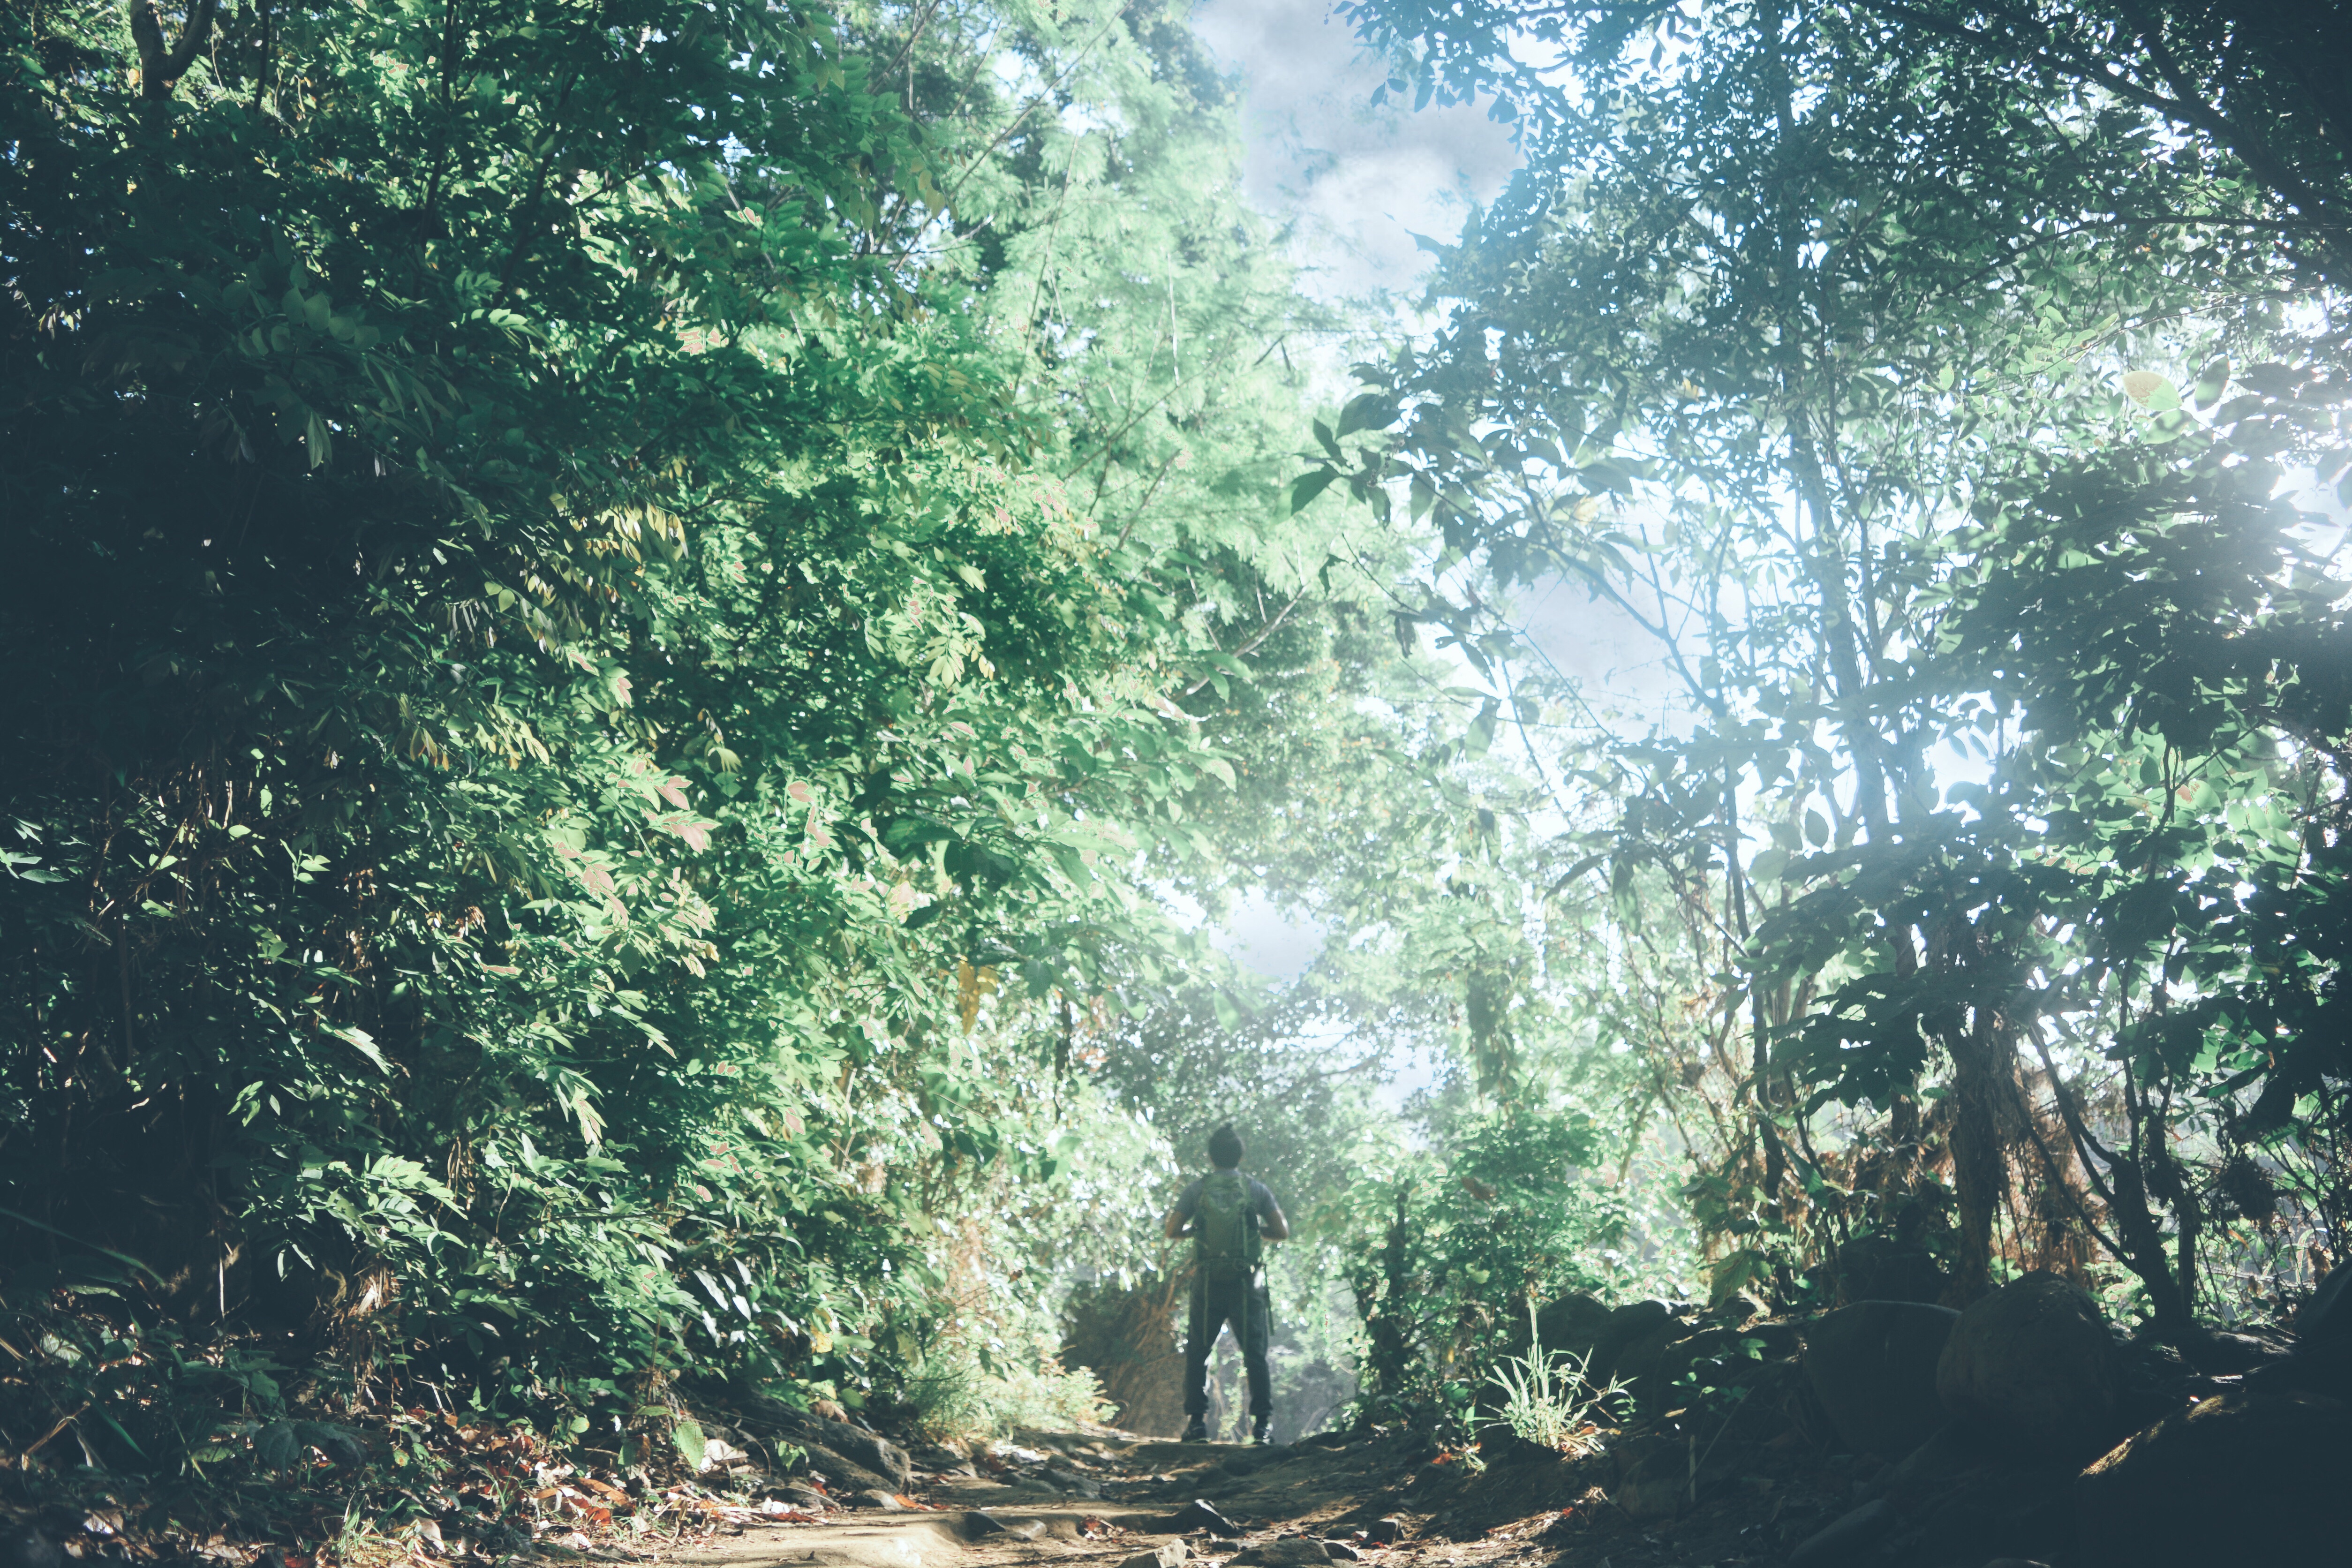
Past the open field were moderate slopes along a shaded trail. We covered about a kilometer before we reached a resting hut. There we took 10 minutes to relieve ourselves of exhaustion, munch on some trail snacks and engage on some chitchats with our new found friends. When everyone was rested, we continued to cover several more kilometers of moderate slopes. We encountered several steep assault but it was nothing that we couldn’t handle. In times when our lungs felt like they were burning and our knees hurt more than we could bare, we would simply take short breathers and would keep at it once we had bagged some air.
After several kilometers of up and downhills, we reached the base of the final stretch to the summit, exactly an hour after starting the hike. We waited a little for our turn to start with the assault since the summit was still too crowded. This gave us more time to bag some air which is just what we needed since the final leg of the hike was said to be consist of steep ascent all the way through. When we were finally given a go, off we took on the final challenge.
The assault to the summit was indeed steep but it was very manageable even for newbies. It was a simple climb over piled rocks and mud with roots occasionally protruding. It stretched to over a kilometer long. If you have pretty strong lungs then the ascent should be an easy peasy. If you hate the sun then that should be your only obstacle but other than that, you should be fine. What’s even better was after covering 3/4 of the assault was the viewing deck offering a panoramic view of the valley and nearby peaks. There we had the chance to take a breather while we snapped us some photos before we finally covered the final stretch.
Getting past the assault, the trail then led us to a campsite. It was a spacious area of about 200 square feet. There we waited for our turn to climb to the summit. The final stretch to the summit was via a 50-degree hike on a boulderstone that was no more than 30 meters long. To make climbing up the rough yet slippery surface of the boulder easier, a rope was tied from the peak stretching to the base which hikers could make use of to assist their ascent and descent.
Thirty minutes of hearty chitchat with the other hikers later came our turn to take on the summit. We scaled it in a breeze. Believe me when I say that it was easy. The only thing I didn’t like about it was the scorching sun. Setting that aside, the scene at the peak was worth marveling at. The view consisted of the summit of Mt. Gola, Maglum River snaking through the lush greens, the blue skies and stunning cloud formations, are some of the many things that keep me on this sport. You know that it’s true when they say that no mountain is too difficult to climb when compared to the fulfillment and the priceless reward that await you at the top.
HOW TO GO TO MT. MANALMON
In Balagbag Transit Terminal in Cubao, ride a bus going to Gapan, particularly the bus flashing the signage of San Miguel (2Hrs ; P117/way). Alight in Kamias Crossing/Junction. From Kamias Crossing/Junction, ride a tric to Biak Na Bato Natural Park (45Min : (P240/Way/3Pax).
TIPS AND OTHER INFORMATION
- Mt. Manalmon is one of the most suitable hikes for beginners. The trail is consist of mini river crossing and moderate slopes that require no advance navigational skills. Hiking up should take up to 3 hours at most even at a slow pace.
- Mt. Gola is another exciting hike you can do after hiking up Mt. Manalmon. From Mt. Manalmon summit, the trail will separate in two. Taking the left would lead to Mt. Gola.
- There are a total of 3 caves within Biak Na Bato National Park. Exploring them would require another P150/cave/10pax guide fee.
- There are toilet and bath rooms in the park which requires a fee of P5-P20.
- There also are eateries and stores within the park where you can buy your supplies before and after the hike.
- A parking space is also provided for those bringing their cars.
- The tricycle ride to the park is bumpy and would pass by rough roads for the most part. This was the reason why tric drivers prefer only three passengers per tric.
ACTIVITIES IN BIAK NA BATO PARK
- Monkey Bridge – Cross Madlum River on a monkey bridge suspended several meters up the water. If you have fear of falling, don’t worry, a harness is provided to keep you safe if you suddenly slip.
- Spelunking – Learn something about our forgotten past by exploring the caves within the park. Madlum Cave would be the perfect starter.
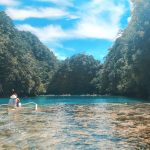
- Swimming – Plunge into the pristine water of Madlum River. This would be an ideal finale to another epic hike. The refreshing water and the stunning rock formations will surely not disappoint.
BUDGET AND OTHER ESSENTIALS
| SUMMARY OF EXPENSES (Share By 9 People) | 2way bus @P117/way - P234 2way tric @ P240/3pax - P160 Reg Fee - P20 Env Fee - P10 Guide P300/9 - P35 TOTAL - P459 |
| WHAT ARE THE FEES | Guide Fee - P300/10pax Caving Fee -P150/cave Registration - P20 Environmental Fee - P10 |
| WHAT TO BRING | 2L Trail Water Trail Snacks First Aid Kit Change Clothes Toiletries Trash Bag Slippers |
| SAMPLE ITINERARY | 0200 Assembly Balagbag Transit 0300 ETD Kamias Junction 0500 ETA Kamias Junction 0545 ETA Biak Na Bato Park. Breakfast 0645 Register 0700 Start Hike 0800 Viewpoint 0900 Summit 1000 Descent 1100 Jump Off. Freshen Up 1200 Lunch 1300 Caving 1400 End Tour 1500 Back to Kamias Junction 1600 Ride Home |


There you have it lovelies. Mt. Manalmon is surely worth a try. If you love easy and chill hikes then this is your kind of mountain. For questions, suggestions and violent reactions, just leave them on the comments below. If you enjoyed this post or helped you out in any way, give me a shout on the comments as well. Show me some love and share this post to your friends. Until next time. Ciao!
Discover more from A Wanderful Sole
Subscribe to get the latest posts sent to your email.

23 Comments
Hi! May I know if may contact number po kayo doon? Tour guide or nangangalaga sa Mt. Malamonon
Hi. Sorry. Wala po ako contact number.
Hi! ask ko lang po kelan kayo nag punta sa Mt. Manalmon?
Hello MJ. I last went there over a year ago po.
Hi do you want to join with us?
Hello. Ask ko lang po if safe po ba for solo hikers? Thank you. 🙂
Hi El. Yes it is safe even for solo travelers.
Hi! Would you know if they entertain Groups larger than 5pax? Or do I have to book a private hike? Also, would you know if the mountain is open for hiking during december? 🙂
Hi sofia. No need to book a private hike. And yes, the mountain is open in december.
Hi again! Sorry for another question. Is the mountain open during sundays? 🙂
Yes they are open. ☺️
Hi! Is it okay to climb here with a smaller group, like 4-5pax. Will the tour guides allow it?
Thank you!
Hi Jas. Yes you can climb is smaller groups.
hindi na ba kailangan magpareserve ng date to hike? I read from other blogs na they had to book in advance po ih, pero those were 2017 articles. I just wanted to confirm po.
Also, paano yung parking? after po magpark, sasakay din ng tric?
Hi Joana. No need for reservation po. Then yung parking sa registration area na no need to ride another tric.
Good day do you have contact ct number of tour guides
Hi Hapi. Wala po. Avail nman tour guides upon registration.
Good day! How much fees for monkey bridge and spelunking po? TIA!!
Spelunking 150/cave for 5 pax
Monkey Bridge 100/person
Hello,
Is it ok if my friend and I will just go there directly?
2 lng kmi, so maybe we can also wait and meet nee friends?😊
Hi Kristhel. Yes you can just go there directly and wait for other hikers whom you can share the cost with. 😊
Hello Keza!
1. Can I go there any day and hike by myself?
2. Are there any lodgings there?
3. Can I go there early morning and complete the hike within the day so I can go home later in the evening?
4. Can I take a dip in the river?
5. Would I be able to do spelunking and monkey bridge if I’m alone?
Thank you!
Hi Kaye
1. Can I go there any day and hike by myself?
A: Yes
2. Are there any lodgings there?
A: No. but camping with tents is allowed.
3. Can I go there early morning and complete the hike within the day so I can go home later in the evening?
A: Yes
4. Can I take a dip in the river?
A: Yes
5. Would I be able to do spelunking and monkey bridge if I’m alone?
A: Yes. You will have to pay the whole fee.